
Cortex solves two common problems frequently encountered by SOCs, CSIRTs and security researchers in the course of threat intelligence, digital forensics and incident response:
How to analyze observables they have collected, at scale, by querying a single tool instead of several?
How to actively respond to threats and interact with the constituency and other teams?
Thanks to its many analyzers and to its RESTful API, Cortex makes observable analysis a breeze, particularly if called from TheHive, our highly popular, free and open source Security Incident Response Platform (SIRP). TheHive can also leverage Cortex responders to perform specific actions on alerts, cases, tasks and observables collected in the course of the investigation: send an email to the constituents, block an IP address at the proxy level, notify team members that an alert needs to be taken care of urgently and much more.
Starting from Cortex version 2, you can create and manage multiple organizations (i.e multi-tenancy), manage the associated users and give them different roles. You can also specify per-org analyzer configuration and rate limits to avoid consuming all your quotas at once. We have also added a cache so that an analysis is not re-executed for the same observable if a given analyzer is called on that observable several times within a specific timespan (10 minutes by default, can be adjusted for
In this post, you will learn the Cortex installation process.
Hardware Pre-requisites
Cortex uses a Java VM. We recommend using a virtual machine with 8vCPU, 8 GB of RAM and 10 GB of disk. You can also use a physical machine with similar specifications.
Cortex Installation
Debian packages are published in DEB packages repository. All packages are signed using GPG key 562CBC1C. Its fingerprint is:
0CD5 AC59 DE5C 5A8E 0EE1 3849 3D99 BB18 562C BC1C Setup apt configuration with the release repository:
curl https://raw.githubusercontent.com/TheHive-Project/TheHive/master/PGP-PUBLIC-KEY | sudo apt-key add -
echo 'deb https://deb.thehive-project.org release main' | sudo tee -a /etc/apt/sources.list.d/thehive-project.list
sudo apt-get update
Then you will able to install Cortex 3.1.0+ the package using apt command:
apt install cortex
First start
It is recommended to use a dedicated, non-privileged user account to start Cortex. If so, make sure that the chosen account can create log files in /opt/cortex/logs.
If you’d rather start the application as a service, use the following commands:
sudo addgroup cortex
sudo adduser --system cortex
sudo cp /opt/cortex/package/cortex.service /usr/lib/systemd/system
sudo chown -R cortex:cortex /opt/cortex
sudo chgrp cortex /etc/cortex/application.conf
sudo chmod 640 /etc/cortex/application.conf
sudo systemctl enable cortex
sudo service cortex start
The only required parameter in order to start Cortex is the key of the server (play.http.secret.key). This key is used to authenticate cookies that contain data. If Cortex runs in cluster mode, all instances must share the same key. You can generate the minimal configuration with the following commands (they assume that you have created a dedicated user for Cortex, named cortex)
sudo mkdir /etc/cortex
(cat << _EOF_
# Secret key
# ~~~~~
# The secret key is used to secure cryptographics functions.
# If you deploy your application to several instances be sure to use the same key!
play.http.secret.key="$(cat /dev/urandom | tr -dc 'a-zA-Z0-9' | fold -w 64 | head -n 1)"
_EOF_
) | sudo tee -a /etc/cortex/application.conf
Now you can start Cortex. To do so, change your current directory to the Cortex installation directory (/opt/cortex in this guide), then execute:
bin/cortex -Dconfig.file=/etc/cortex/application.conf
Please note that the service may take some time to start. Once it is started, you may launch your browser and connect to
http://YOUR_SERVER_ADDRESS:9001/
Cortex installation – Create the Cortex Super Administrator
You are then invited to create the first user. This is a Cortex global administration user or superAdmin. This user account will be able to create Cortex organizations and users.
You will then be able to log in using this user account. You will note that the default cortex organization has been created and that it includes your user account, a Cortex global admininistrator.
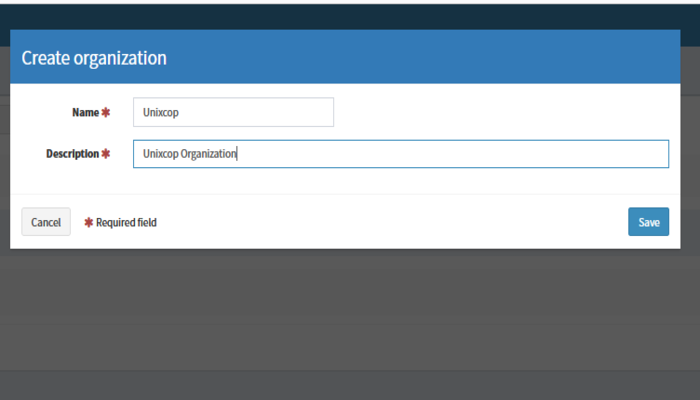
Create an Organization
The default cortex organization cannot be used for any other purpose than managing global administrators (users with the superAdmin role), organizations and their associated users. It cannot be used to enable/disable or configure analyzers. To do so, you need to create your own organization inside Cortex by clicking on the Add organization button.
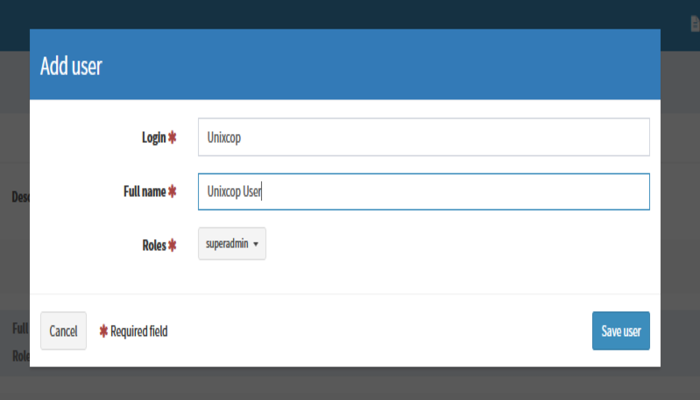
Create a Organization Administrator
Create the organization administrator account (user with an orgAdmin role).
So, enjoy it