
Introduction
Today we will discuss Pi-hole configurations and their usability. Though it was not planned, for the last few days, I was writing on firewalls only. Going through different Linux platforms got encountered the server. The service is really interesting. Ads are good for revenue generations, but sometimes it is annoying when considering the production environment. Usually, users have adblockers on their browsers, such add-ons are not so effective sometimes. Either they are required to keep updating all the time or are not able to detect ads in some cases. Here, is the answer Pi-Hole can do all for you. This gateway will get installed on the Network and will start detecting ads and pop-ups across the network and will block them automatically.
How Pi-Hole works
When the server is connected to your network. Your clients will get DNS addresses from the Pi system. If an access request contains any ads will get blocked on the server level only. Based on white lists and black lists, ads access can be allowed or blocked. DNS servers can be of user choice, as multiple DNS services are available. Even the DHCP server can be configured with this Pi system. Further details we will go through in the installation process.
Installation of Pi-Hole
Here, we will install the application with Ubuntu 21.04 LTS server. Why do we opt for a terminal-based server? well, we are required to keep all the services lightweight. Install server first.
At a minimum, 8 GB of RAM, 64X processor, 120 G SSD Drive will be good. An extra LAN card will be good to addon to the server. Our example IP address will be 192.168.43.20.
Update server once:
# apt update
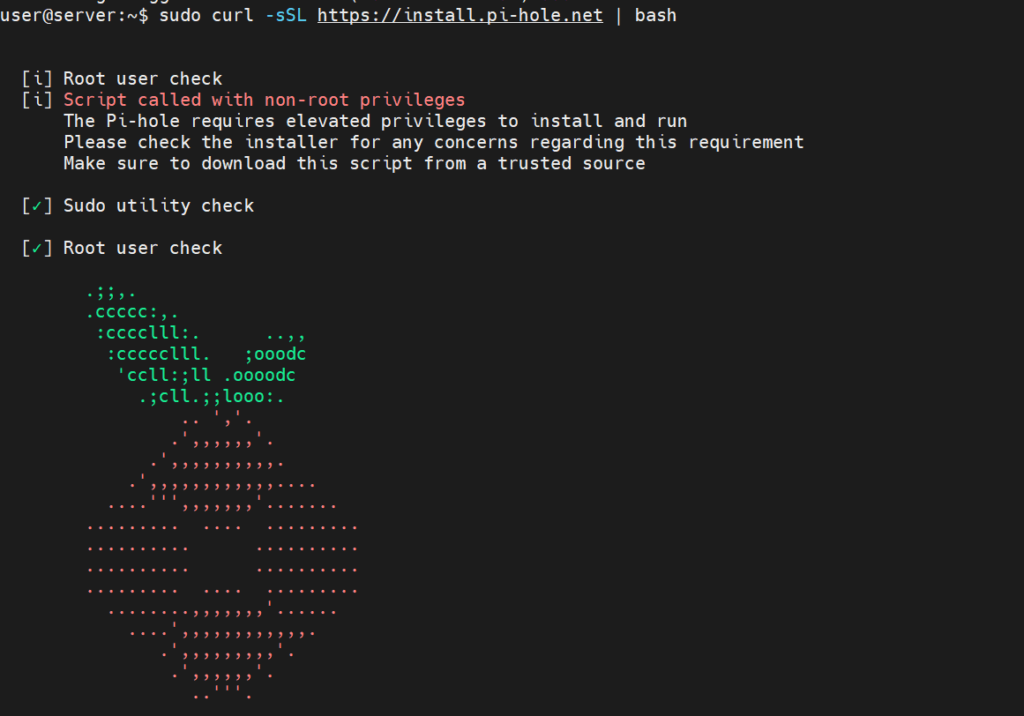
Run following commands, first.
# sudo apt-get install gamin -y
#  sudo curl -sSL https://install.pi-hole.net | bash
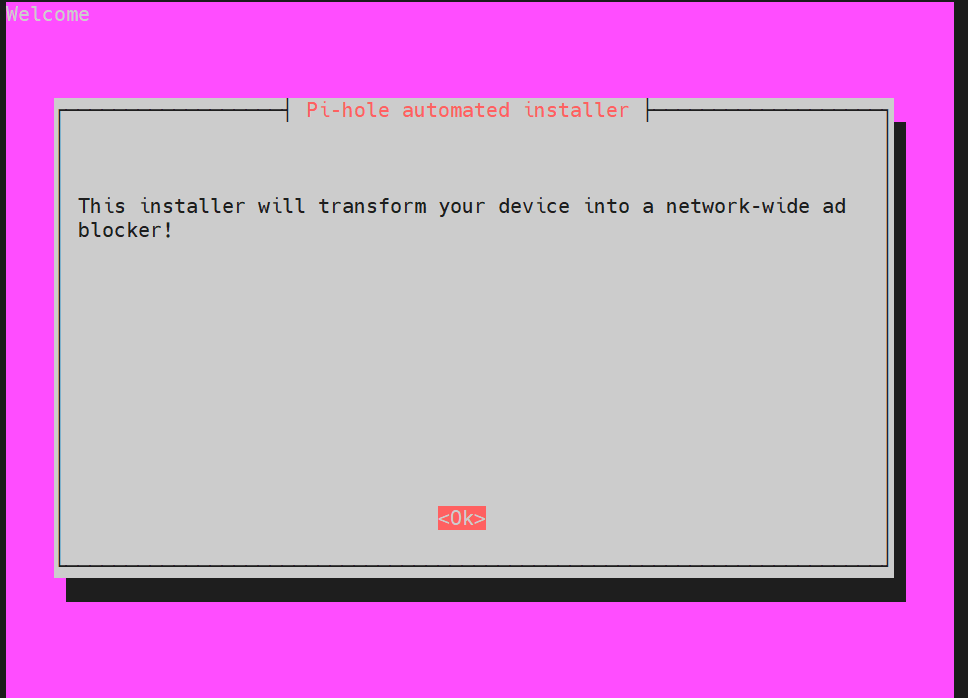
After the process will start you will be prompted with the screen like below, press ok and move ahead.
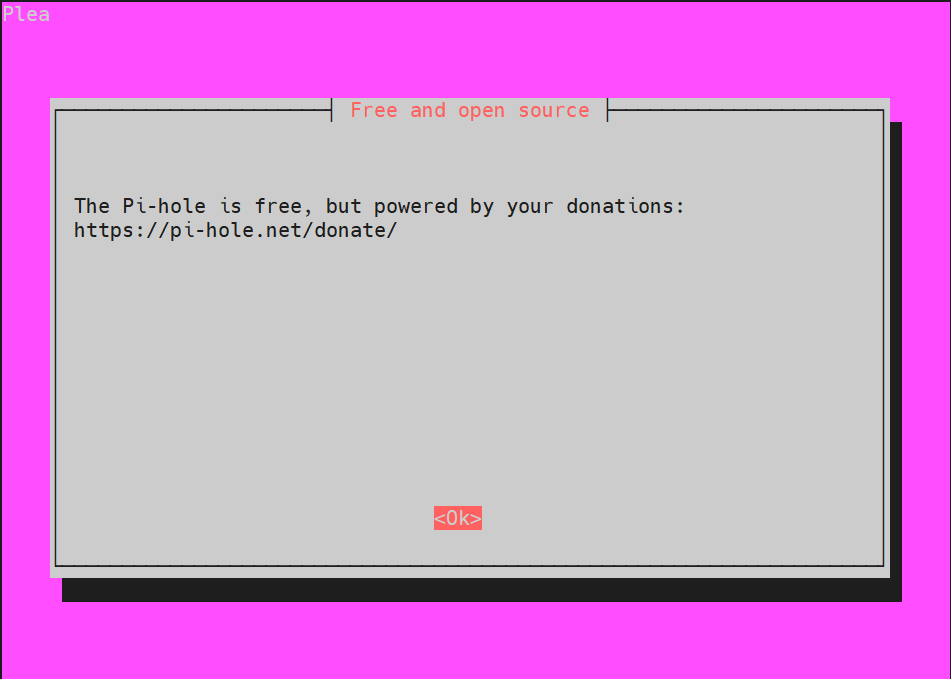
The screen provides little detail of the service, press ok.
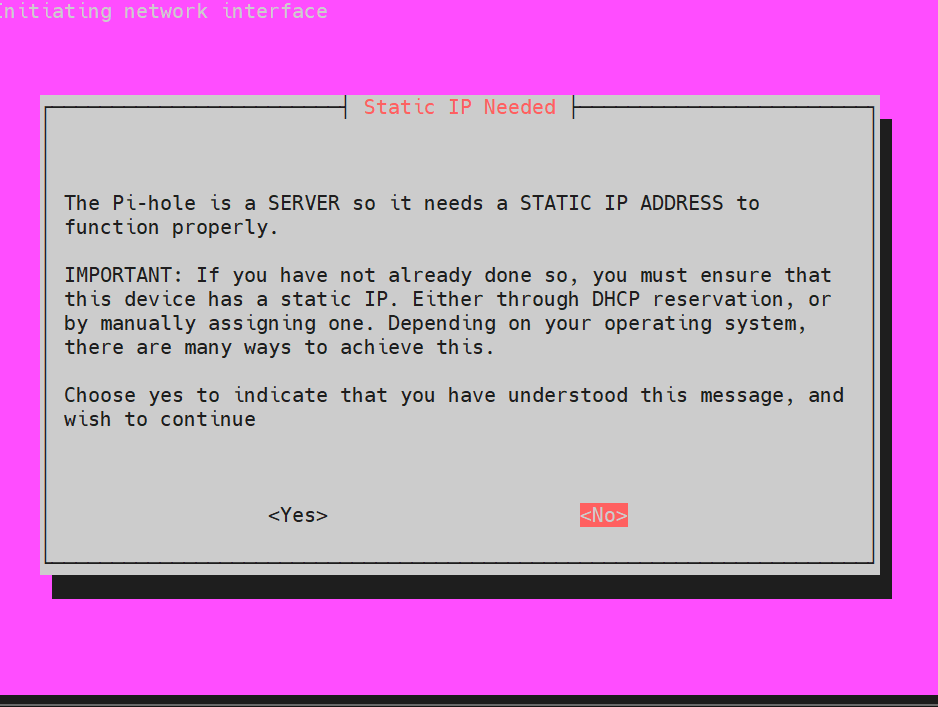
Define your IP address, here in the example IP address already defined. Simply press yes and next.
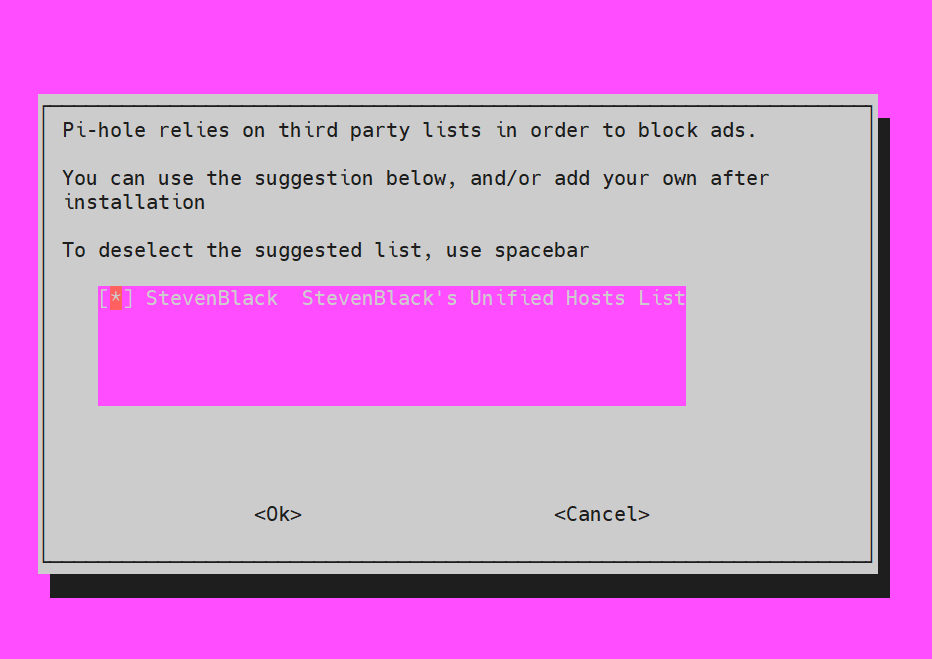
Accept the provided black list available as default on press ok.
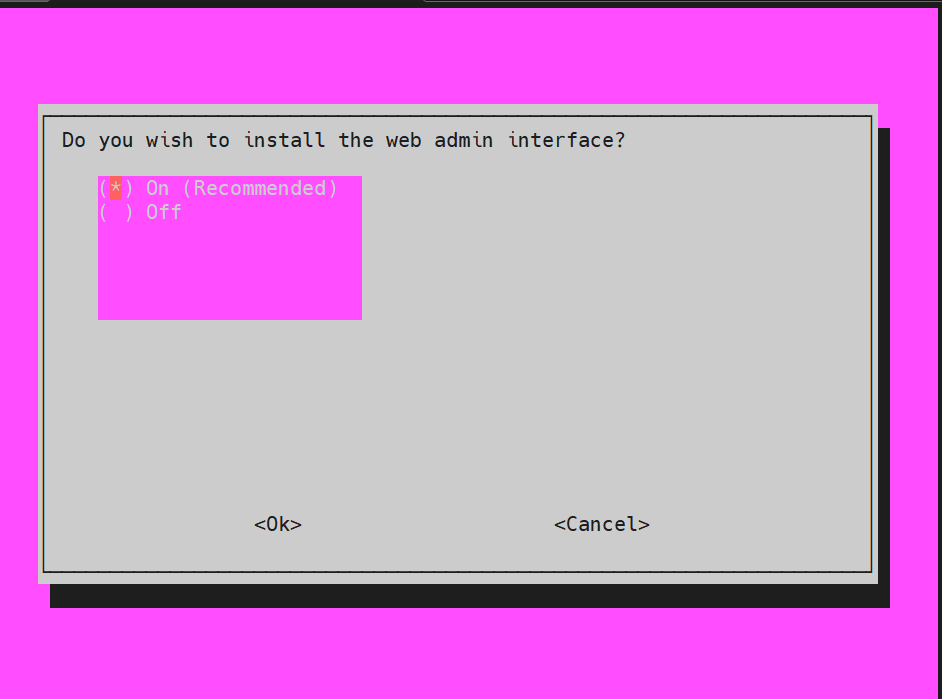
Of course, we need an admin panel to manage stuff, say yes, and next.
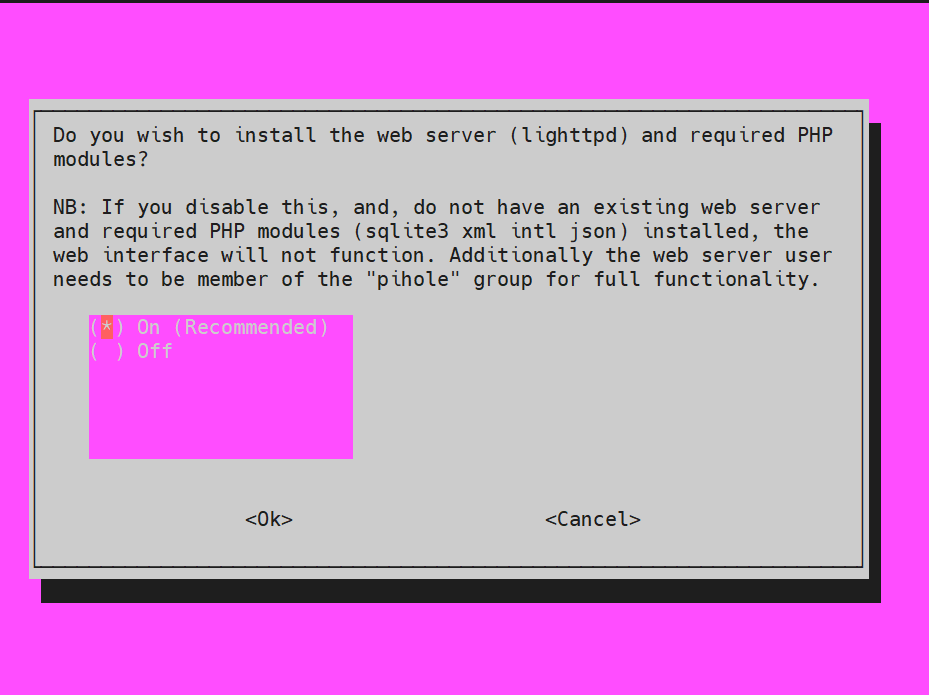
So, how will you manage web services? of course only if having and web services. Say yes!
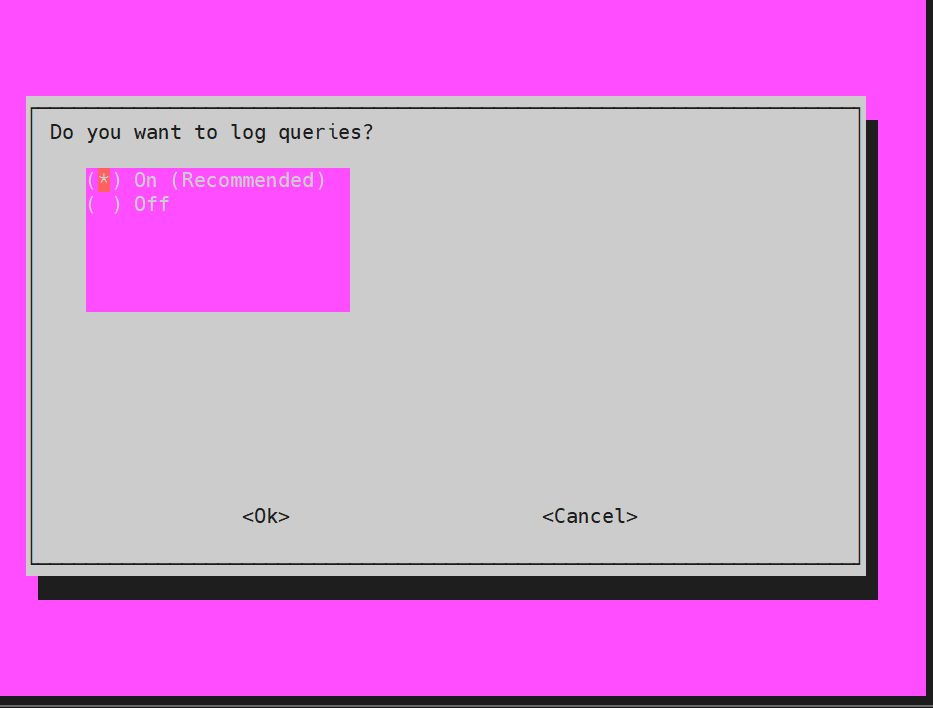
Yes, this is what the purpose of having Pi-Hole is, need logs. Click next.
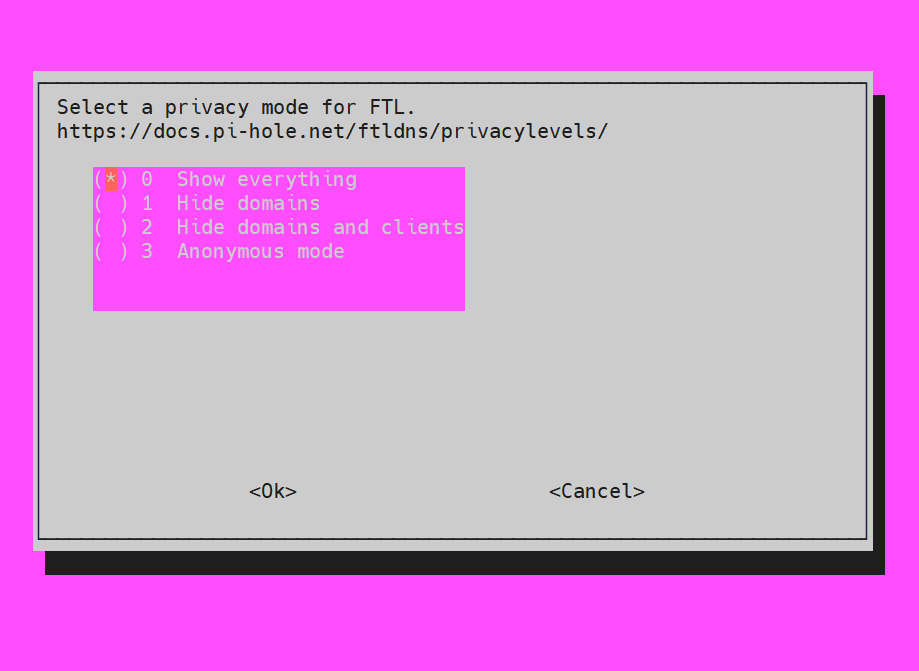
Will be as per your requirement, go accordingly and move ahead, I would prefer to keep default.
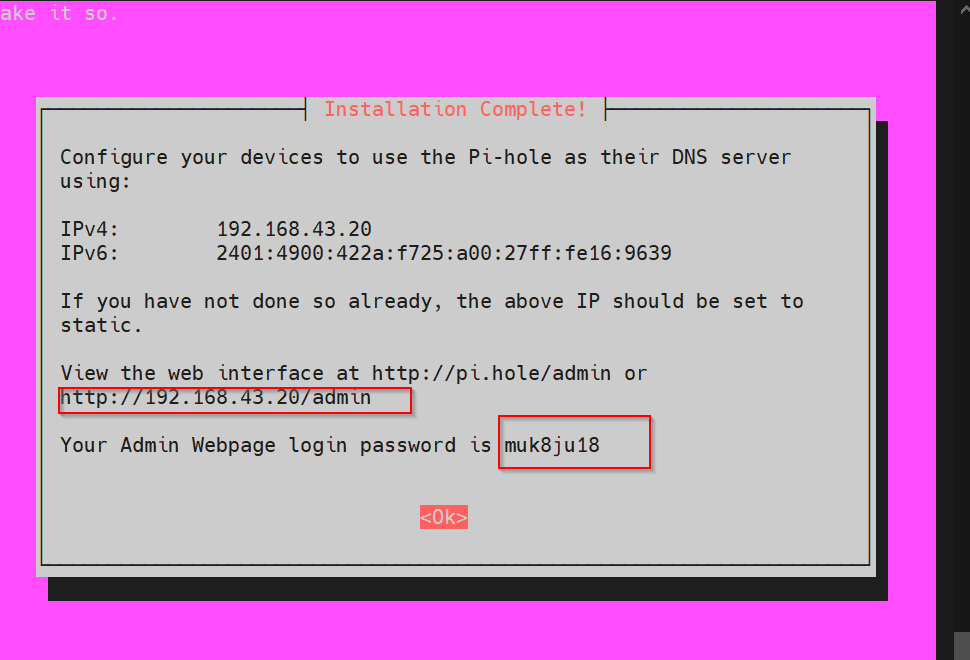
And here we are, a perfectly installed Pi-Hole Ad blocker gateway. Save creds and click ok.
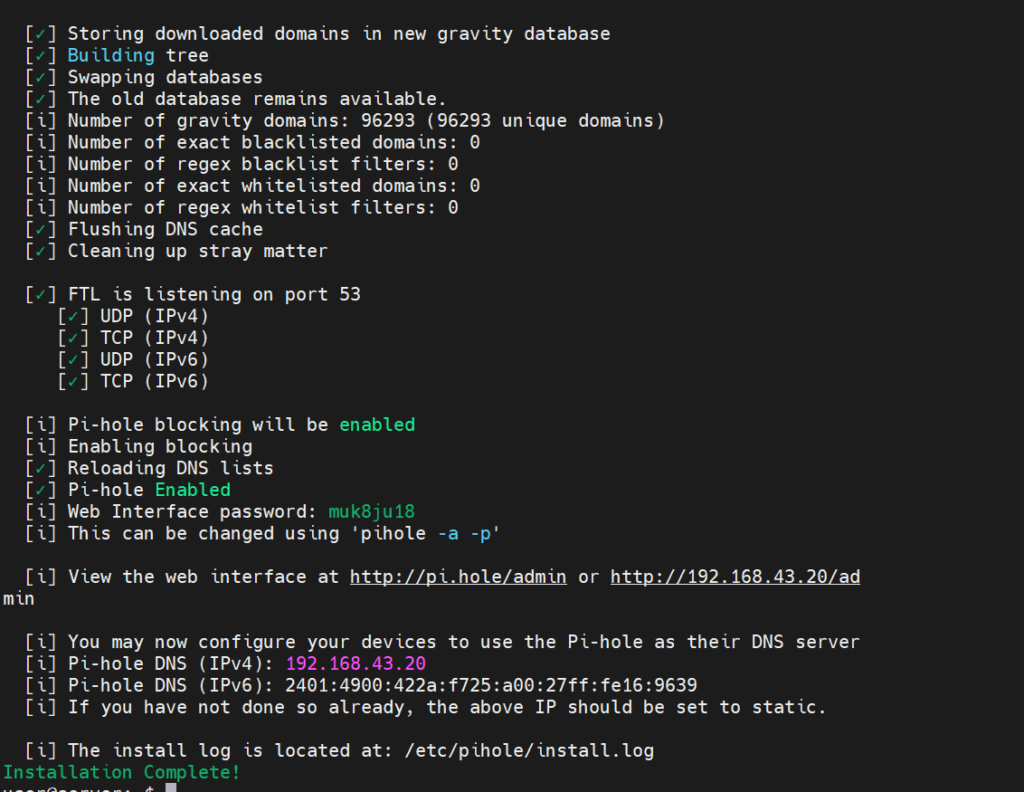
This is something like below the entire process should end, if installed was all good!
Now, open the service using the browser.
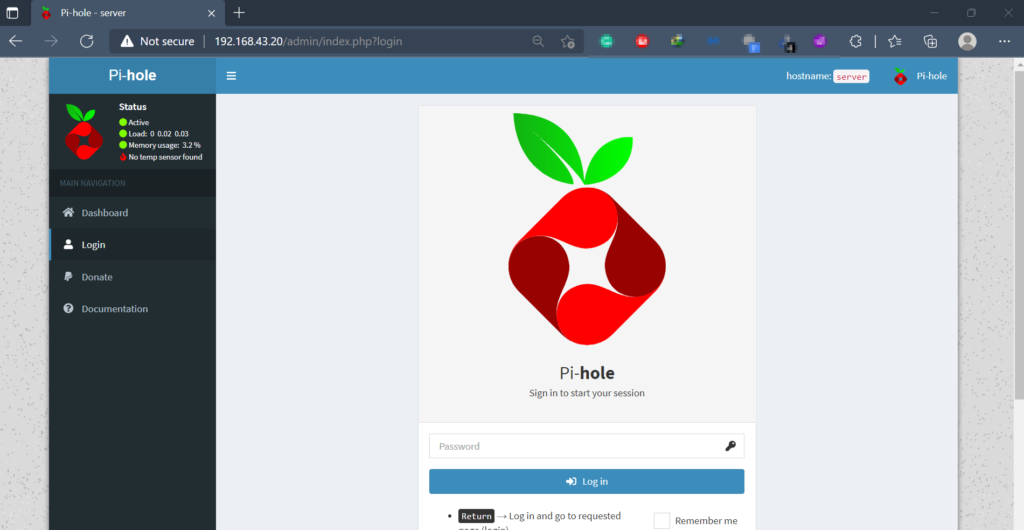
Login screen with the password created in previous steps have a look.
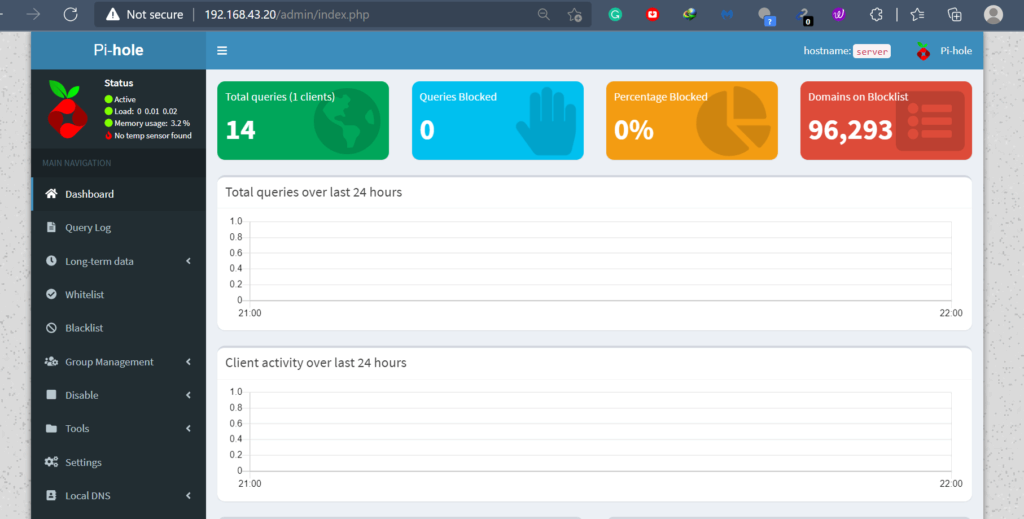
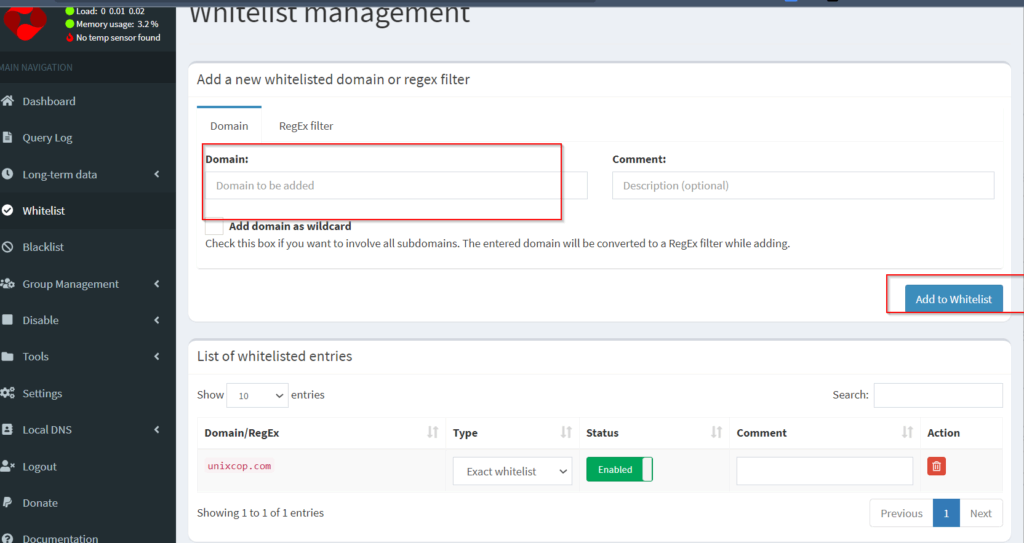
Congratulations, you are successfully configured the network ad blocker server. While lists for which you want to bypass blocking can be managed here.
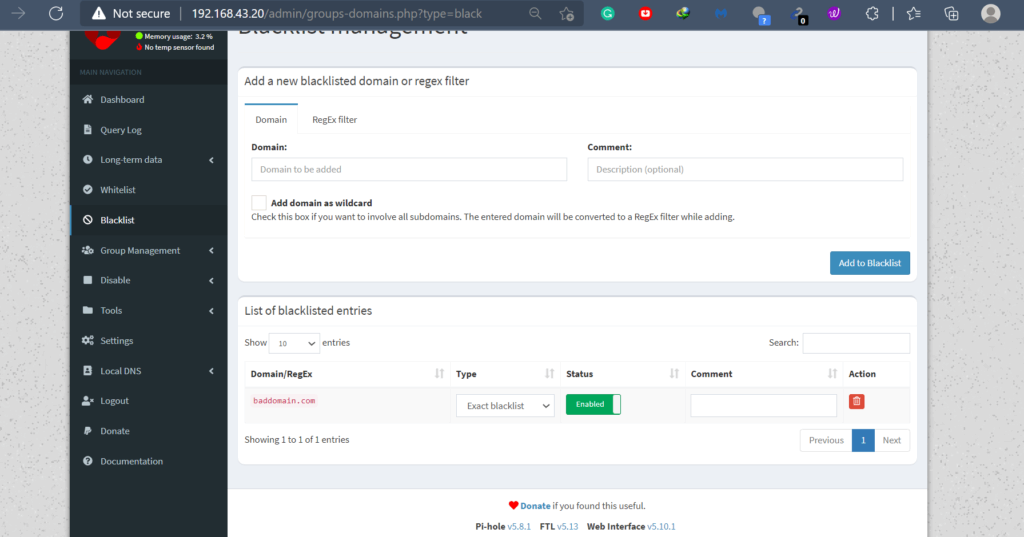
Or, even blacklists can be managed too.
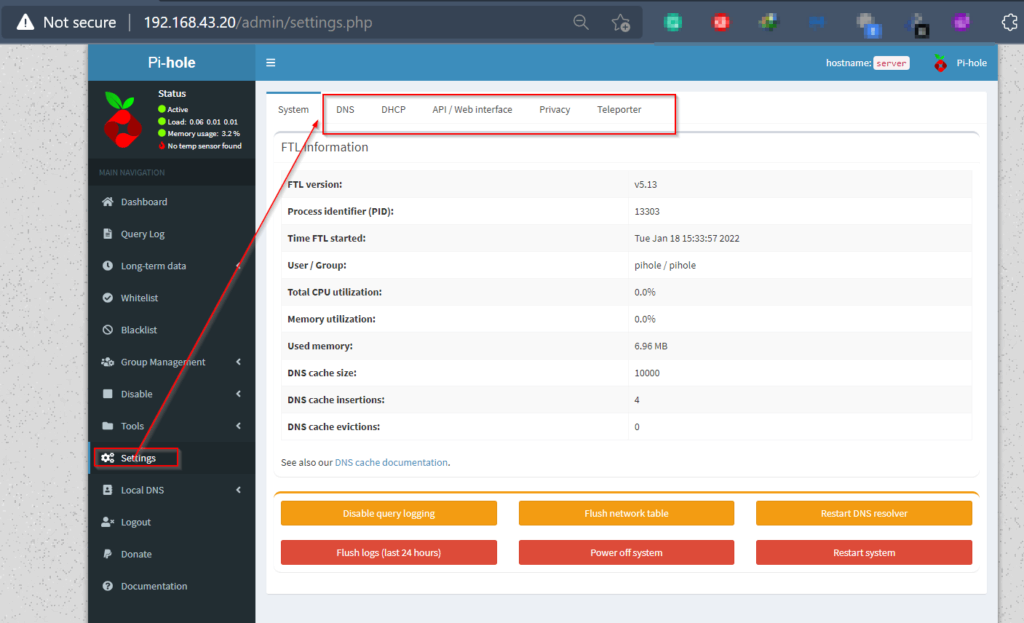
This is where you will be managing DNS and DHCP services.
Conclusion
A dedicated server for blocking network-wide ads for sure is a good idea. The server might save lots of productivity losses. Prefer to install a server with Any server having a CLI environment. It will save lots of resources. Make sure to keep whitelists property, or your own business ad can get blocked here too. I don’t know how Pi-Hole will behave in an environment where dedicated firewalls are already installed, someday will test and share the write up accordingly. You can test things at your own and share. Stay tuned till the next article. Stay tuned!!