Hello, friends. In this post, dedicated to newbies, we will show you how to check the IPv4 address in CentOS 9 Stream. For this post, we will use the terminal because it is a versatile method that adapts to different desktop environments.
Introduction
The IP address is a numerical label, for example “192.0.10.1” that logically and hierarchically identifies an interface on the network of a device that uses the Internet Protocol or corresponds to the network level of the TCP/IP model.
This is why many people need to know what their IP address is to perform network-related configurations.
For an experienced user, this should not be a problem, but for a newcomer, it can be a bit of a challenge. Let’s get to it.
How to verify the IPv4 address in CentOS 9 Stream
One of the best ways to do this is via the terminal. This ensures that regardless of what desktop environment you are using, you can achieve the goal. You can also use it in server environments.
Using the ip command
The ip command is one of the best commands for knowing the ip address without too much trouble.
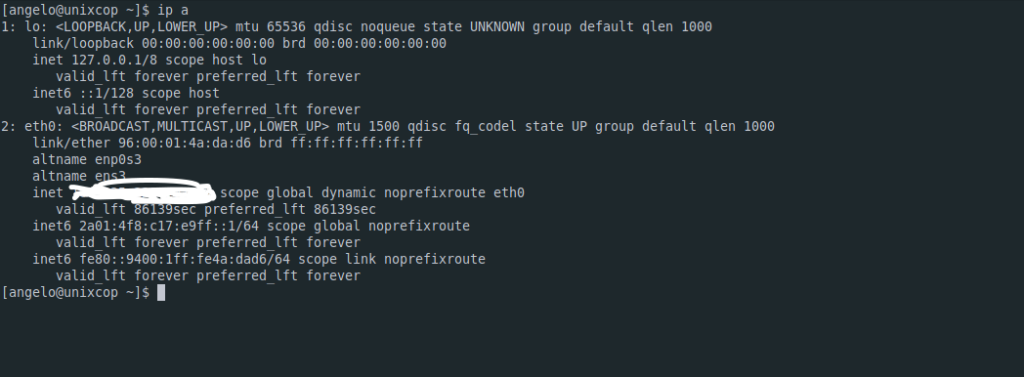
In a nutshell, you can use this command to verify the IPv4 address
ip a
2: eth0: <BROADCAST,MULTICAST,UP,LOWER_UP> mtu 1500 qdisc fq_codel state UP group default qlen 1000
    link/ether 96:00:01:4a:da:d6 brd ff:ff:ff:ff:ff:ff
    altname enp0s3
    altname ens3
    inet ********** scope global dynamic noprefixroute eth0
       valid_lft 86139sec preferred_lft 86139sec
    inet6 2a01:4f8:c17:e9ff::1/64 scope global noprefixroute
       valid_lft forever preferred_lft forever
    inet6 fe80::9400:1ff:fe4a:dad6/64 scope link noprefixroute
       valid_lft forever preferred_lft forever
In the screen output, you have to verify the network interface used and the inet field will show the value you are looking for.

The ifconfig command
The ifconfig command comes in the net-tools package, which is usually installed on your system. Otherwise, you can install it using
sudo dnf install net-toolsThen, you can run it
ifconfigSimilarly, after inet you will see the IP address.
Check the IPv4 address in CentOS 9 Stream with the hostname command.
Although it is not the main function of this command, we can also use it to achieve the goal.
In this case, just run
hostname -I
x.x.x.x xxx:xxxx:xx:xxxx::1
And you will get the IP address as output on the screen.
Conclusion
In this post, you learned how to know your IPv4 address in CentOS 9 Stream. This may seem easy to many, but it is true that for newbies it can help a lot.


