Hello, friends. In this post, you will learn how to install Sentry using Docker. This method ensures compatibility but, above all, ease of processing.
Sentry is an open-source application that works as a real-time error monitor. One of the main advantages of this tool is that it supports many platforms, such as Django, Android, iOS, Flutter, Go, JavaScript and others.
Not only this, but it is also used by large companies that attest to its good work.
Install Sentry using Docker
So, Docker is an important platform for containers and an optimal solution for installing some more complex applications. This is the recommended method to get Sentry.
First, upgrade your operating system completely. For Debian, Ubuntu and derivatives.
sudo apt update
sudo apt upgrade
Or in the case of RHEL-based distributions
sudo dnf updateNow we can continue.
Installing Docker on Linux
The first step is to install Docker on Linux. Depending on the system, you will have different steps.
- How to Install Docker on Fedora?
- How to install Docker CE on Rocky Linux 9 / Alma Linux 9
- How to install Docker on Debian 11
- How to install Docker on Ubuntu 22.04
Each of these distributions is supported accordingly by Docker. The procedures are simple and ensure that everything goes smoothly.
Install Sentry
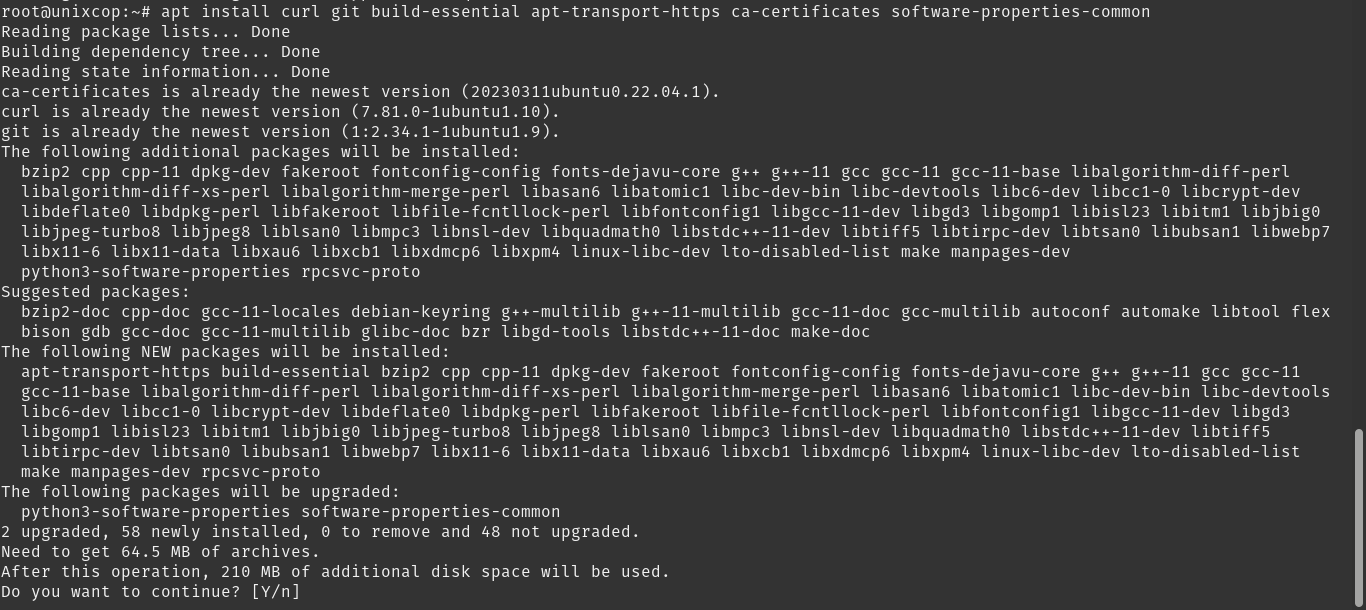
First, download some packages needed to complete the post.
apt install curl git build-essential apt-transport-https ca-certificates software-properties-common
Note, for this post, I will use the root user.
Next, download the Sentry install script. You can do this by cloning the repository file.
git clone https://github.com/getsentry/onpremiseSample output:
Cloning into 'onpremise'...
remote: Enumerating objects: 3131, done.
remote: Counting objects: 100% (43/43), done.
remote: Compressing objects: 100% (36/36), done.
remote: Total 3131 (delta 14), reused 27 (delta 6), pack-reused 3088
Receiving objects: 100% (3131/3131), 827.49 KiB | 8.44 MiB/s, done.
Resolving deltas: 100% (1835/1835), done.
Then, access the folder that has been generated and run the script.
cd onpremise
bash install.sh
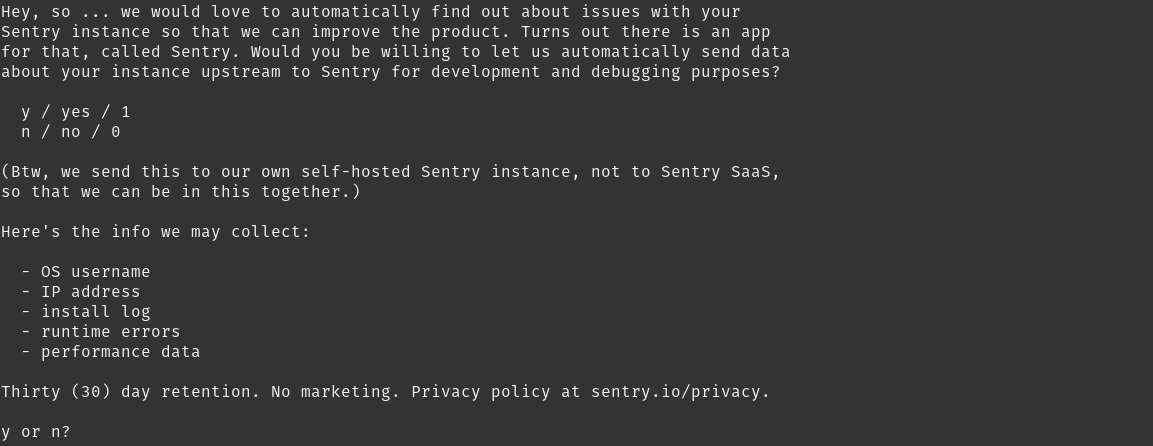
The first thing you will see is a screen where you are informed what the tool collects to do its job.

If you agree, press Y.
This will start the whole process of downloading and configuring the application.
During the process, you will be asked if you want to create a new user to use Sentry.
Would you like to create a user account now? [Y/n]: Y
Email: [email protected]
At the end, you will see a message like this

Now all that remains is to run
docker-compose -d upThis will bring up all the Docker images downloaded for Sentry.
Then just visit http://your-server:9000 and log in with the newly created account, configure a few things and you will see the dashboard.
Conclusion
So, in this post, you learned how to install Sentry using Docker. This procedure should work on almost any distribution.


