Slackware is one of the oldest linux distributions active today. Back in my days Slackware was considered “hard” and “difficult” (read that sentence with an old lady voice). But after this article where I’ll show how to install Slackware 15 – with KDE desktop – you’ll judge that by yourself.
The Slackware Philosophy
I’m quoting this from the Slackware website, and highlighted important things:
«Since its first beta release in April of 1993, the Slackware Linux Project has aimed at producing the most “UNIX-like” Linux distribution out there. Slackware complies with the published Linux standards, such as the Linux File System Standard. We have always considered simplicity and stability paramount, and as a result Slackware has become one of the most popular, stable, and friendly distributions available.»
Download
You can get Slackware from one of the mirrors here: https://mirrors.slackware.com/slackware/slackware-iso/
Install
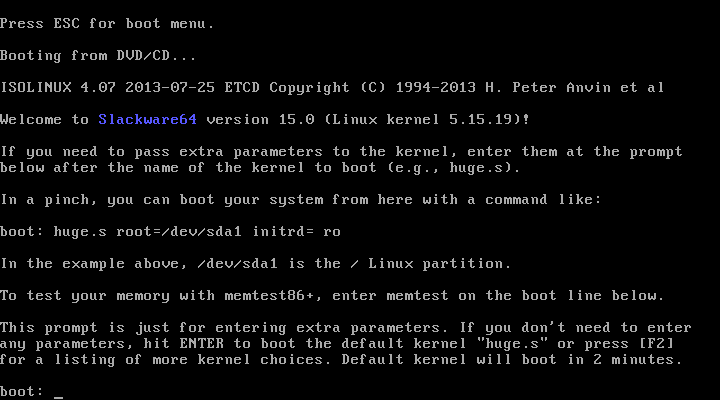
Mount your ISO and boot the computer. On the very first screen of the bootloader, just press enter to boot with the default kernel
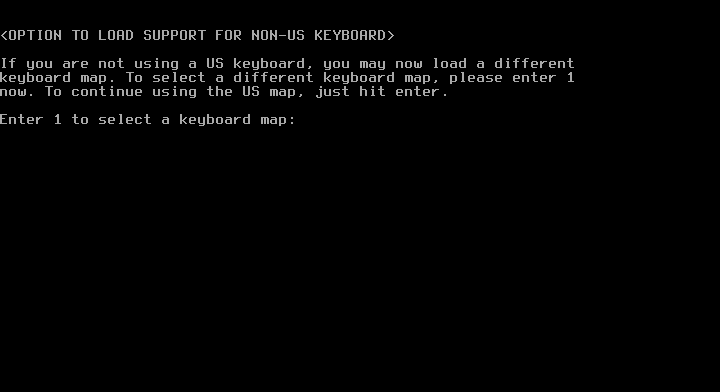
As with many linux distributions, and many operating systems, choose a keyboard map to use during the installation. If yours is US map, just press enter.
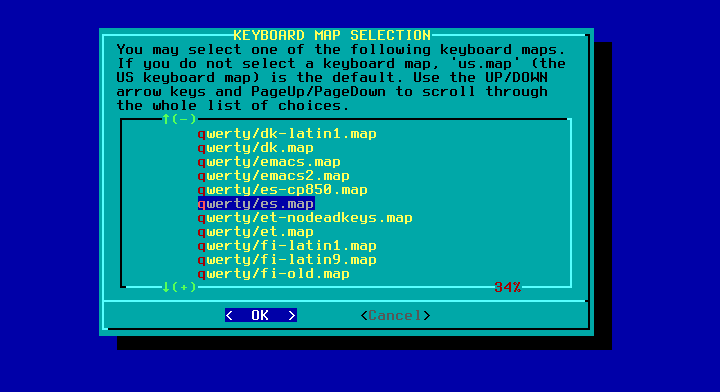
Mine is a spanish qwerty keyboard:
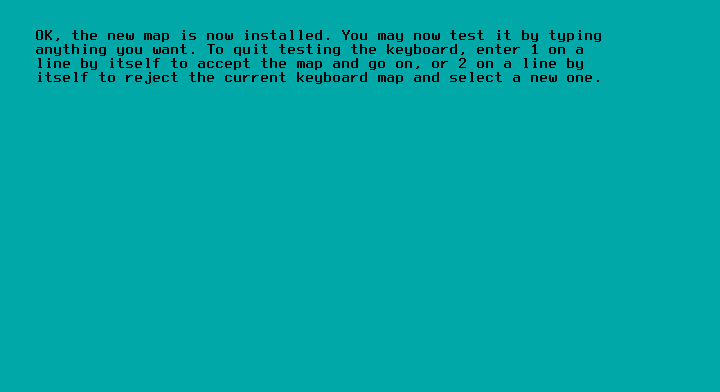
Now you have choosen a keyboard map, you can test it ont he next screen. Press ‘1’ to accept the setting or ‘2’ to select a new one
Pre-setup tasks
With your keyboard now working as expected pay attention to the message on the following screen:
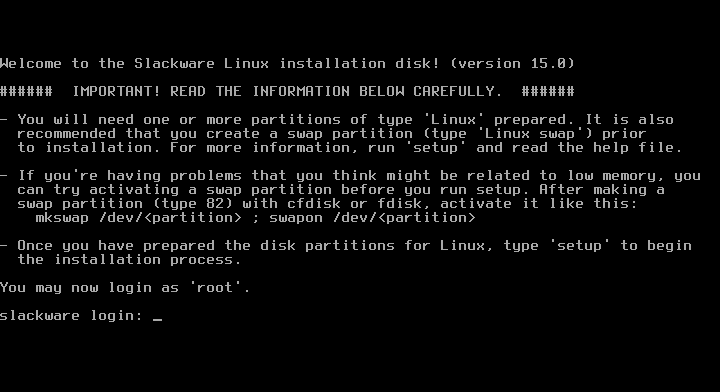
tl;dr: You’ll have to do some things by hand. Specifically, you need to partition the disk by yourself before running the setup program. To do this, let’s login as root (without password)
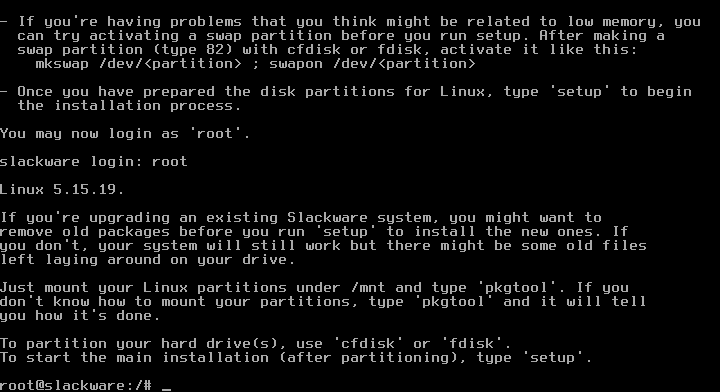
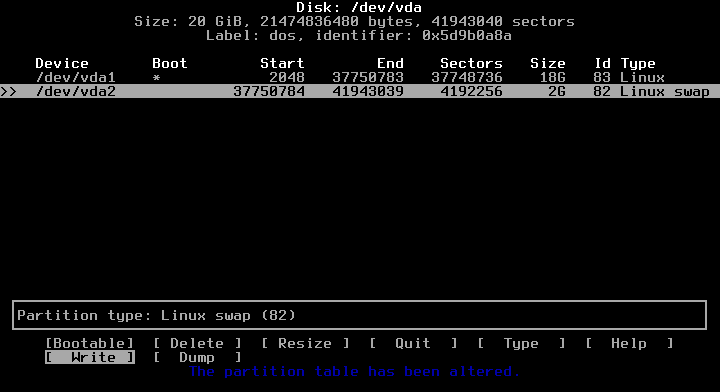
And run cfdisk to create some partitions. If you are new here, create a swap partition of a few Gb and a big data partition with the remaining space.
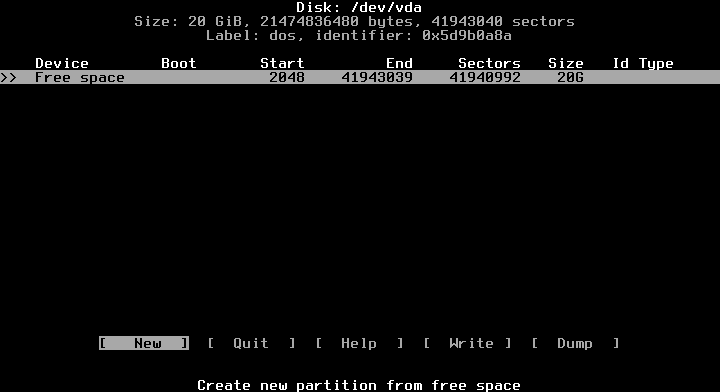
If you aren’t new here, you will know how to distribute your disk space. When you are happy with the partition layout write changes to disk and continue to the next section.
Setup
Now that you have your partitions ready, launch the program setup. You will be presented the following menu:
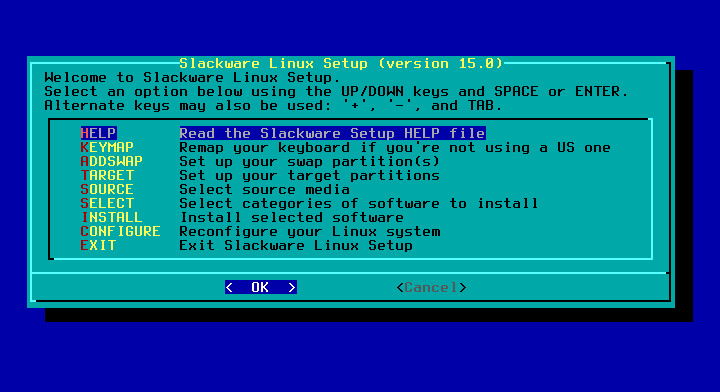
Here you may read the help before doing anything. Just remember that often a few hours or days of trial-and-error will save you some minutes of reading the documentation. I went straight to the ADDSWAP option.
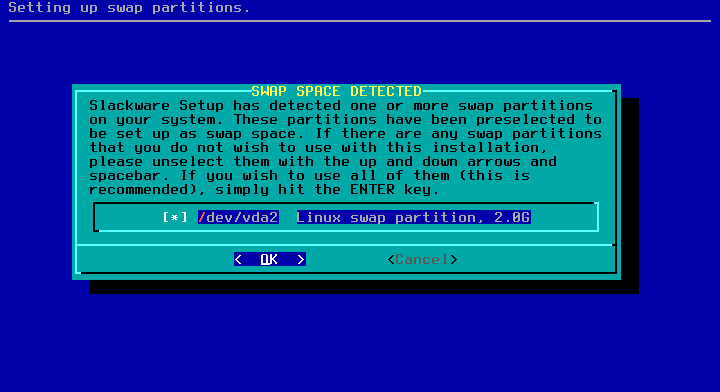
Just hit enter. There is only one swap partition. Next the installer informs what is it doing or about to do:
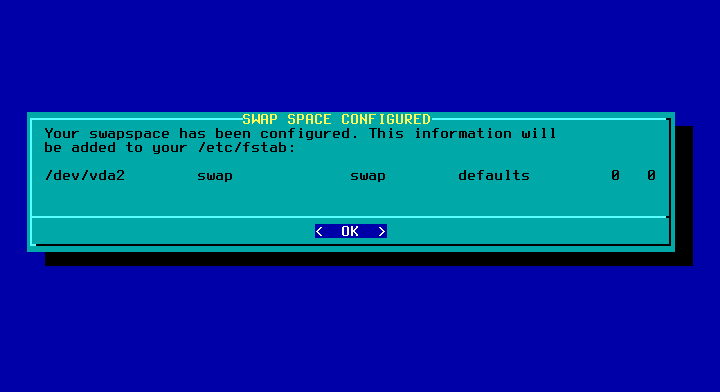
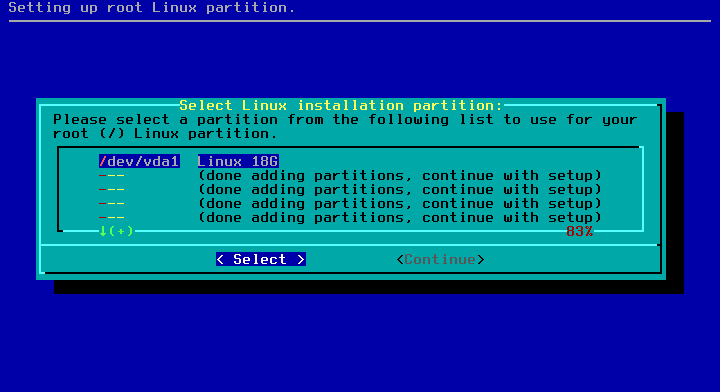
After the swap activation, the installer didn’t back to the first menu, but continued with the other steps. It showed me the available partitions to use as the system root partition:
The slow format that checks for bad blocks can be really slow, but you should choose that option if your disk aren’t trustworthy.
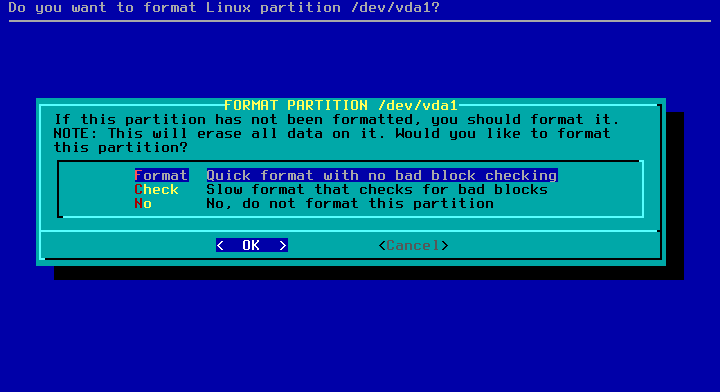
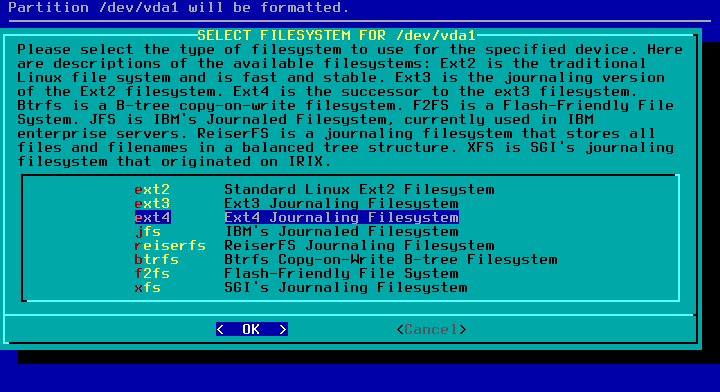
I’ve selected quick format, now choose the filesystem to use. I’ve went with the ‘traditional’ ext4.
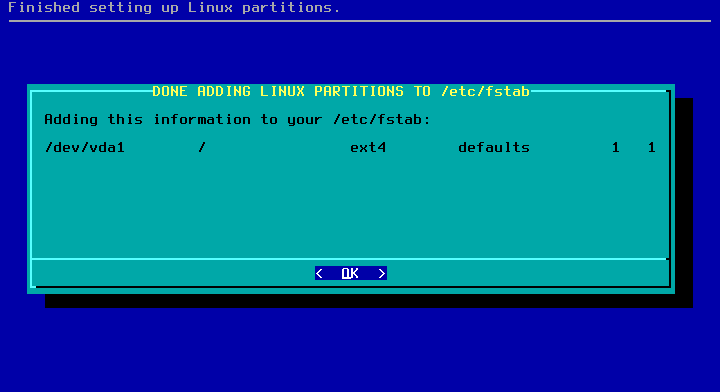
As with the swap, the installer shows the line it will add to /etc/fstab
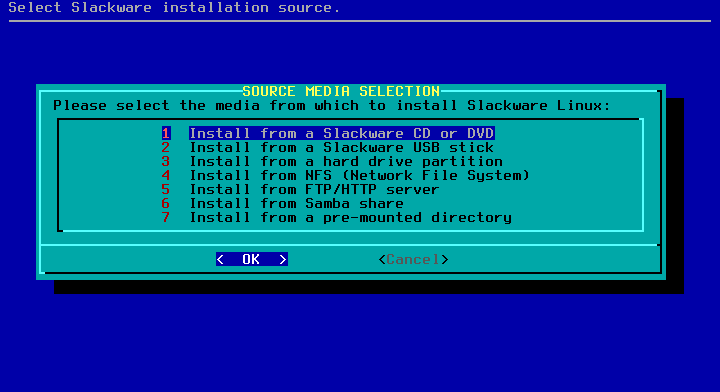
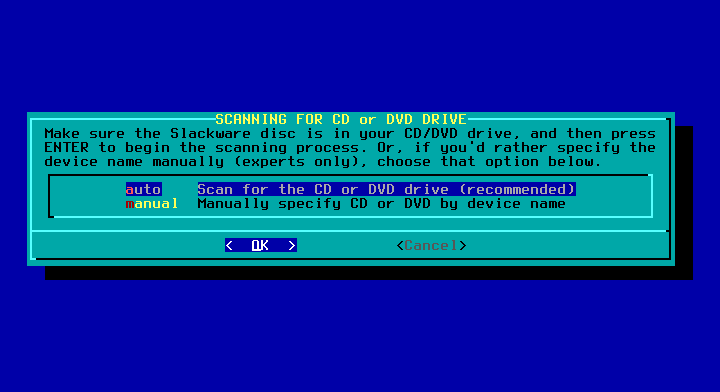
With the main partitions mounted, the next step is to choose the source from where to install. I chose the first option ’cause I have the ISO. (on a virtual machine)
Press enter on the next screen
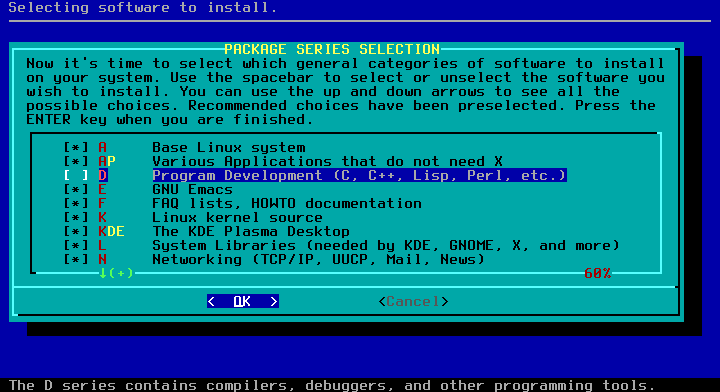
Now the installer will list some categories of software to pick. Among others, I’m going to select the KDE Desktop category.
Next to choose the categories to install, the installer let you install everything in that category or to choose individual items.
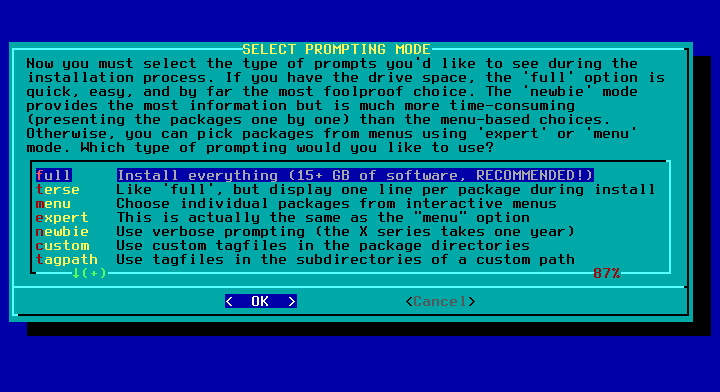
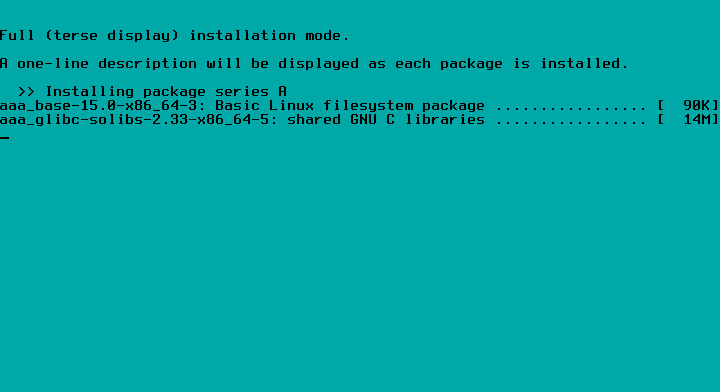
The recommended option, if you have enough disk space, is “full”. I have it. I go with “terse” to see whats going on.
Next the installer gives you the option to create an usb boot disk. I’ve skipped because I’m working with virtual machines.
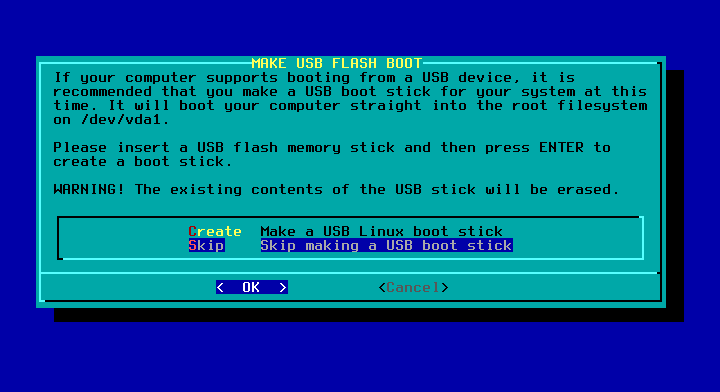
Configuring the bootloader
Grub is the default bootloader on many distros. However, this is Slackware and they still use lilo.
The automatic option works really good. So you should pick that option.
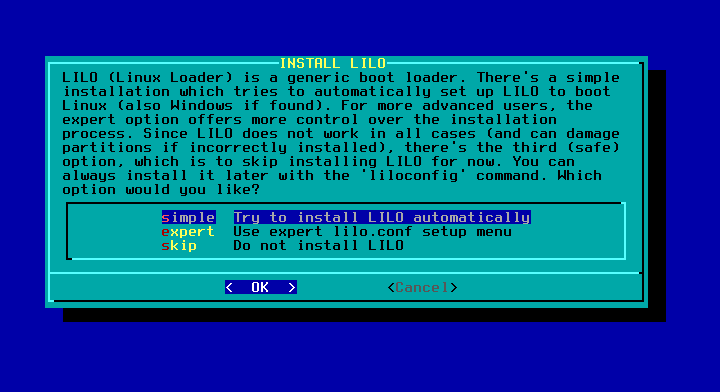
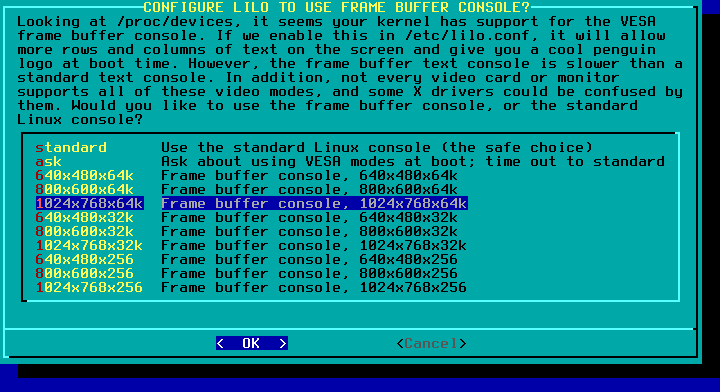
In this screen you can choose a resolution for your text console. For example, I’ve chose 1024×768, but I won’t actually use it. I mean, even when I’m working on a text console, it is something like a xterm.
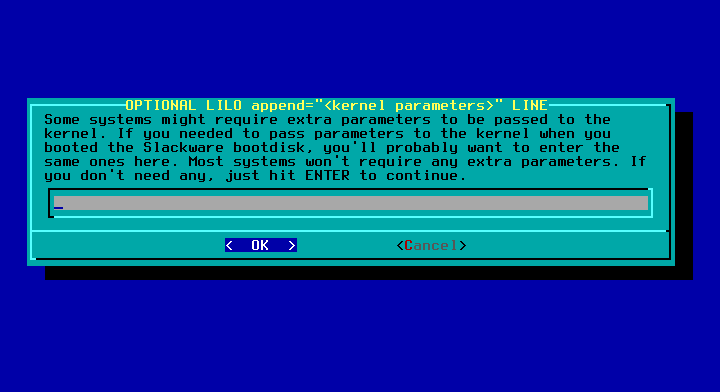
Here you should add any other extra kernel parameter. Probably you don’t need any, just hit enter in that case.
The final step in lilo bootloader configuration is to choose where to install. If you have another OS with another bootloader you want to use then choose the root partition. Else choose MBR. If you have a floppy unit, maybe slackware would run on your computer but too slow.
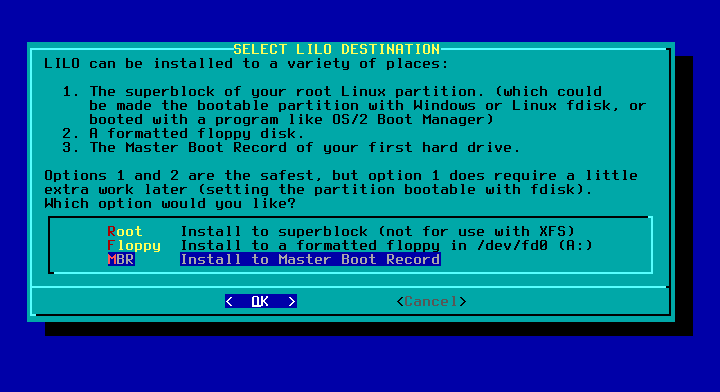
Finally, lilo get installed.
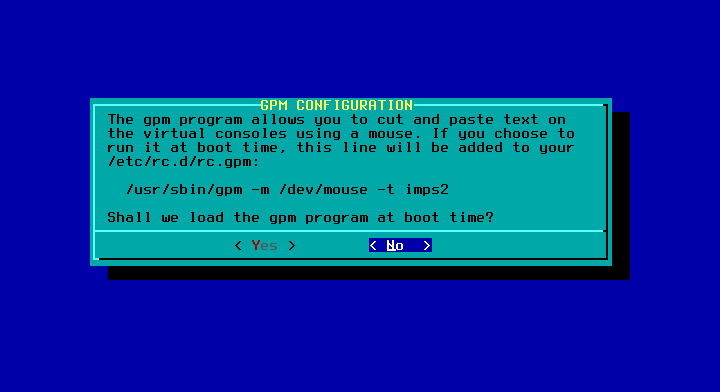
Gpm is an utility to work with the mouse in the text console. I use terminal emulators in a Xorg session. Therefore I set this question to no
Network configuration
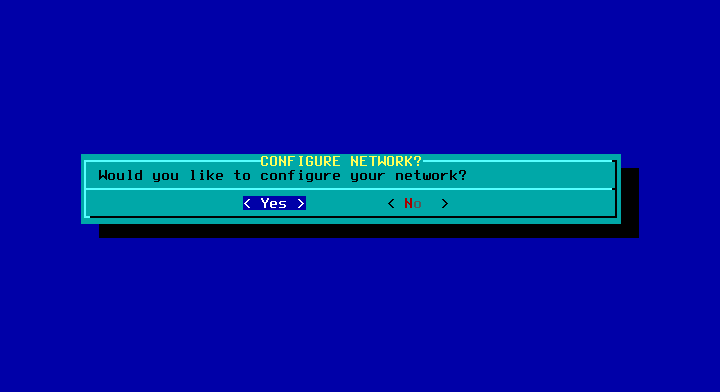
Now it’s time to configure the network. Say yes to the first question:
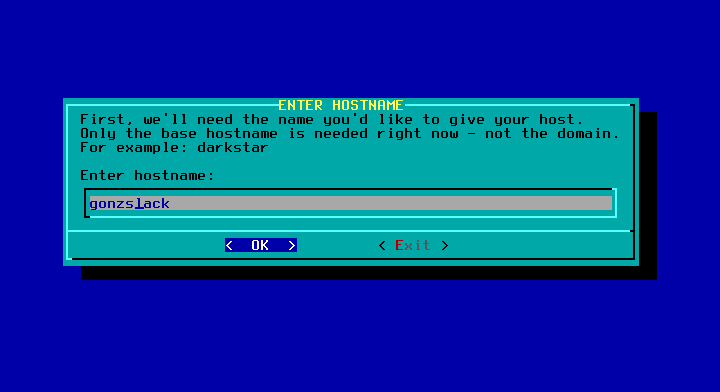
To configure the network first you need to set the host name:
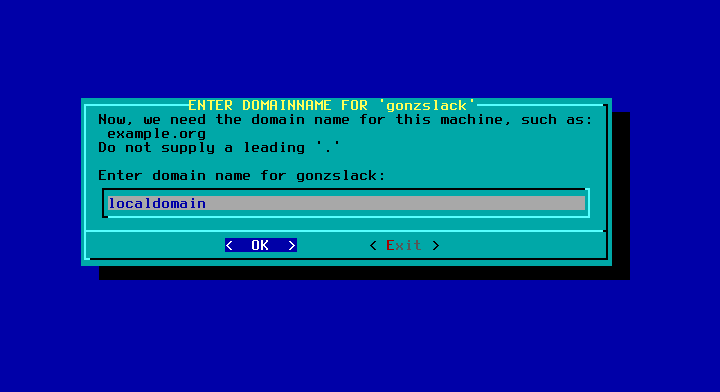
Second, you need to set the domain name. Maybe you need to ask your local network manager for the domain name. And maybe an appropriate host name.
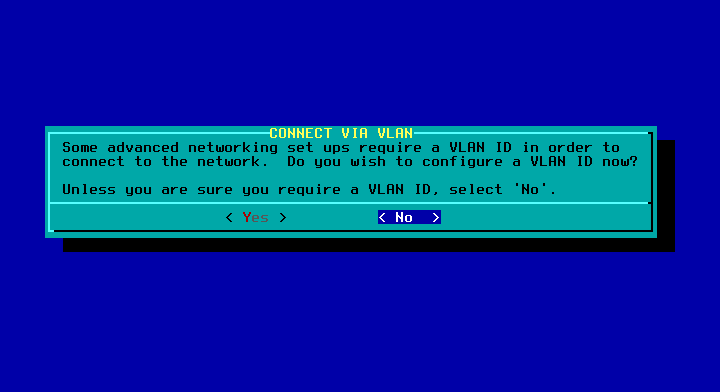
Third, if the network manager is still close, ask for the vlan ID. If isn’t close still, and you don’t know what a Vlan is, you probably don’t need it.
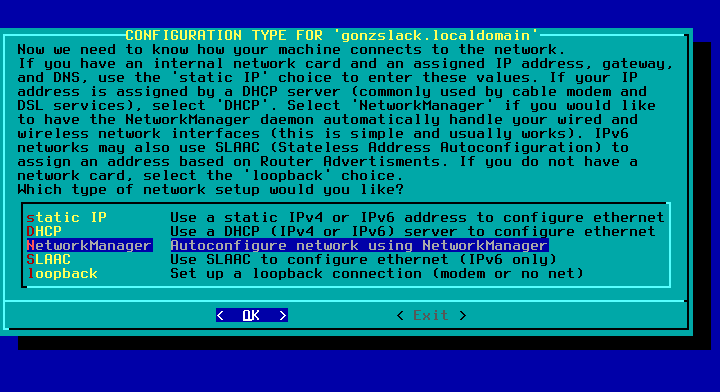
Fourth, select a configuration type. Most people should pick DHCP or NetworkManager. Fortunately the setup program gives you enough information to choose the one that suits for you.
The last screen in network configuration is a summary. I don’t know why my network card isn’t listed here.
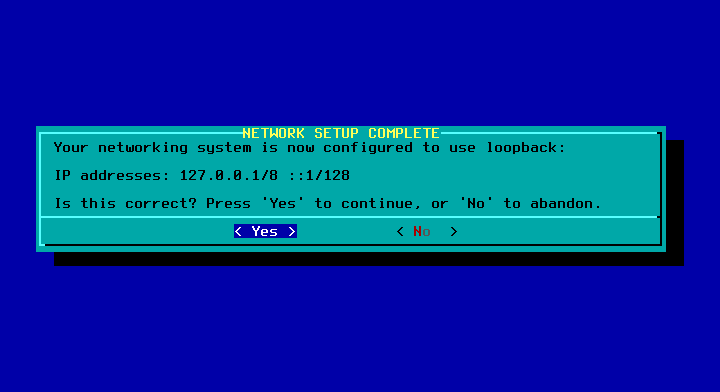
The last settings
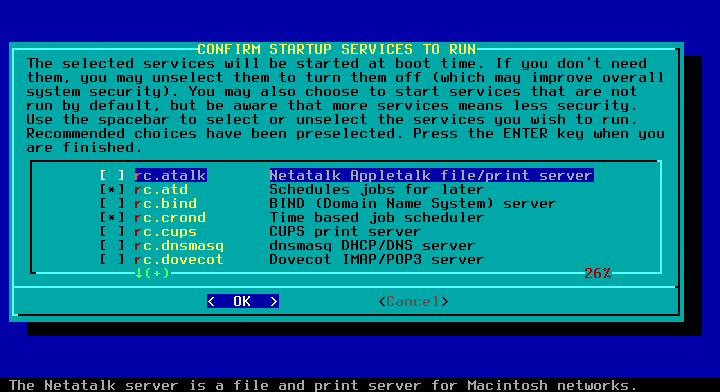
With the network configured, the next choice is which services will start at boot time. Disabling the unused ones, besides may improve security, may improve performance as there are less things consuming resources of your computer.
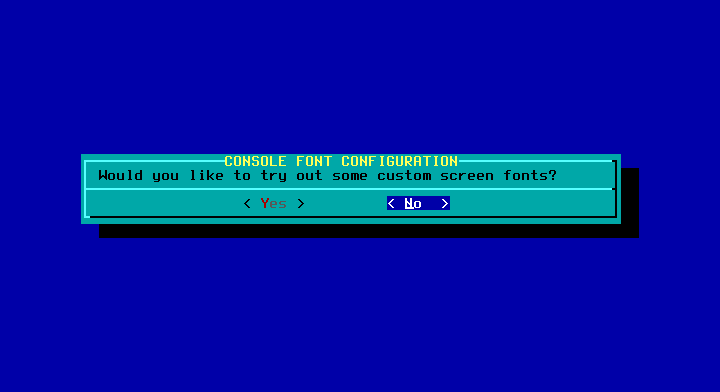
There are some cool fonts for the text console, if you like customization you should visit this option. I like customization, but I didn’t use the text console, so I skip this step.
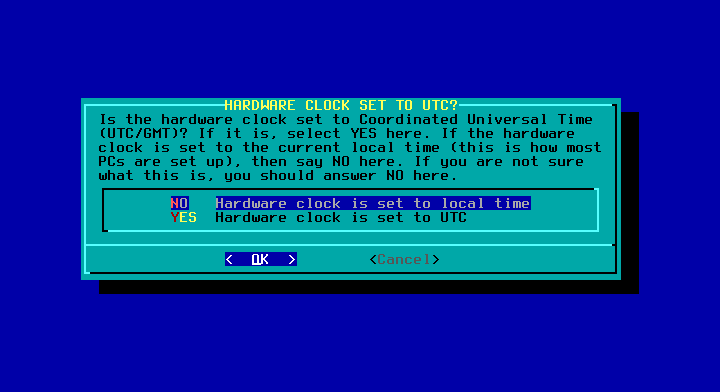
Now it’s time to set date and time. The hardware clock of this computer is seted with the local time, so I chose no here.
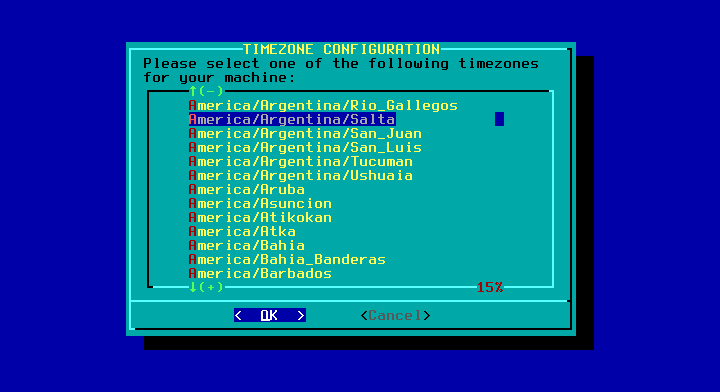
Set your timezone.
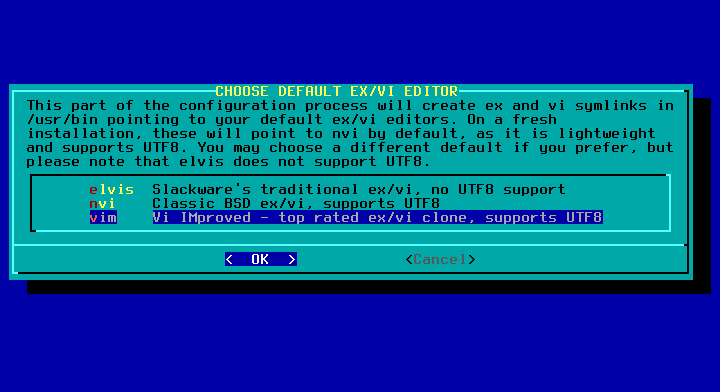
Now the instaler lets you set the VI alternative you like. I chose a random option and install nano or the text editor of mc (mcedit).
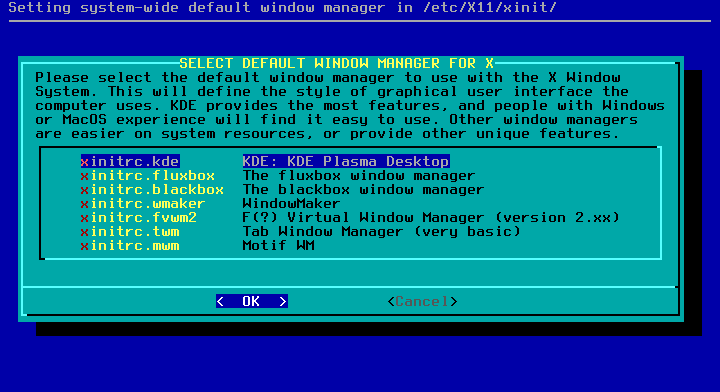
Another alternative to pick: the default window manager or desktop. KDE it is.
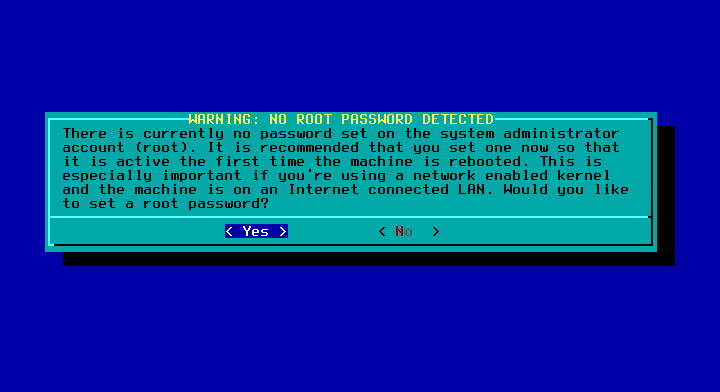
The very last step and the installation will be over: set the root password to something that is not 123456.
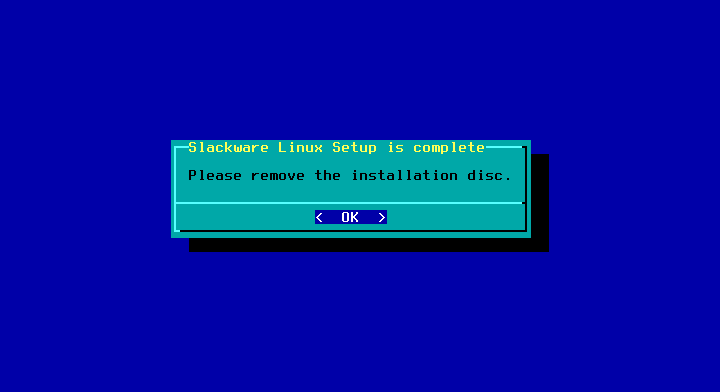
This is it. Next you will be asked to remove the installation disc and reboot.
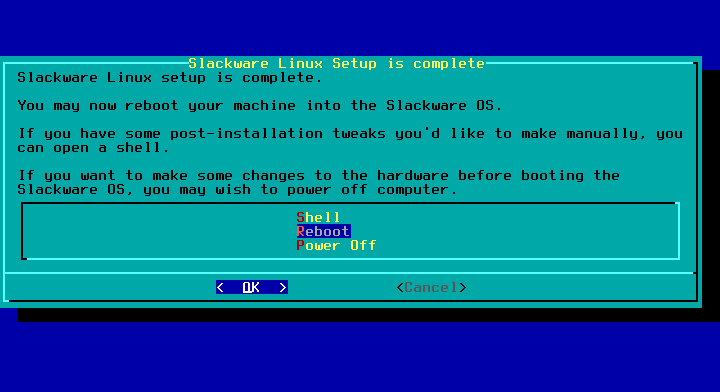
The installer will let you, if you have to, open a shell to do some tasks before reboot.
Post-install
This is what the slackware’s lilo bootloader screen looks like:
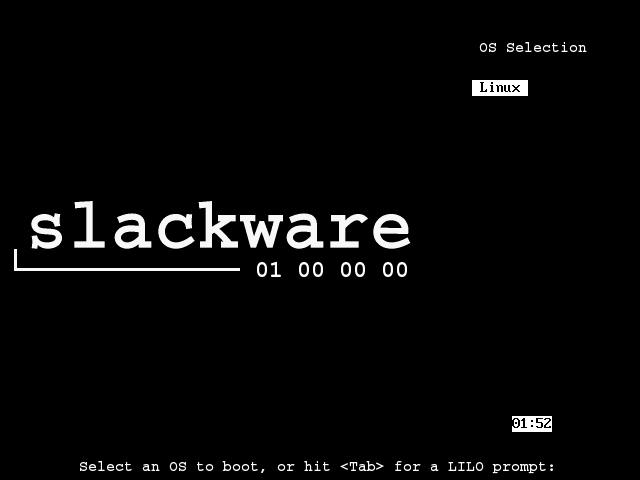
Just press enter to boot into your shiny new OS. During the install, at least two things happened:
- the installer didn’t asked me to create some non-root user
- I didn’t pay attention to the services screen, so my system boots with a text console
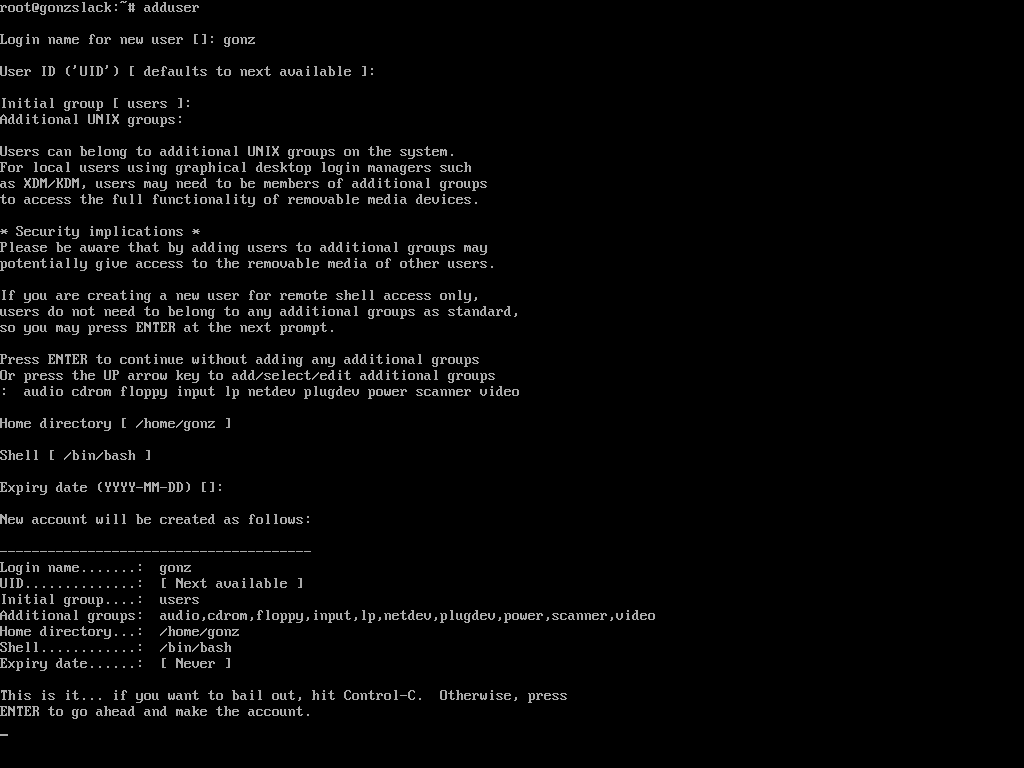
To create a regular user, just log in as root, run adduser and follow the instructions on the screen.
To enable a graphical session manager edit the file /etc/inittab look for the following lines:
# Default runlevel. (Do not set to 0 or 6)
id:3:initdefault:
And change the default runlevel to 4:
id:4:initdefault:
Now you may reboot to start in runlevel 4. But you can change the current runlevel as easy as run:
telinit 4
Then you’ll get a graphical login
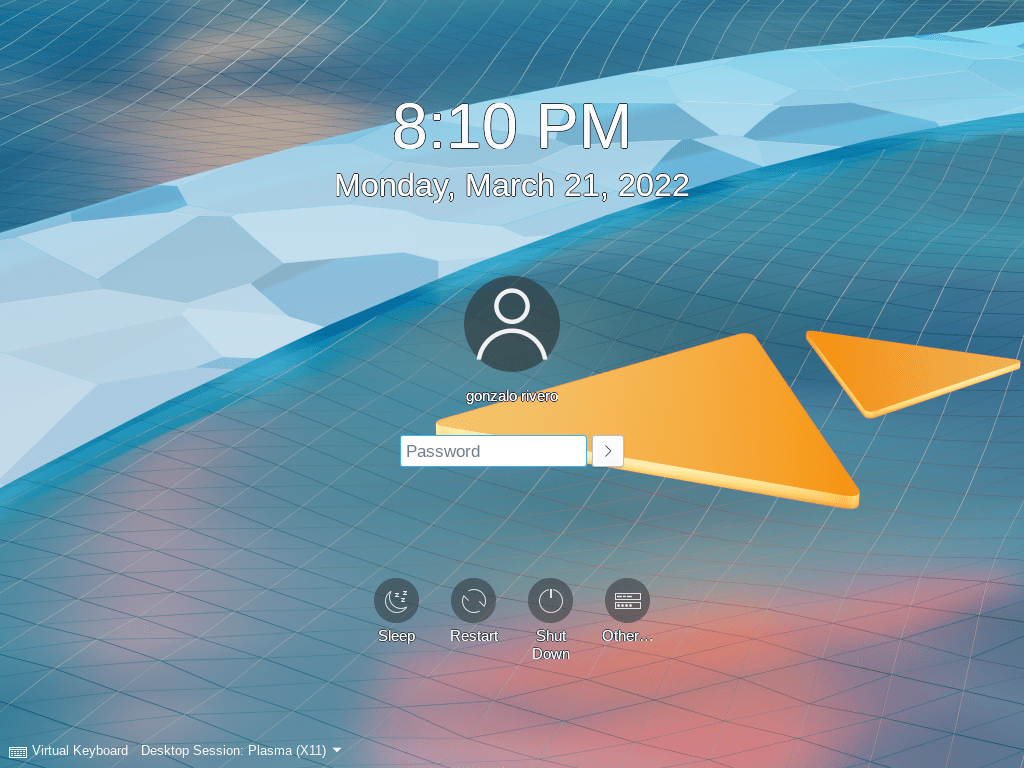
Also, a graphical login manager isn’t mandatory. You may save a few bytes of ram by running startx after you log in a text console.
Where to find help
A search engine like google or duckduckgo are good places to start. But the official book is better, heres the link: http://www.slackbook.org/


It’s important to know that after updates, if the kernel is updated you will need to update your lilo and the init system by using the mkinitrd command generator, found on their wiki in beginner’s guide.