pfSense® software is a free, open source customized distribution of FreeBSD specifically tailored for use as a firewall and router that is entirely managed via web interface. In addition to being a powerful, flexible firewalling and routing platform, it includes a long list of related features and a package system allowing further expandability without adding bloat and potential security vulnerabilities to the base distribution. So, you will learn how to exporting NetFlow with Softflowd on PfSense.
The pfSense project is hosted and developed by Rubicon Communications, LLC (Netgate).
LICENSE
pfSense is open source and distributed under the Apache 2.0 license.
Installing softflowd
softflowd is a NetFlow collector that can be deployed on pfSense® software
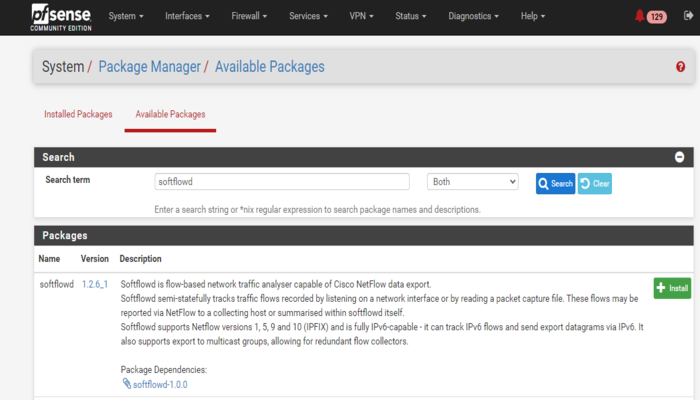
There is a package available under System > Packages on the Available Packages tab. Find it in the list, click
at the end of its row, and confirm the installation.
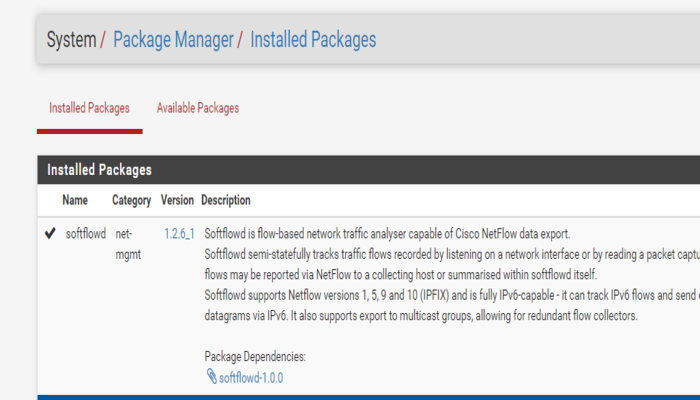
To check if the installation is OK, go to Installed Packages. The screen should be similar to the picture below:
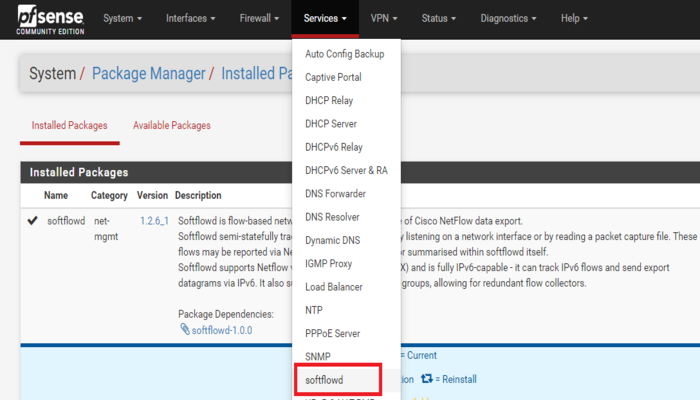
To access NetFlow Configuration go to Services/Softflowd.
Host – Enter the IP address of the computer you want to receive the NetFlow traffic data. So, this is the location where you will want to run the NetFlow analyzer client from.
Port –This setting controls the destination UDP port for the NetFlow datagrams. Most clients use port 2205 by default so in most cases this is what you should enter.
Source Hostname/IP –This setting controls which interface the pfSense system will use to send the NetFlow packets from. Usually you’ll want to enter the IP address of the LAN interface of the pfSense box. You can find the IP in the status/interfaces menu.
pfSense Rule Direction Restriction – Leave this set to any to capture traffic in both directions. If desired you can capture a single direction of traffic.
NetFlow Version – Most clients should support version 9. So, if you’re NetFlow analyzer only supports an older version you can configure it with this setting.
So, once you save the settings, pfflow will begin sending NetFlow packets to the destination IP address specified in the settings.
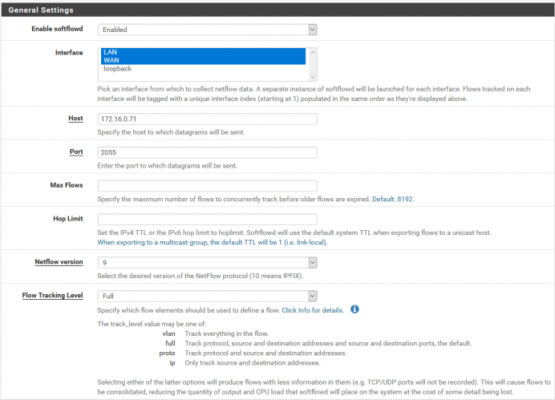
After the basic NetFlow configurations, we have Timeout options. Timeout options are usually left unconfigured, however if you want to set some timeouts or to group flows into NetFlow packet here is the place to do it:
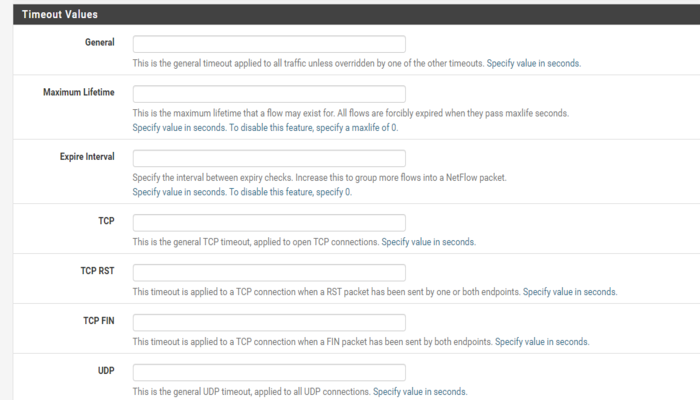
EventLogControlling softflowd from the Command Line
To view statistics about the running softflowd process, run the following command, replacing em0 with the actual network interface to query:
: softflowctl -c /var/run/softflowd.em0.ctl statisticsSo, to expire all flows and force an update to the server. Run the following command, replacing em0 with the actual network interface to control:
: softflowctl -c /var/run/softflowd.em0.ctl expire-all


