Hello, friends. Although the database industry is dominated on a large scale by solutions such as MySQL, PostgreSQL, SQL Server or Oracle, there are also alternatives for different projects. One of these solutions is SQLite. So, in this post, you will learn how to install SQLite on Debian / Ubuntu and take the first steps with this program.
Introducing to SQLite
SQLite is a fairly small and generally portable relational database manager. This makes it ideal for many mobile projects or those applications where we can easily move the database around.
SQLite’s code is in the public domain and free for any use, commercial or private. It is currently used in many applications, including some developed as high-level projects.
Unlike client-server database management systems (MySQL, PostgreSQL…), SQLite is not an independent process with which the main program communicates.
Although many people underestimate SQLite’s capabilities, it is powerful, versatile, and fast. Some of its features are.
- Allows databases up to 2 Terabytes in size.
- Open-Source.
- No required server usage.
- No extra configuration required to start working.
So, in many occasions it is convenient to use SQLite instead of MariaDB or PostgreSQL.
Let’s install it on Debian / Ubuntu
Install SQLite on Debian / Ubuntu
On both Linux distributions, SQLite is present in the official repositories.
To check it, you can run
sudo apt update
apt policy sqlite3
This indicates that the easiest way to install it is by running
sudo apt install sqlite3For many developers and sysadmin this may be enough, but for others it may not be enough because they need a newer version. In this case, a possible solution is to manually compile the SQLite source code, which is easy to do.
Getting the latest version of SQLite on Debian / Ubuntu
First install the basic compiler packages
sudo apt install build-essential
Create a folder to host the SQLite source code. Then access it.
mkdir sqlite && cd sqliteInside it, you can download, thanks to the wget command, the SQLite source code. You can check in the download section which is the latest version or get the link.
wget https://www.sqlite.org/2021/sqlite-autoconf-3370000.tar.gz
Decompress the file
tar xvfz sqlite-autoconf-3370000.tar.gzAccess the folder that has been generated after decompression
cd sqlite-autoconf-3370000/And proceed to configure the code
./configureWhen finished, compile SQLite.
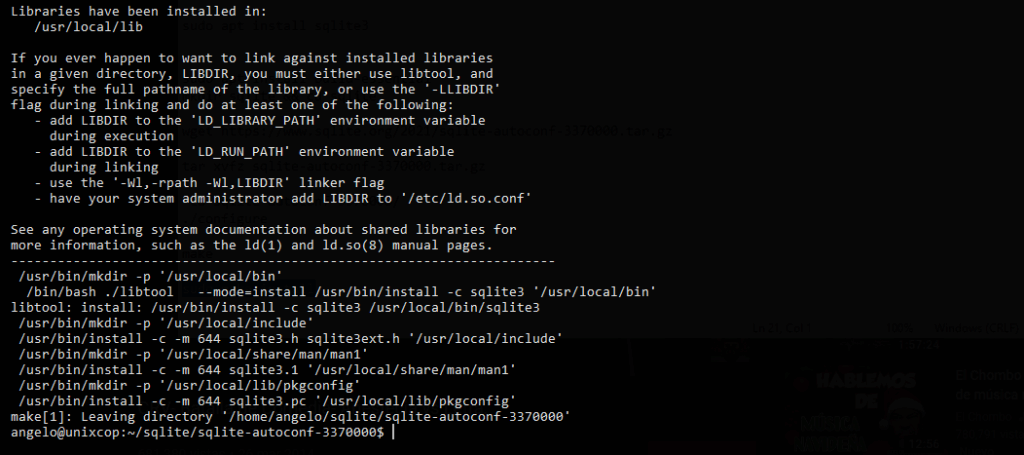
makeFinally, install SQLite on Debian / Ubuntu by running the following command
sudo make install
It is a good idea to check the installed version to know if the whole process was successful.
sqlite3 --versionSample Output
3.37.0 2021-11-27 14:13:22 bd41822c7424d393a30e92ff6cb254d25c26769889c1499a18a0b9339f5d6c8aFirst steps with SQLite
The way of working with SQLite is somewhat different from with MySQL or PostgreSQL, since we do not have to connect to anything.
The only thing we have to do is to call the sqlite3 command and specify a database to open. In case it doesn’t exist, then it will create.
sqlite3 example.db
Within it, you can create tables and then data. For example,
CREATE TABLE sample(name String, lastname String);And then
INSERT INTO sample VALUES("Richard", "Sax"), ("Joe", "Perl");Finally, you can consult them.
select * from sample;So, enjoy it.
Conclusion
In this post, you have learned how to install SQLite on Debian / Ubuntu and take your first steps.


