Hello, friends. We recently told you about Navidrome, and it is a marvel that allows us to deploy our personal streaming platform similar to Spotify. Navidrome has such good support for Linux that we can even install it via Docker. That’s the aim of our post, to help you install Navidrome using Docker.
Install Docker on Linux
The first thing we have to do is install Docker on our system. For this, we have a series of tutorials that can help you.
Today, I will be using Debian 11 as my system, so you can check our post for installing Docker on Debian 11.
How to install Docker on Debian 11
After Docker is installed, you have to install the docker-compose package by running the following command
sudo apt install docker-composeThis will suffice.
Install Navidrome using Docker
First you start, create the folders where you have to save the data.
mkdir -p ~/navidrome/data && mkdir ~/navidrome/musicIt can be anywhere you want, but remember that it has to have proper permissions.
Then, create a docker-compose file in your home directory.
nano docker-compose.ymlAnd add the following content
version: "3"
services:
  navidrome:
    image: deluan/navidrome:latest
    ports:
      - "4533:4533"
    restart: unless-stopped
    environment:
      ND_SCANSCHEDULE: 1h
      ND_LOGLEVEL: info
      ND_SESSIONTIMEOUT: 24h
    volumes:
      - "~/navidrome/data:/data"
      - "~/navidrome/music:/music:ro"
For docker, you will use the image that contains the latest version of Navidrome. In ports you have to define the port on your computer (on the left) where Navidrome will work. Inside the Environment section is where you can configure the application to your liking thanks to the environment variables. In this case, I have chosen a few: ND_SCANSCHEDULE sets the frequency with which a scheduled scan of the library will be done; ND_LOGLEVEL the level of the generated logs; ND_SESSIONTIMEOUT the duration of the session.
At this point, it is worth noting that the great Navidrome documentation tells us that there are many more variables that we can use to customize our instance to the maximum.
Next comes the volume section, which contains the folders we have created for data persistence.
Save your changes and close the editor.
To start the process, you have to run this command.
sudo docker-compose up -d
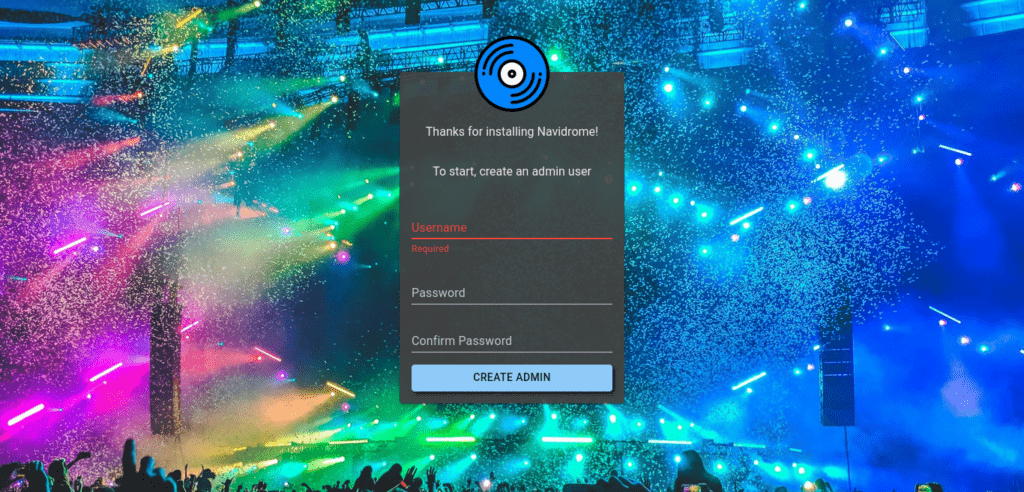
When the process is finished, you have to open a web browser and go to http://your-server:4533 or another port you have exposed.
Create the admin user

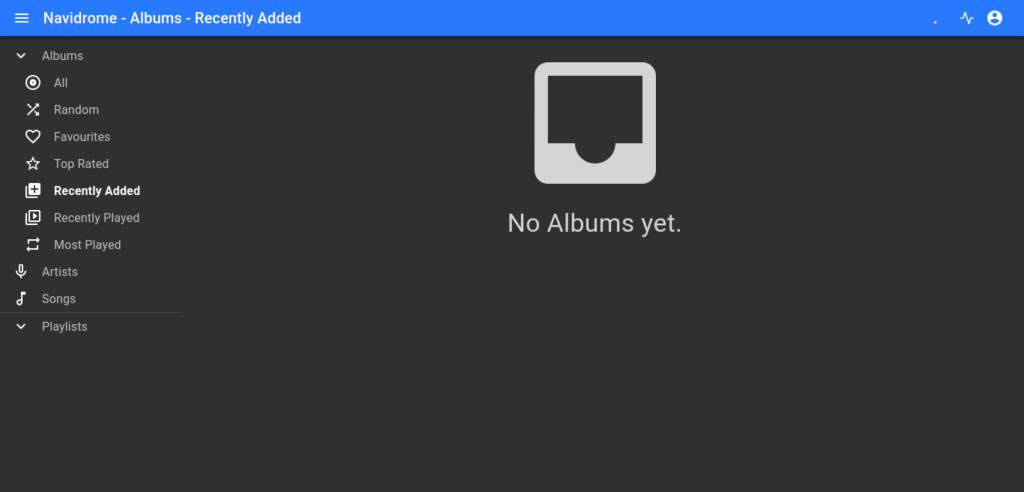
And then you will see the main Navidrome screen.

Conclusion
In this post, you learned how to install Navidrome using Docker. It is basic and thanks to its documentation we should not have much trouble configuring it to our needs.


You are a genius!!! I have never seen someone to deliver a solution sooo fast and efective