Hello, friends. In this post, you will learn how to install Icecast on Ubuntu 20.04. The procedure is simple and thanks to our tutorial you will have no problems.
What is Icecast?
Icecast is a server that handles audio broadcasting over the Internet. On Icecast listeners can access the streaming audio through any live MP3 player. It is widely used by radio stations for their internet broadcasts.
Currently, Icecast supports Ogg Vorbis, Ogg Speex, Ogg FLAC, Ogg Theora, AAC. These formats are some of the most popular we have on the Internet, so they are compatible with almost all current players.
So let’s get started.
Install Icecast on Ubuntu 20.04
Before you start doing anything, update the whole system:
sudo apt update && sudo apt upgradeThen, install the official ICecast package that is included in the official repositories of the distribution:
sudo apt install icecast
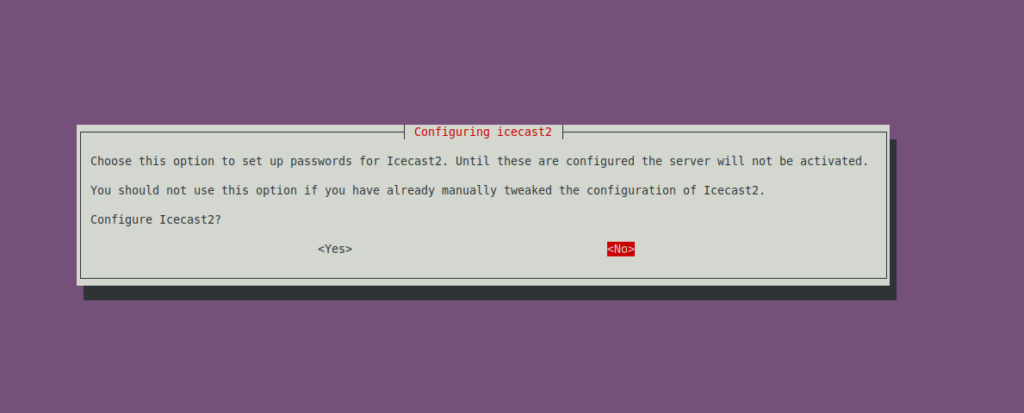
During the installation process, you will be asked whether you want to configure Icecast immediately or later. Do it at once.

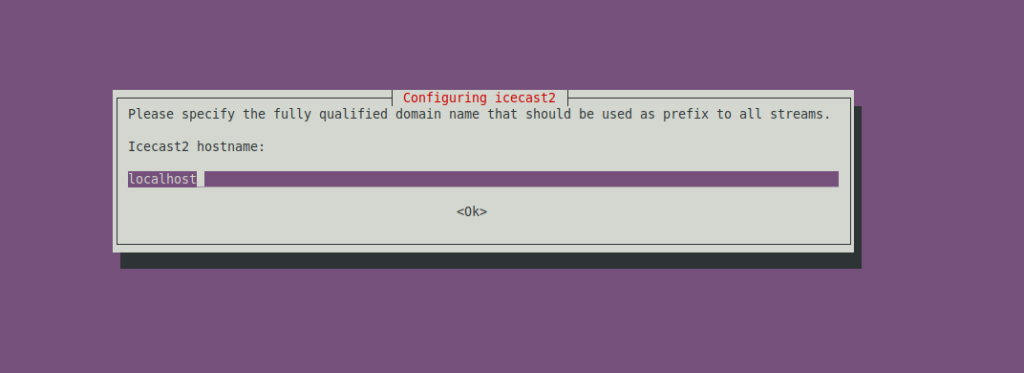
First, set the hostname:

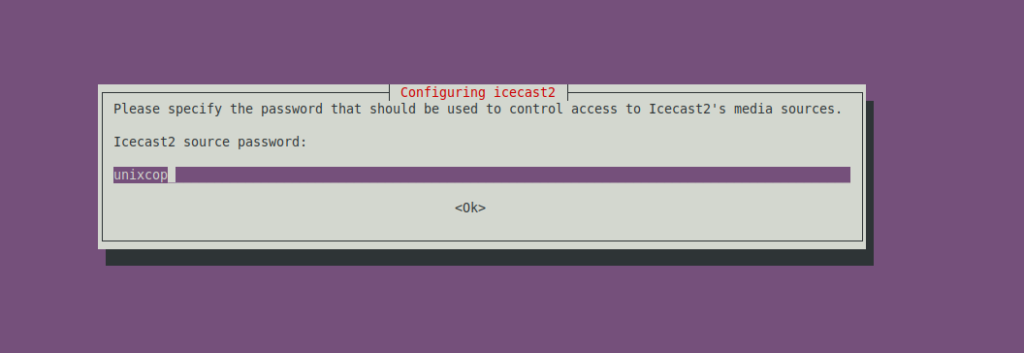
Next, you will see a series of screens where you will have to define the Icecast passwords. You can choose the one you want.

Thereafter, you will be able to use it.
Then, you can check the service operation:
sudo systemctl status icecast2
When it is working properly, we can continue with the configuration.
Configuring Icecast in Ubuntu 20.04
The configuration of Icecast is simple because it all lies in a very explicit configuration file.
First, back up the configuration file before editing it:
sudo cp /etc/icecast2/icecast.xml /etc/icecast2/icecast.xml.bak.Now you can edit it without problems:
sudo nano /etc/icecast2/icecast.xmlThere you can change the port
<listen-socket>
   <port>8000</port>
   <!-- <bind-address>127.0.0.1</bind-address> -->
   <!-- <shoutcast-mount>/stream</shoutcast-mount> --> -->
 </listen-socket>
Or change the Icecast source password.
  <authentication>
   <!-- Sources log in with username 'source' -->
   <source-password>12345678</source-password>
   <!-- Relays log in with username 'relay' -->
   <relay-password>12345</relay-password>

   <!-- Admin logs in with the username given below -->
   <admin-user>admin</admin-user>
   <admin-password>admin123</admin-password>
 </authentication>
And restart the service:
sudo systemctl restart icecast2Now you have to configure Nginx as reverse proxy for access via web browser.
First, install it:
sudo apt install nginxThen, create a new configuration file:
sudo nano /etc/nginx/conf.d/icecast.confAdd the following content:
  server {
  listen 80;
  listen [::]:80;
  server_name radio.unixcop.com;

  proxy_set_header Host $host;
  proxy_set_header X-Real-IP $remote_addr;
  proxy_set_header X-Forwarded-For $proxy_add_x_forwarded_for;
  proxy_set_header X-Forwarded-Host $host;
  proxy_set_header X-Forwarded-Server $host;

 location / {
  proxy_set_header Accept-Encoding "";
  proxy_pass http://127.0.0.1:8000/;
  sub_filter_types application/xspf+xml audio/x-mpegurl audio/x-vclt text/css text/html;
  sub_filter ':8000/' '/';
  sub_filter '@localhost' '@radio.unixcop.com';
  sub_filter 'localhost' $host;
  sub_filter 'Mount Point ' $host;
 }
 }
Of course, replace server_name with your domain.
Save the changes and close the editor.
RESTART Nginx.
sudo apt install nginxNow you can access your domain from the web browser to make sure Icecast is running.

All you have left is to source it from an application like Mixx.
Conclusion
That’s all for today. Today, you know how to have an Icecast server in Ubuntu 20.04 in a simple way.


