Atom is an open-source, cross-platform code editor developed by GitHub. It has a built-in package manager, embedded Git control, smart autocompletion, syntax highlighting, and multiple panes.
In this post we are going to see the two ways of installing Atom on Ubuntu 20.04. Atom can be installed as a snap package via the Snapcraft store or as a deb package from the Atom repositories
Method 1: Installing Atom as a Snap Package
To install the Atom snap, open your terminal (Ctrl+Alt+T) and run the following command:
sudo snap install atom --classic
That’s it. Atom has been installed on your Ubuntu desktop, and you can start using it.
Method 2: Installing Atom with apt
Atom is available from the Packagecloud Apt repositories. To install it, follow the steps below:
Step 1: Update the packages list and install the dependencies using following commnad
sudo apt update
sudo apt install software-properties-common apt-transport-https wget
Step 2: Import the repository GPG key and enable the Apt repositorywget -q https://packagecloud.io/AtomEditor/atom/gpgkey -O- | sudo apt-key add -
sudo add-apt-repository "deb [arch=amd64] https://packagecloud.io/AtomEditor/atom/any/ any main"
Step 3: Once the repository is enabled, install the latest version of Atom using the following command:sudo apt install atom
Starting Atom
In the Activities search bar type “Atom” and click on the icon to launch the application.
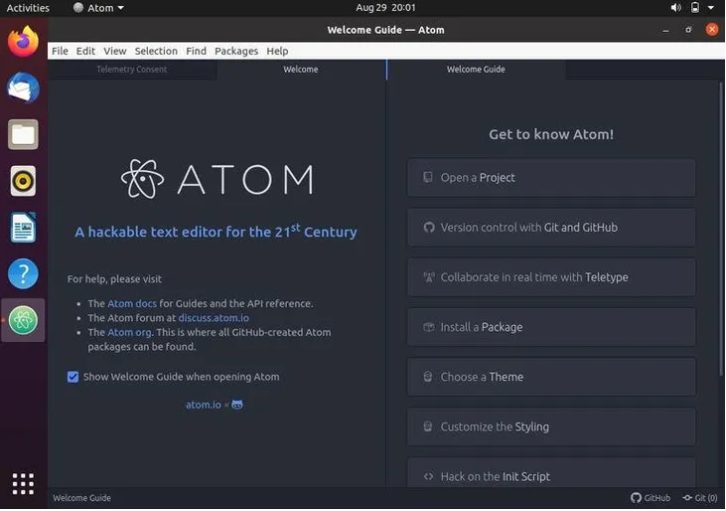
When you start the Atom editor for the first time, a window like the following should appear:

Thanks for reading!! if you have any question ask in a comment.


