Hello, friends. Many times we want to experience how good is our processor when the workload is very high. Occasionally, we can’t do it but thanks to a tool it is easy to do it. Today, you will learn how to increase load with stress command on Linux.
Introduction—Why do it?
One of the main reasons is to test how our processor responds in difficult situations. But also to check that our hardware is optimal.
An example of this is that many times programs do not take full advantage of all the threads of the processor. The first thing you might think is that it is the system’s fault. Well, thanks to this command, we can rule out any unfavorable scenario.
So let’s go for it.
Install stress on Linux
stress is a Linux command that allows us to send quite high workloads to our CPUs. The purpose of this? Well, to test the performance of our processor.
It is a very light tool that although it is not installed by default in many distributions, it is true that it is available from the official repositories of many of them.
The first thing you have to do is to install it on your system. To achieve this, open a terminal and, according to the system, choose the command.
#For Debian, Ubuntu, Linux Mint and derivates
sudo apt install stress

#For RHEL, Fedora, CentOS, Rocky Linux and Alma Linux
sudo dnf install stress

## For Open SUSE
sudo zypper in stress
Once it is installed, you can continue the process.
How to increase load with stress command on Linux
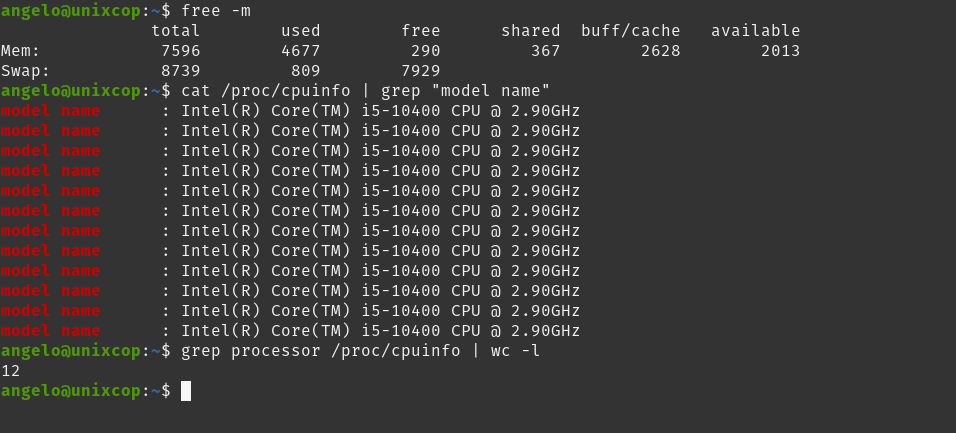
Before you start using it, it is a good idea to know your computer’s resources. If you already know them, then there is no problem, but in case you have doubts, you can run.
free -mFor the memory.
For the model and the number of cores
cat /proc/cpuinfo | grep "model name" grep processor /proc/cpuinfo | grep "model name" grep processor /proc/cpuinfo
grep processor /proc/cpuinfo | wc -l
Sample output

As you can see, it is a basic computer that will help us with the task.
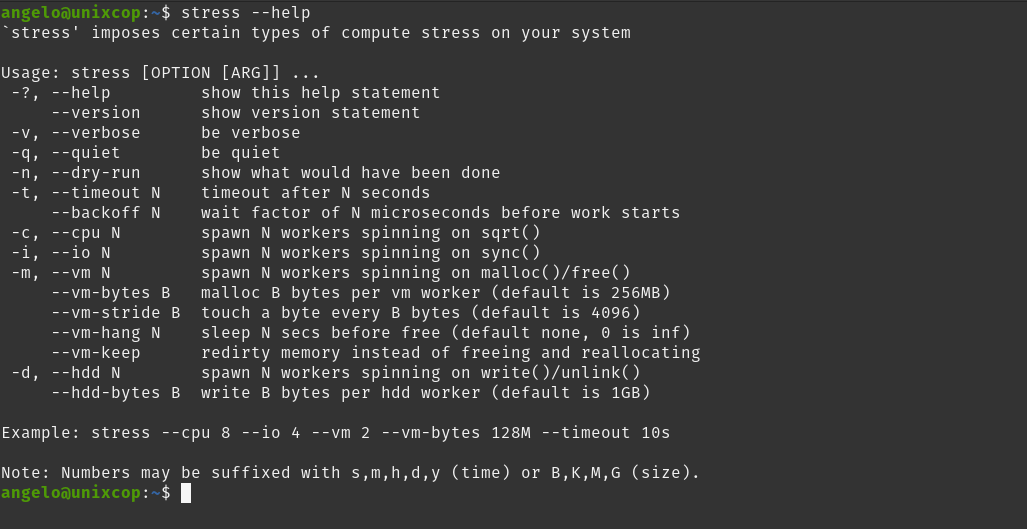
Now that you know the limits of the processor, you can use the stress helper for a better understanding of the tool.
stress --help
So let’s go with some practical examples of how to use it.
Some examples to use stress on Linux
The first thing will be to send loads to several processor cores. For this, we must know how many we have available. Also remember that it is not advisable to load them all because the system may suffer.
stress -c NThe -c or --cpu option indicates that it will handle the CPU cores and N is the amount of them. For example, to load only two cores.
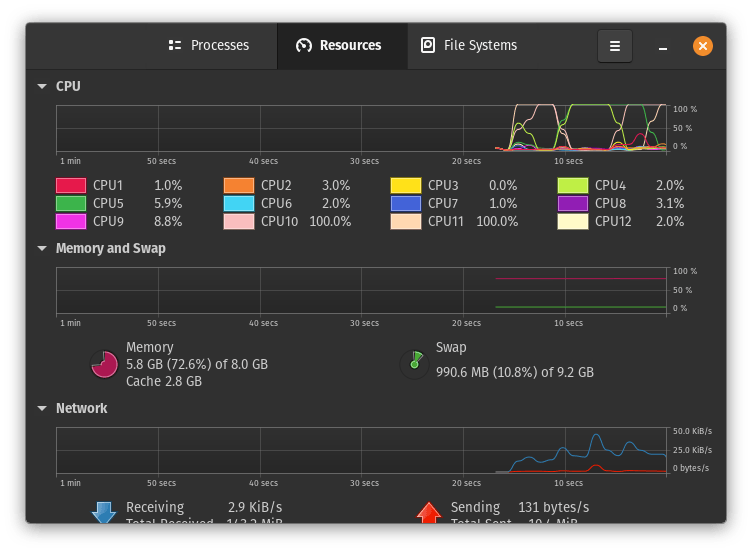
stress -c 2To check that everything works, open a system monitor, either graphical or terminal, and you will notice that 2 of those cores will have a high load.

To end the test, you can press CTRL + C.
If you want to set a time for the test to make the process more automated, then the correct option is -t followed by a value in seconds
stress -c -t 5In this case, the test will last only 5 seconds and then terminate.
If instead you want the stress test to be virtual memory oriented, then you can use the -v option
stress -v NNow, N is the number of processes in memory.
Or the disk load. Excellent to know how our CPU behaves under massive read and write conditions.
stress -i NIn this case, we specify how many input and output processes are specified with N.
Finally, it is good to say that these options can be combined into an interesting result that you can use in scripts or configurations.
Conclusion
Stress is a simple tool to thoroughly test your computer’s resources. Specifically, those related to the processor.


