In this guide, we will show you how to install ZesleCP on Ubuntu systems.
Zesle is a graphical web-based web hosting control panel designed to make administration of websites easier. Zesle is often called DA for short. It is a lightweight and fully-featured Web Hosting Control Panel.
Zesle runs on any system with at least the following specifications: Processor: 500 MHz Memory: 1 GB (2 GB is preferred), with at least 2 GB of swap memory HDD Space: minimal 2 GB free space (after the Linux install)
Install ZesleCP on Ubuntu
Just follow the steps below to get start with the installation:
- Download and install ZesleCP on Ubuntu using the command:
curl -o latest -L http://release.zeslecp.com/latest && sh latest- The Zesle Installer will be shown as below:

- Once the installation is complete, you will get the username root and a temporary password as shown below:
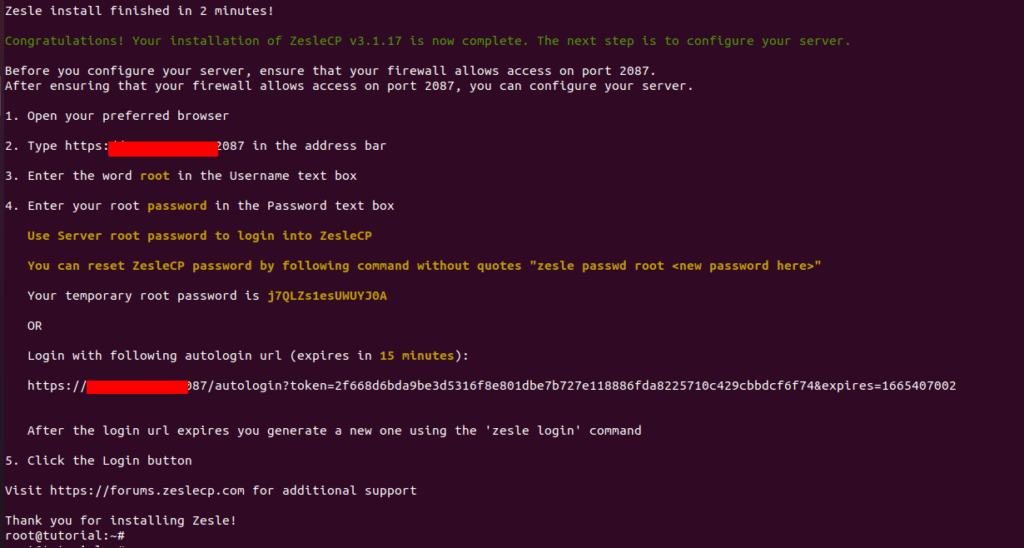
- You can set a new password by running the command below:
zesle passwd root <new password>Access and Use ZesleCP Control Panel
- Firstly, If you have a firewall, allow the port through it via the command below:
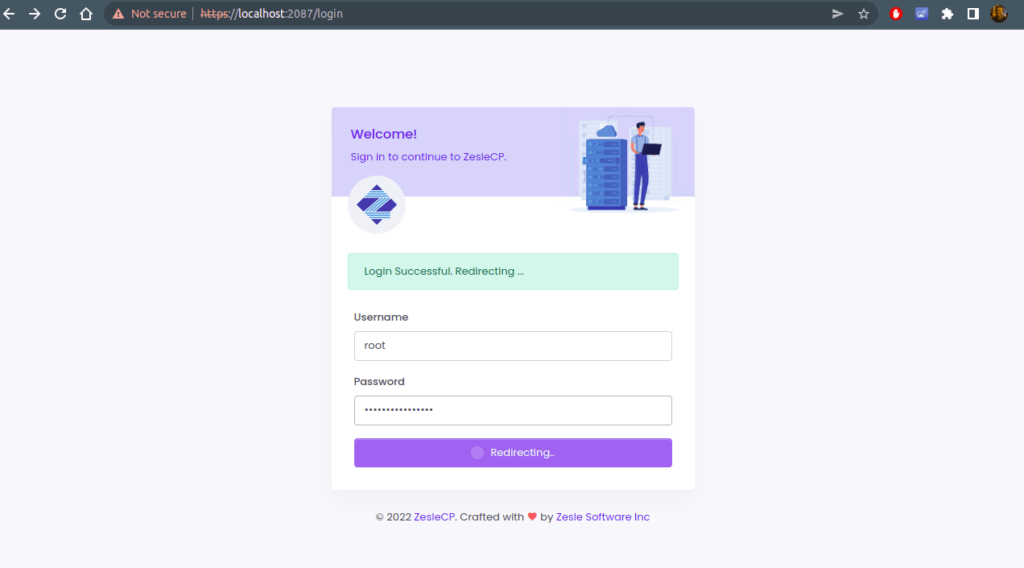
ufw allow 2087- Now access ZesleCP using the URL https://server_IP:2087
Then Login using the provided credentials of root.
- You will be required to provide the Licence purchased.
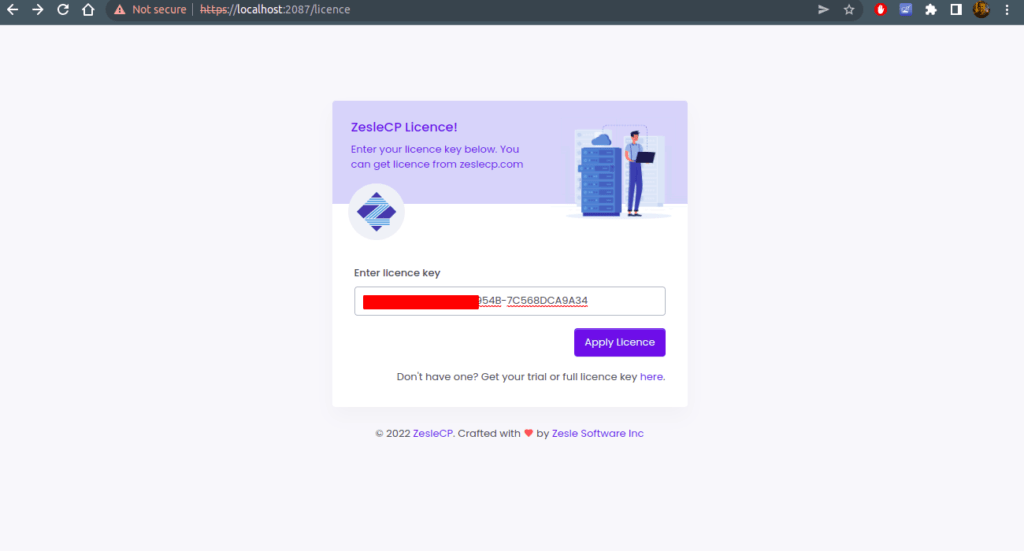
- If you don’t have a Licence, you can register a new account on Zeslecp or login if you have a Zesle account.
- After account creation and verifying, go to “My profile” then select “My Licences” and create a new one as shown below:

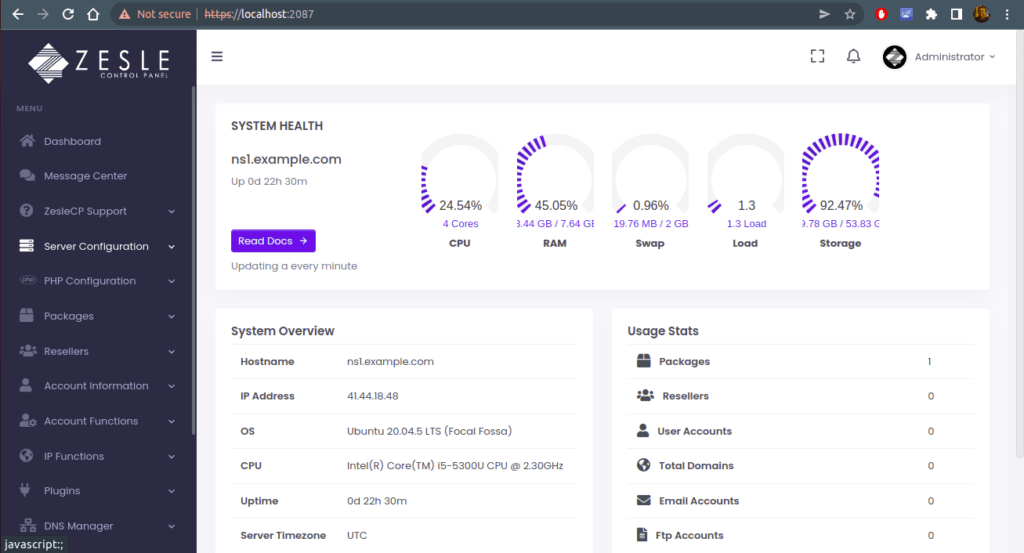
- Select your desired PHP version from here.
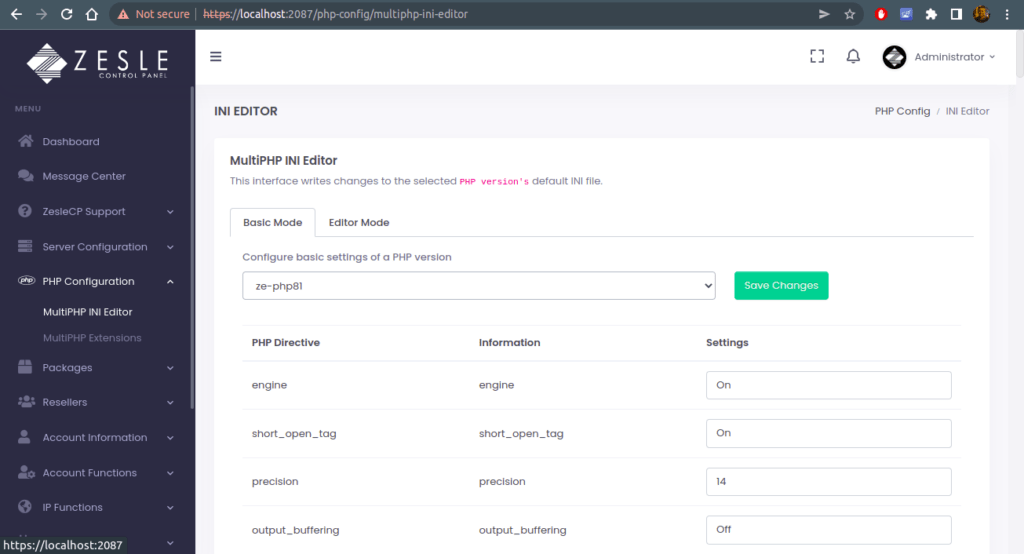
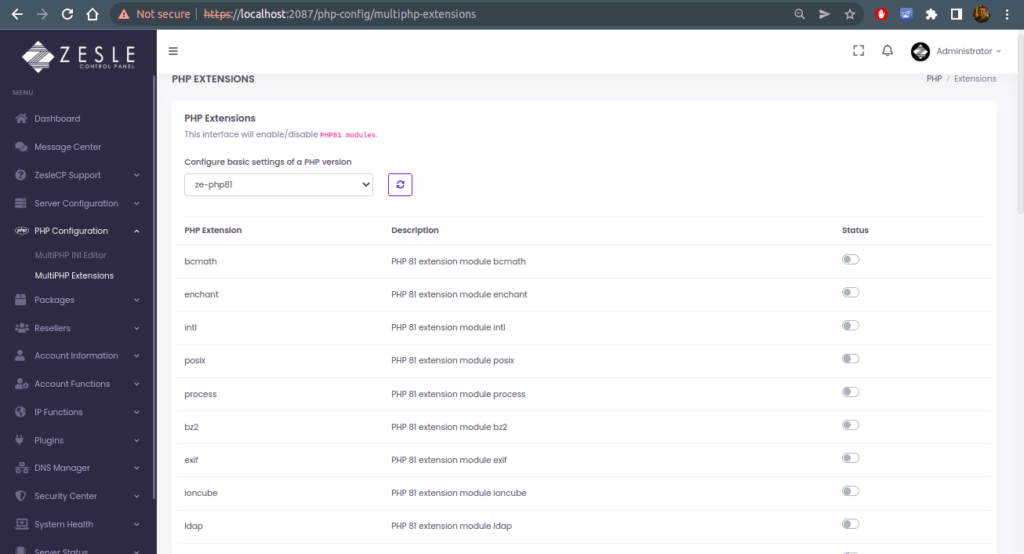
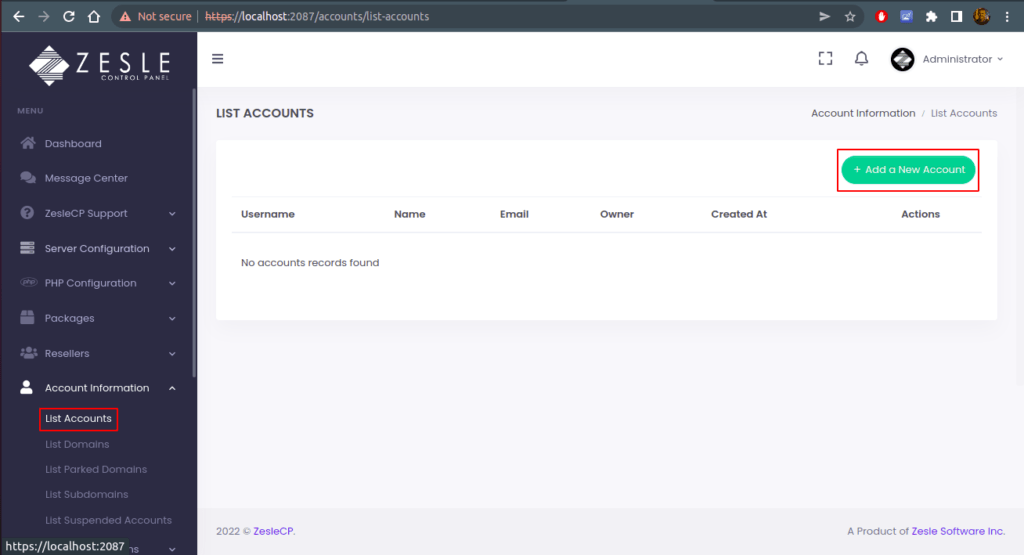
- You can create a new account by navigating to Account Information > List Accounts > Create New Account
Conclusion
That’s it
Thanks


