Introduction
Spotify is one of the most popular audio music streaming platforms in the world like Apple music and many more. From where you can listen to tons of songs and music. The Spotify team has worked really hard to make it the best music platform by adding the oldest music libraries to the latest song playlists.
In this post, we will guide you to install the Desktop client of Spotify on Ubuntu 20.04 with two methods.
- With Snapcraft store
- With the APT repository provided by Spotify
Install Spotify from the Snap store
- Update the APT package repository
sudo apt update- Install Snap
sudo apt install snap- Install Spotify
sudo snap install spotify
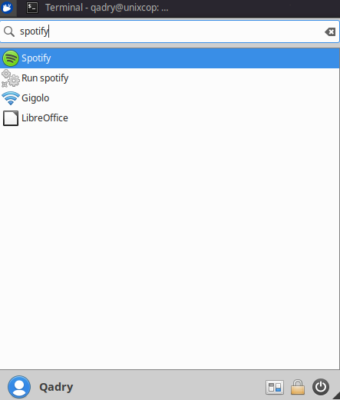
- Run the Spotify by searching for “Spotify” in the applications menu as shown below.


Here you can see that you successfully installed Spotify on your Ubuntu system.
Install Spotify using deb package through APT
To install Spotify’s latest version from the officially provided deb package by Spotify, follow the steps below
- Install curl
sudo apt install curl- Import the public GPG key
curl -sS https://download.spotify.com/debian/pubkey_0D811D58.gpg | sudo apt-key add - - Then add Spotify’s deb package to the system’s sources list
echo "deb http://repository.spotify.com stable non-free" | sudo tee /etc/apt/sources.list.d/spotify.list
- Update the APT repository
sudo apt update- Finally, Install Spotify.
sudo apt install spotify-clientNow, you can also launch it by searching for “Spotify” from the Application menu.
Conclusion
So, In this article, we shew you how to install Spotify on your Ubuntu system with two different methods.
That’s all … Thank you.


