Here I will show you how to install ReactOS screen by screen in a virtual machine. I highlight VM because ReactOS is still in alpha status, so do not format your hardrives to get ride of windows and install ReactOS… yet 😉 .
ReactOS is a free and open source operating system based on Windows in the same way Linux is based on Unix. ReacOS goals are to look and feels like Windows, be able to your run Windows software and your Windows. ReactOS works with the WINE project to share as much programming effort as possible. ReactOS depends on Wine mainly for user mode DLLs.
Download ReactOS
You can get it from here: https://reactos.org/download/. Note that if you want to give it a try on real hardware you can choose the liveCD image and you wouldn’t need to install anything.
Install ReactOS
1st part
On this first part, the install program you’ll be presented with a text-mode wizard that copy the files to your hardrive to prepare the 2nd part.
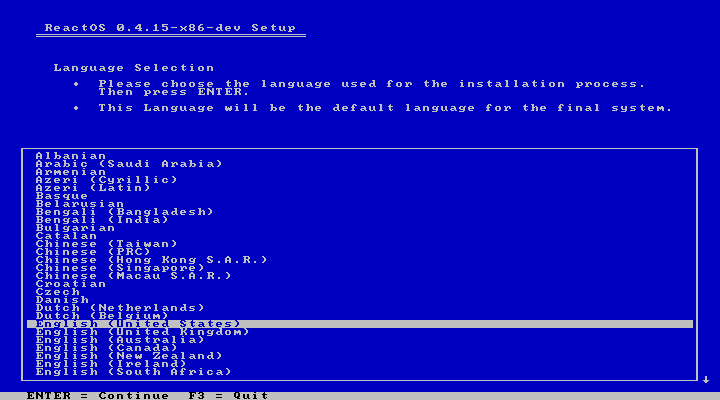
After start your new VM with the bootCD, the very first step is to choose the installer language. You can change later the language for the installed system.
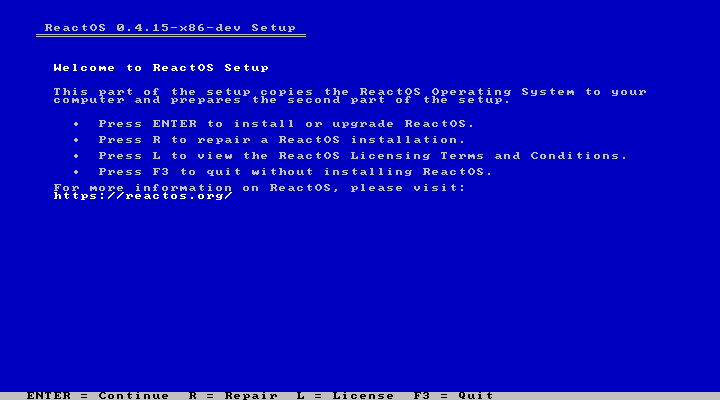
On this second screen, as we are about to install ReactOS, just press enter.
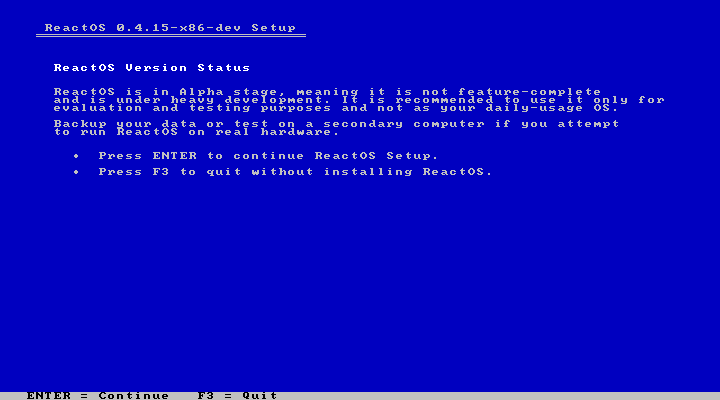
The next screen is a summary of the ReacOS status. Please read very carefully, specially if you plan to run ReactOS on production environments. If you just hit enter to continue then don’t blame me -or the reactos team- if your system do strange things!
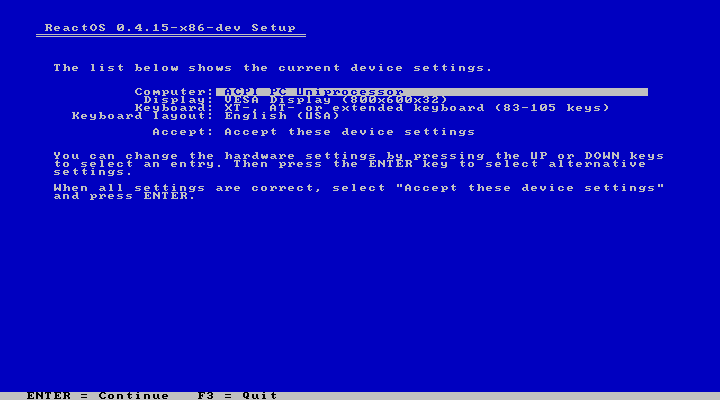
After the previous warning the installer shows a basic hardware summary. I’ve changed the display to 1024×768 and didn’t bottered to change the keyboard layout because I can do it on second part of the installation
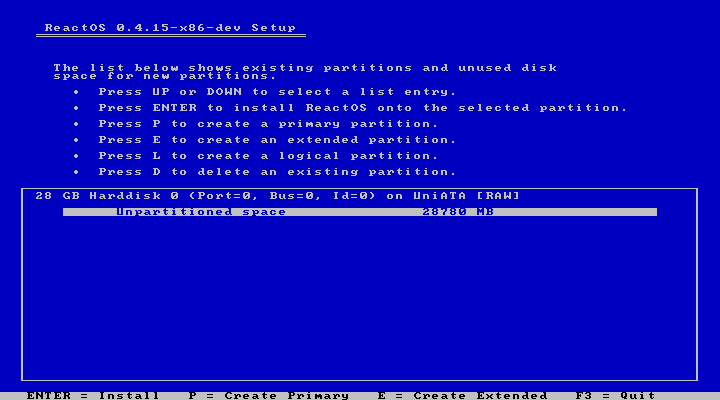
As with almost every OS, it’s partition disk time. This screen shows me the detected disks and partitions if any, and some instructions.
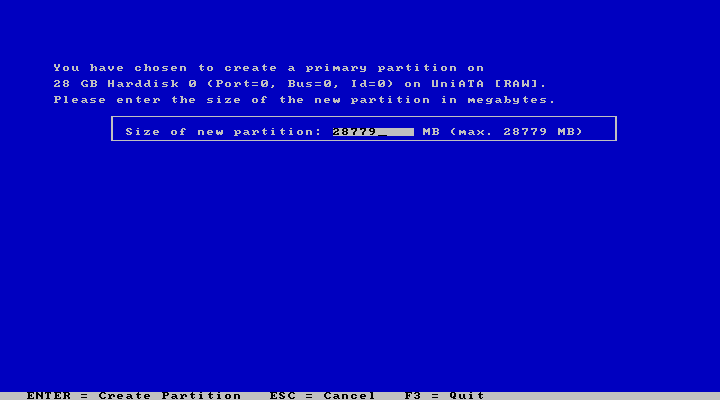
Good thing about working with virtual machines is that the installer sees a brand new disk, without the risk of losing data. I press ‘P’ and assigned all the available space.
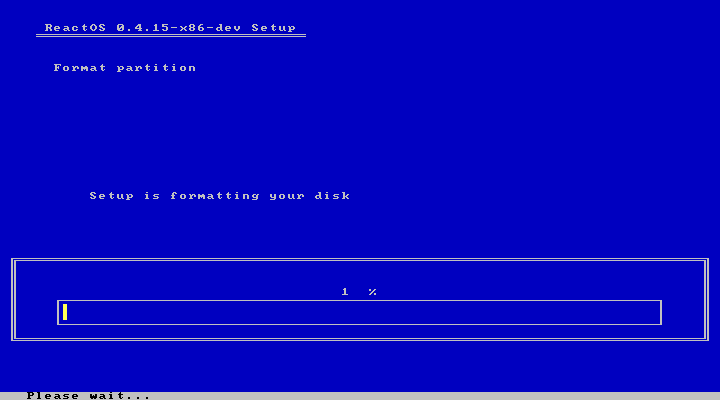
The new partition needs format, you can choose between FAT or BTRFS filesystem. I.m.h.o, the ‘natural’ file system for a windows based OS is FAT32 (or ntfs when available) and this was my choice
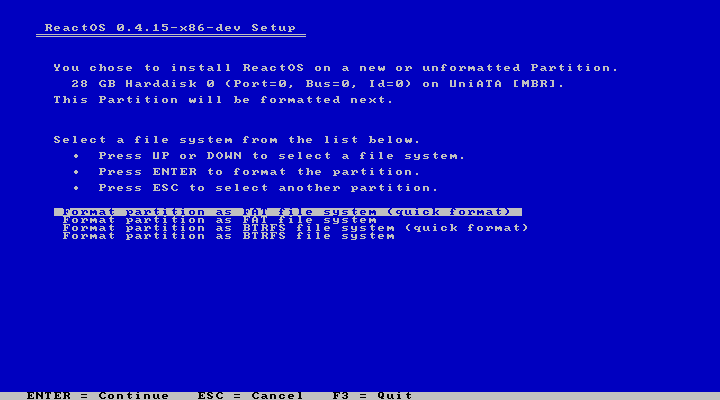
I didn’t choose the quick format option just to get this screenshot 😉 :
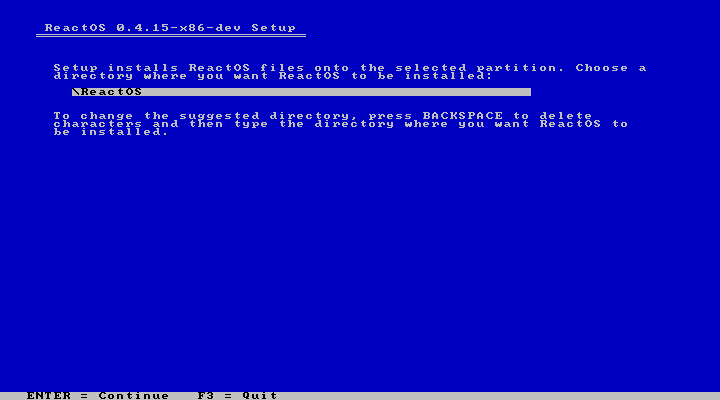
The last step on this first stage is to create a directory where the ReactOS files will live (analogous to c:\windows)
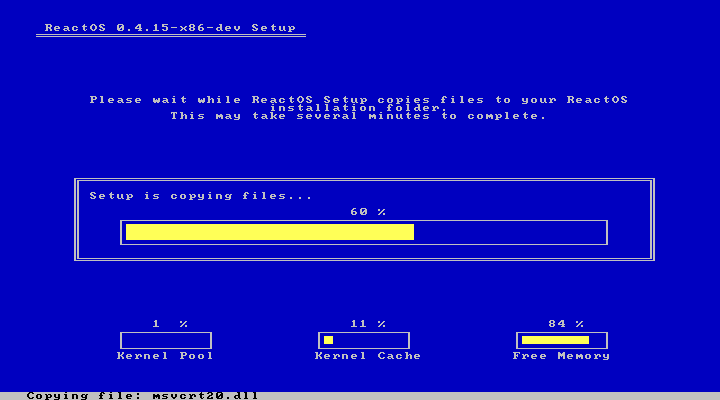
Then is just a matter of wait until the computer reboots.
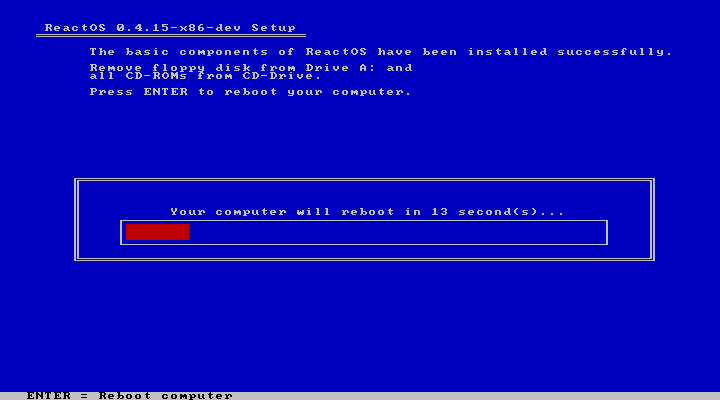
Press enter to reboot or wait for the countdown. This first part is finally over.
2nd part
On this second stage you are presented with a typical graphic-mode wizard. The installer doesn’t copy files, it’s just configuration. In other words, the second part to install ReactOS is: next, next, next, next, next 😉
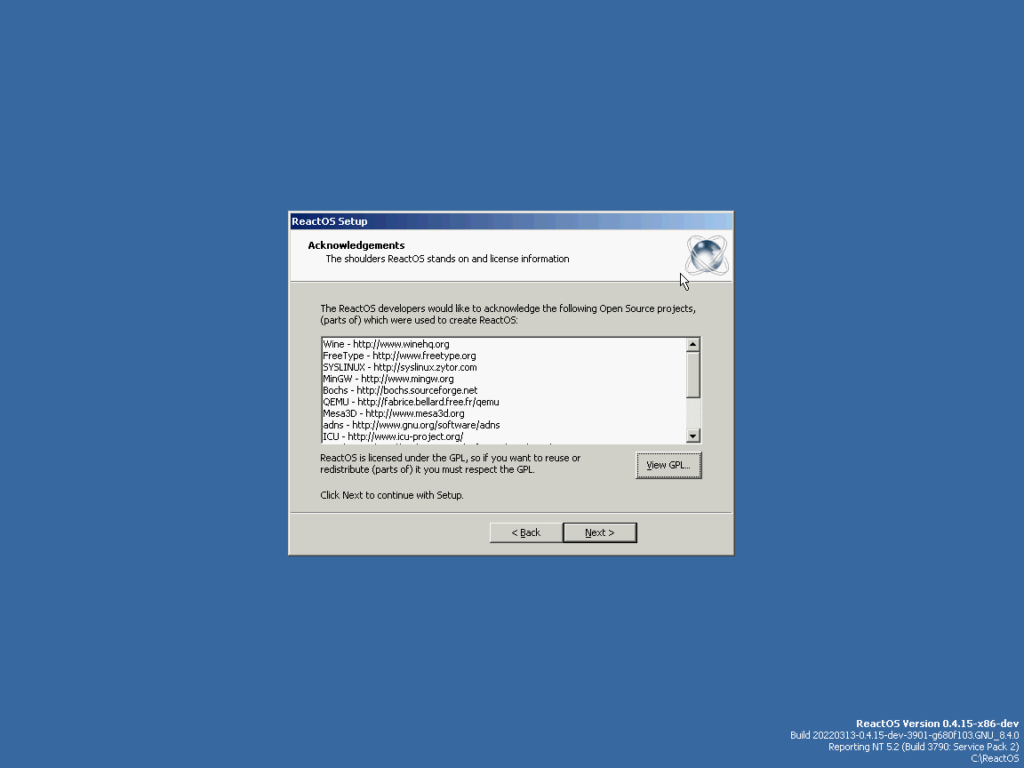
Before any configuration is made, ReactOS people shows they are very thankful. On this screen you can also read the license.
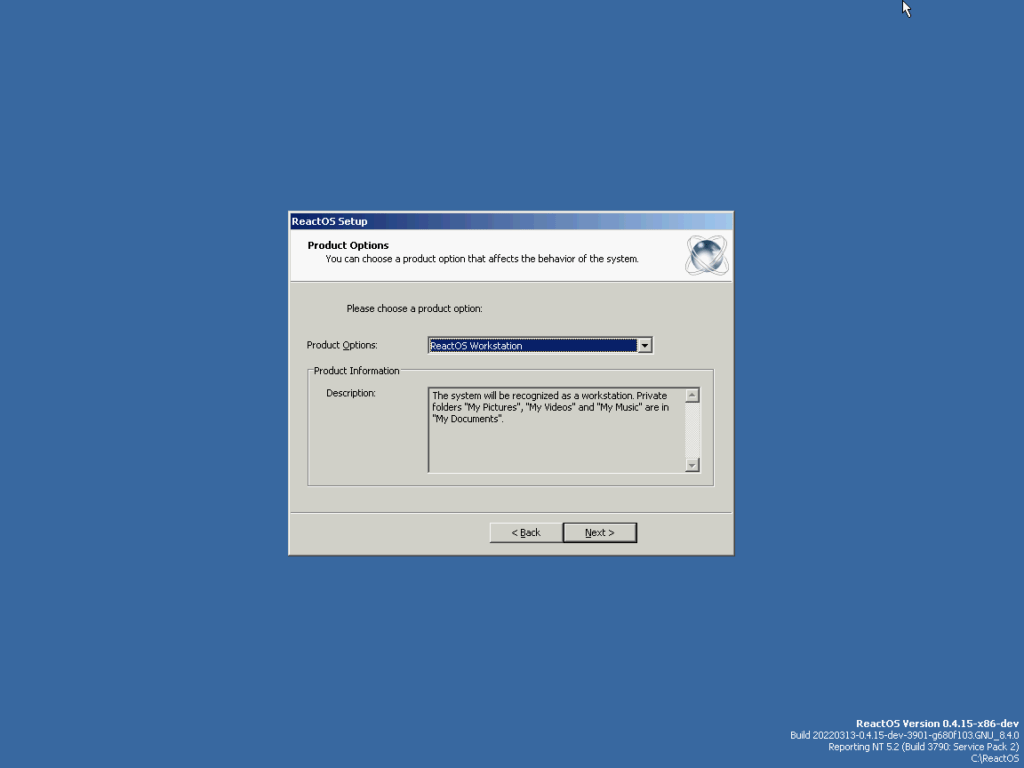
First choice: Workstation or Server. I won’t put it to any real use for now, that’s why I choose Workstation. Anyway the description box tells the difference between the options.
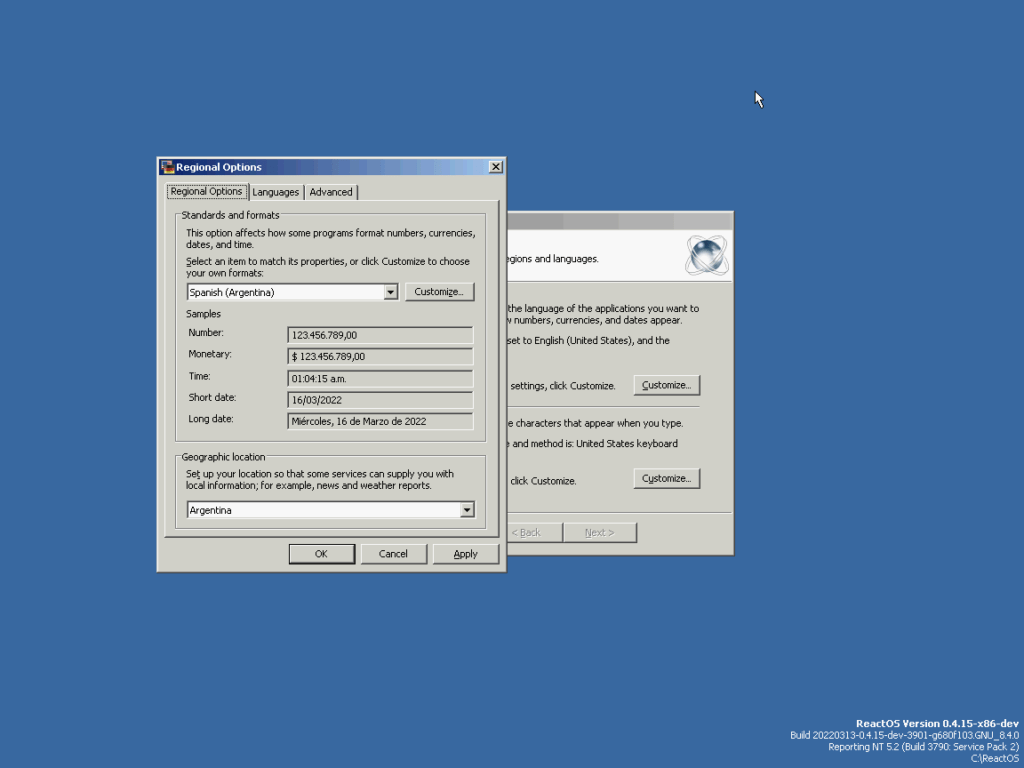
Regional options: set the settings for your own country. I’ll leaving in english for this tutorial but my regional settings for Argentina. For example, day/month/year for the date format, or $ for the monetary sign.
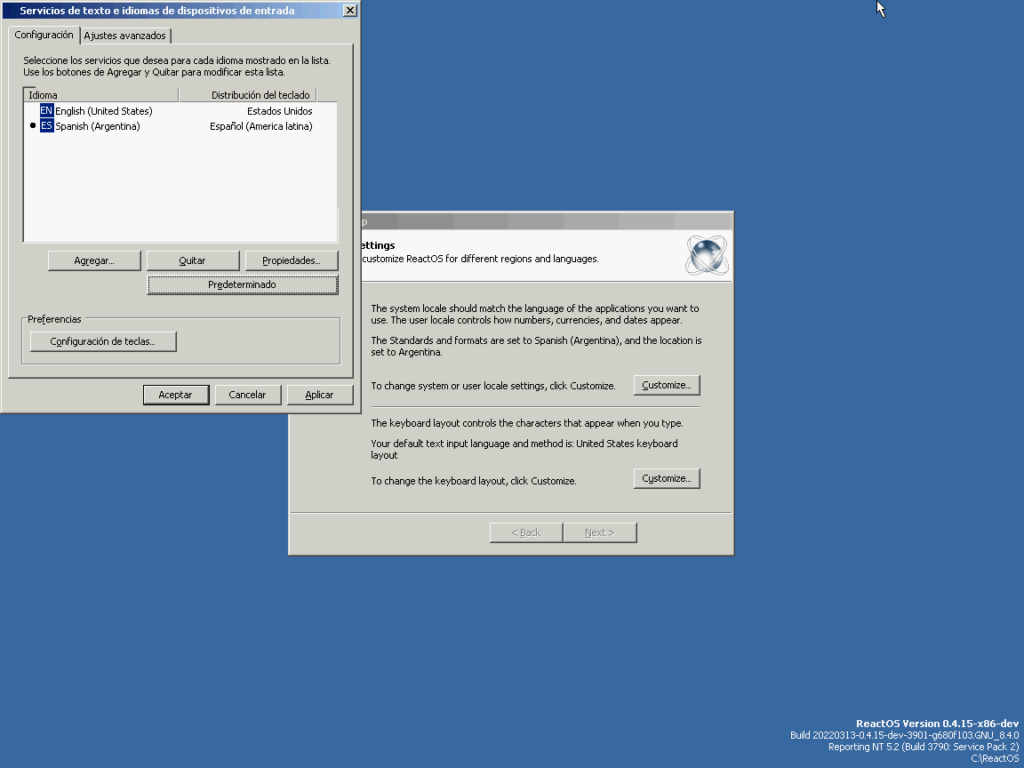
As I said at the beginning, now I’m changing my keyboard layout to Spanish latin américa.
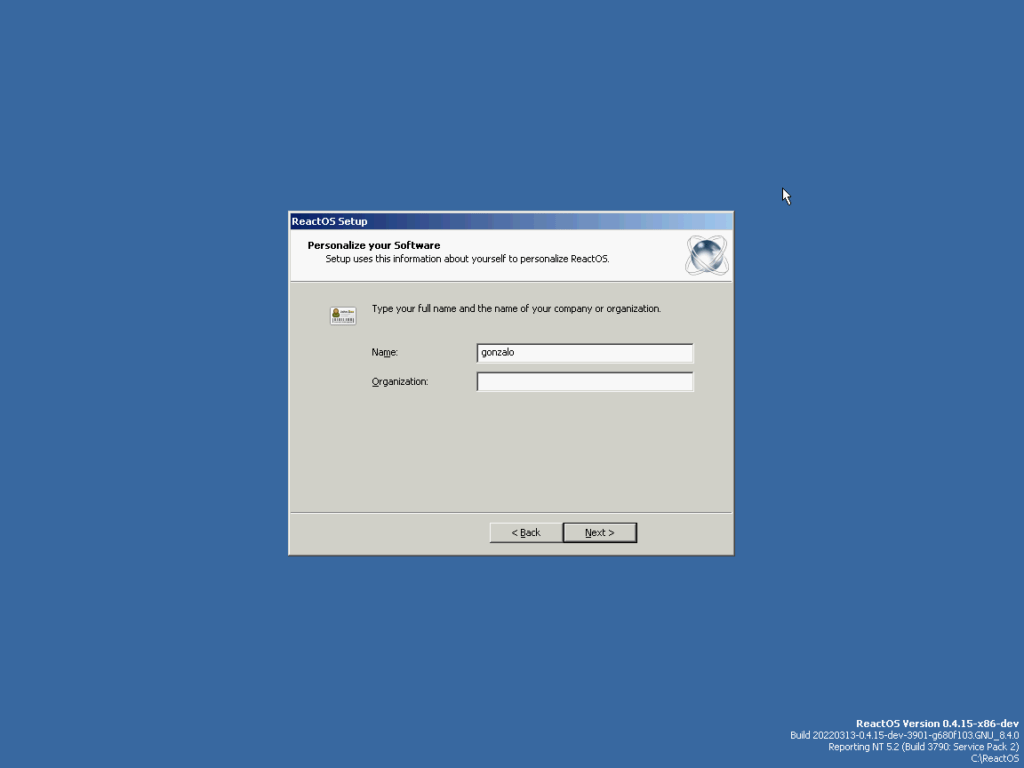
Now set a name and an optional organization name.
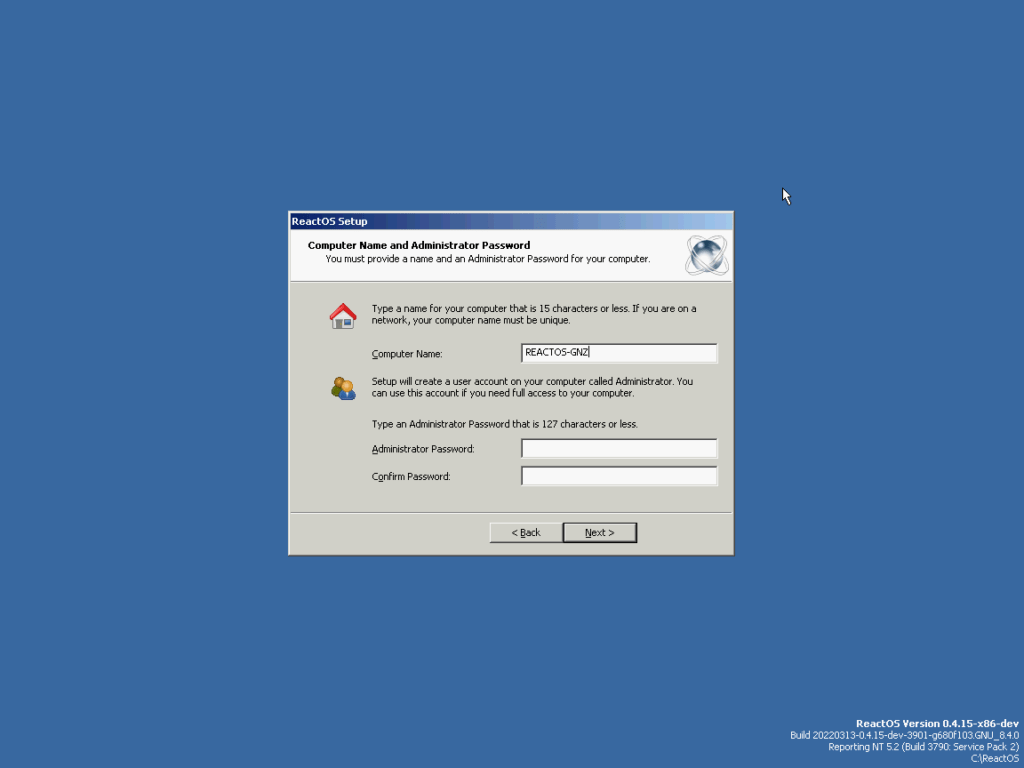
The computer name is important later if you want to share files or printers. Ask your network administrator for an appropriate one. Even if you are installing ReactOS just for testing, remember to not set 12345 as password!
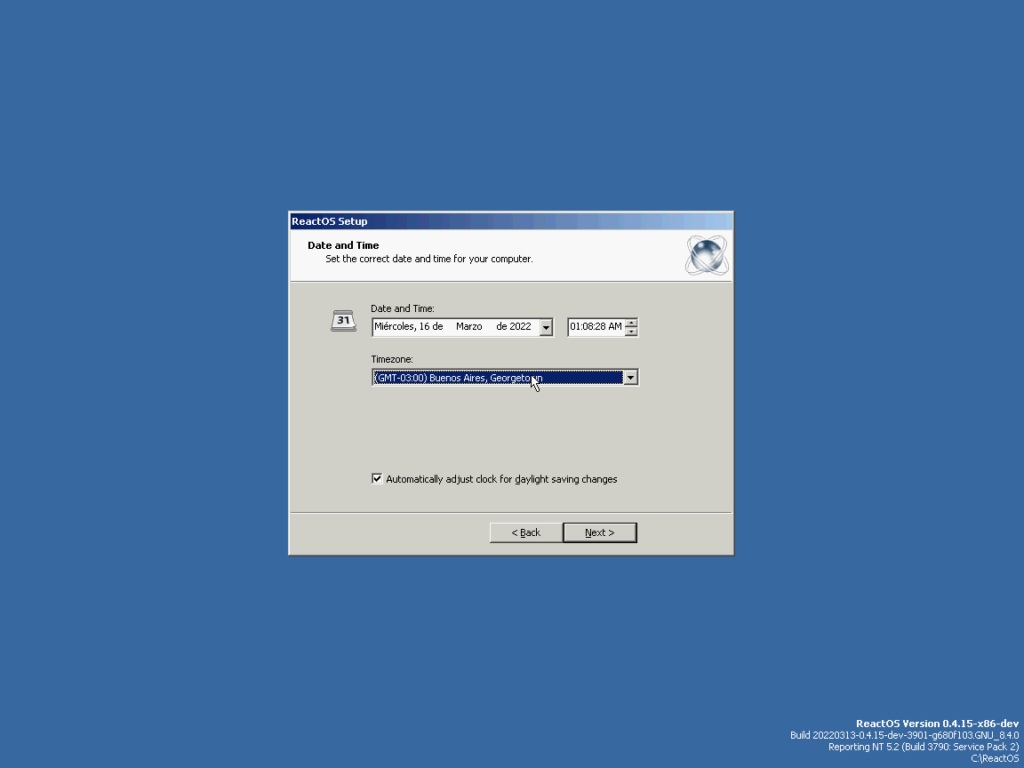
In the next screen you can set date, time and time zone.
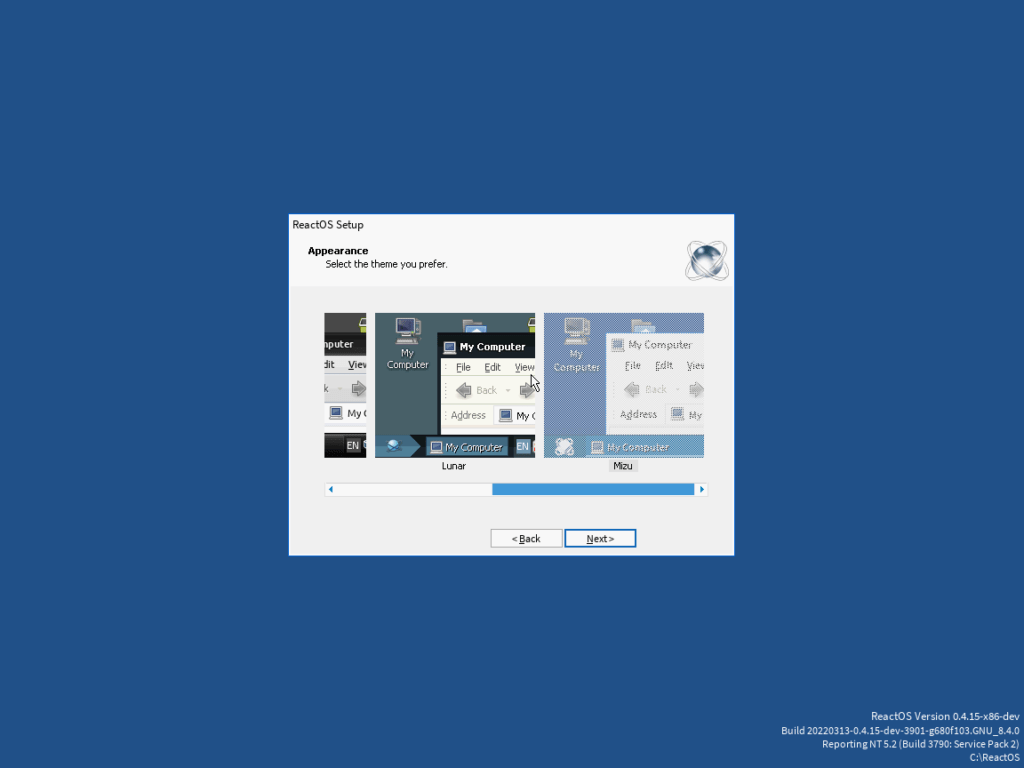
Now choose a theme for your system, remember you can customize later.
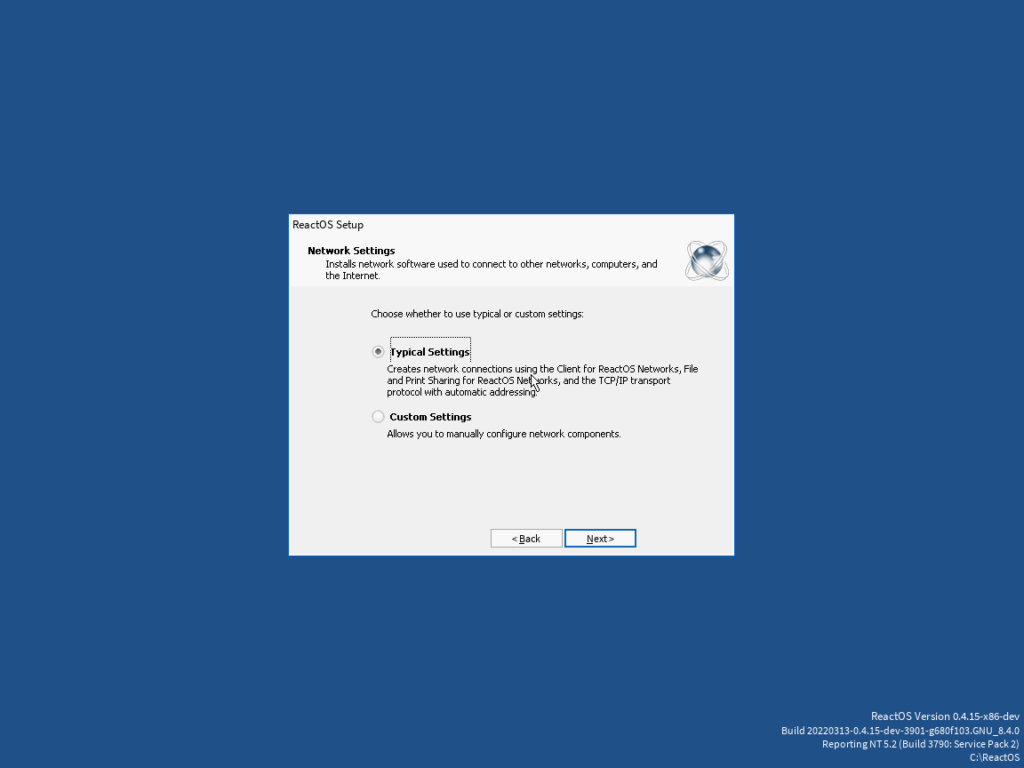
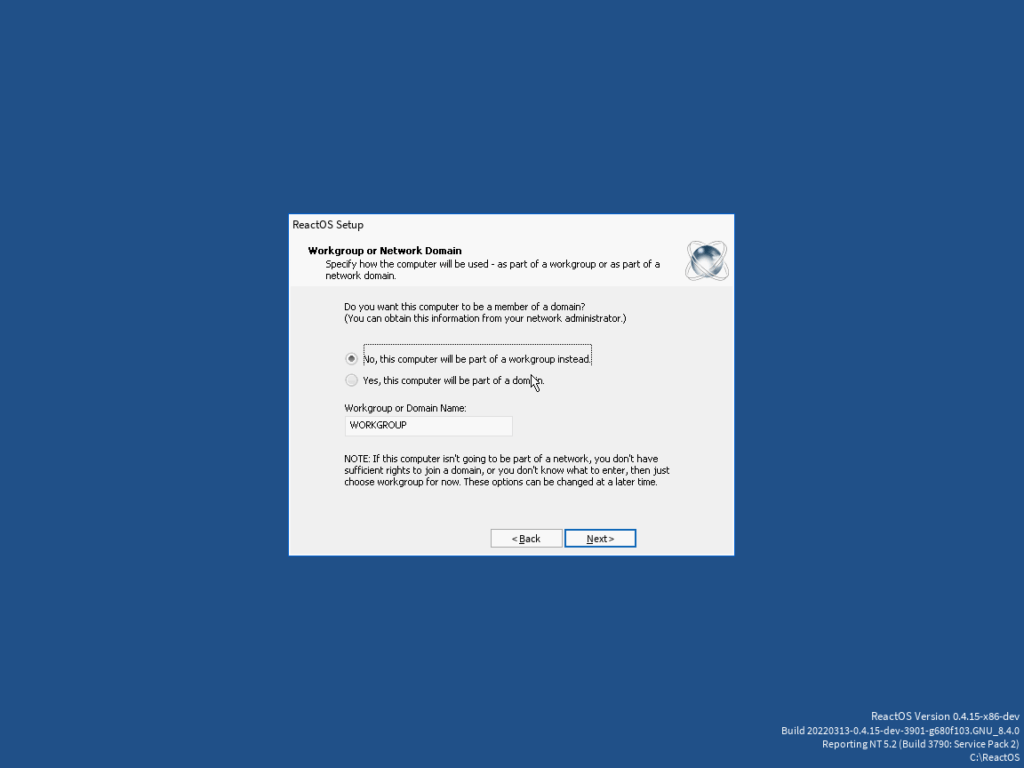
Finally, configure network settings on the last to steps. If ‘typical settings’ option aren’t suit for you, ask your network manager for appropriate settings.
Working with ReactOS
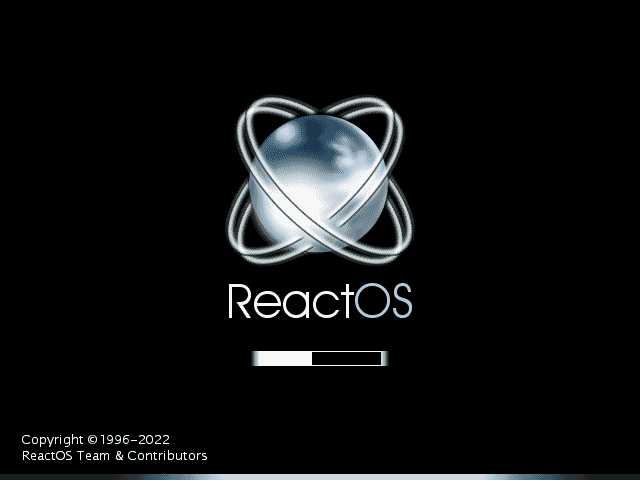
Reboot and this is the loading screen:
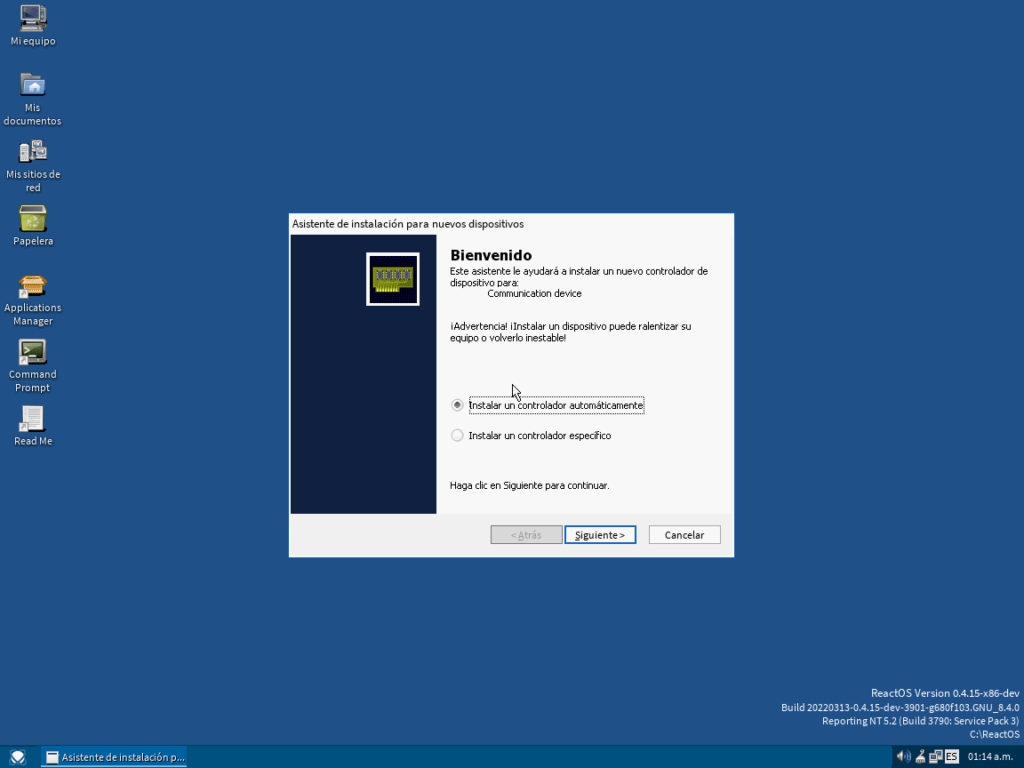
After the first boot, when the desktop is loaded, there will be some new hardware found wizards:
When all your devices are ready, you want some software to work with. You may open a browser and go to the applications sites, as with older windows releases, but is easier to open the application manager and let the system to do the downloads for you. For example, to download VLC media player, I didn’t went to http://www.videolan.org ; I’ve just open applications manager, went to Video tab, choose VLC and click on install:
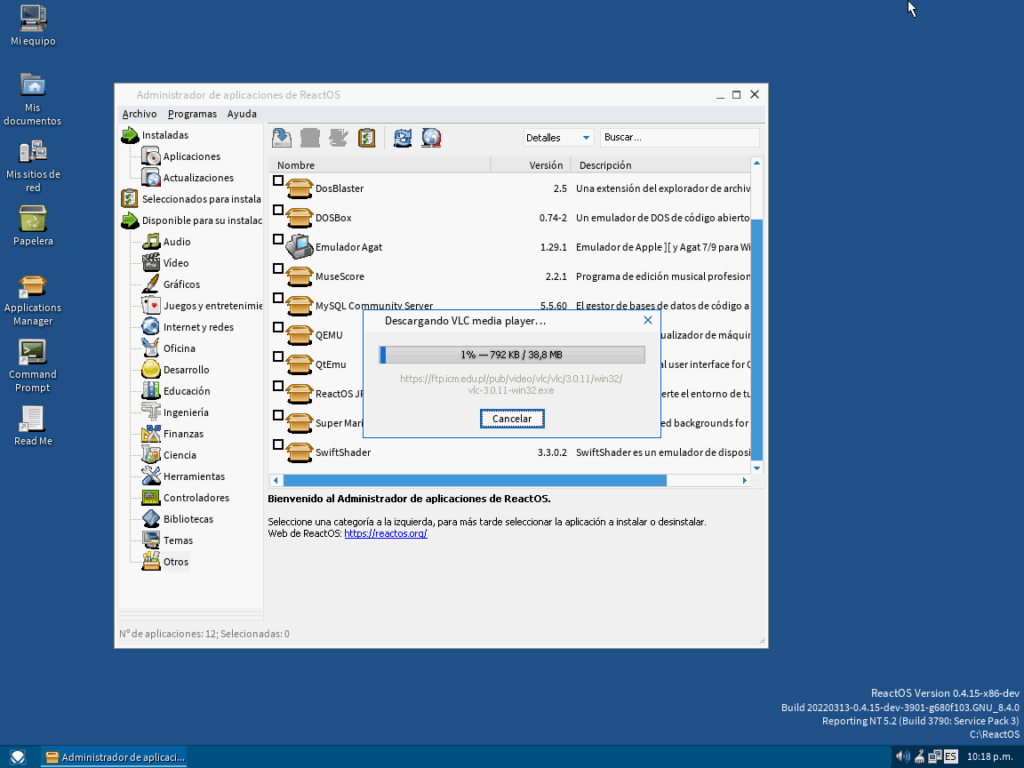
Actually, you can check for more than one program to install. The important here is that I didn’t even have to know from where to download the programs I need. After a while, I’ve got VLC and the other programs too.
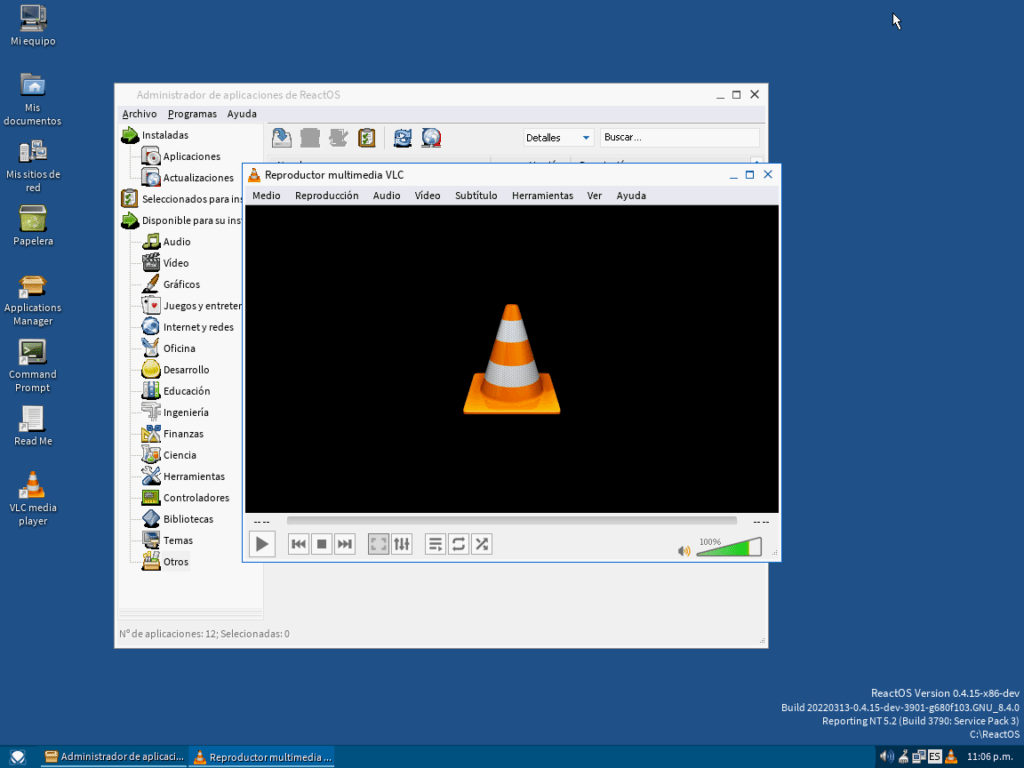
To finish this article, remember that this is still in alpha status, some things may fail real bad or didn’t work at all.
Stay tuned, there are more articles about lesser know free/open operating systems coming.


