Hello, friends. In this short post, you will learn how to install Nginx on CentOS 9 Stream. Let’s get started.
Nginx is an open-source web server that, since its initial success as a web server. However, it is so flexible that it is now also used as a reverse proxy, HTTP cache, and load balancer.
Nginx is designed to offer low memory usage and high concurrency. This makes it ideal for handling many connections and high traffic websites. This has led many sysadmins to prefer it to Apache or other solutions.
As you can imagine, Nginx is present in the official repositories of most Linux distributions and also BSD-based systems. This makes installation relatively easy and affordable for everyone.
Install Nginx on CentOS 9 Stream
Nginx could not be missing in CentOS. So, it is also present in the CentOS 9 repositories, making the installation process easier.
Open your terminal or connect via SSH to the server.
Then, update it.
sudo dnf updateThereafter, you can install Nginx on CentOS with this command
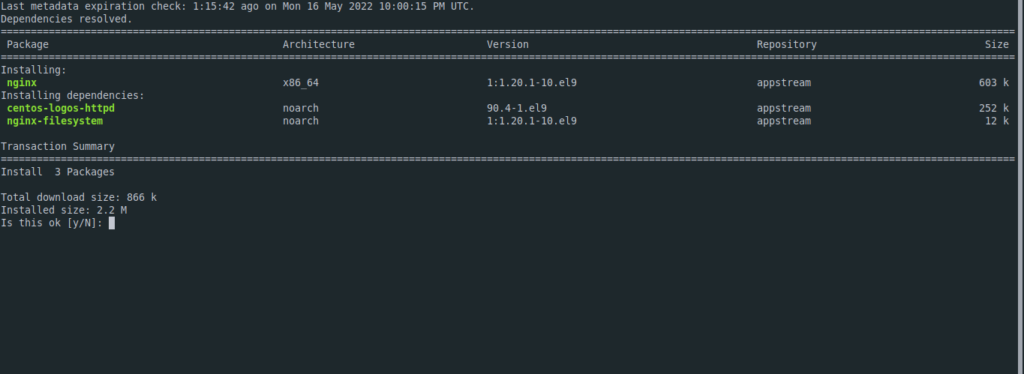
sudo dnf install nginx
When the process is finished, you can check the version with this command
nginx --version
nginx version: nginx/1.20.1
Preparing Nginx on CentOS 9 Stream
Before we can use Nginx, we have to do some configuration on the system. First, we need to start the system service:
sudo systemctl start nginxThen, we can make it start with the system.
sudo systemctl enable nginxThen you can check the status of the service
sudo systemctl status nginxThe next step is to open the ports in the firewall so that Nginx can be used.
sudo firewall-cmd --permanent --zone=public --add-service=http
sudo firewall-cmd --permanent --zone=public --add-service=https
sudo firewall-cmd --reload
Now you can open a browser and visit http://localhostor http://your-server-ip or http://domain and you will see the following page.

Conclusion
Thanks to this post, you learned how to install it on CentOS 9 Stream to have a web server you can use without problems.


