In this guide, we will show you how to install Jfrog Artifactory on RHEL8 & CentOS 7
JFrog Artifactory is the only Universal Repository Manager supporting all major packaging formats, build tools and CI servers.
JFrog Artifactory is also a binary repository manager software designed to store the binary output of the build process for use in distribution and deployment. Artifactory provides support for a number of package formats such as Maven, Conan, Debian APT, NPM, Helm, Ruby, Python, and Docker.
Also JFrog uses orchestration tools to manage your application deployments using different configuration and application artifacts managed in Artifactory.
JFrog Artifactory manages the binary warehouse dependent on the build tool (such as maven, Gradle) to facilitate managing third-party libraries and publishing the target repository, thereby improving software development efficiency.
Install JFrog Artifactory
Just follow the steps below to start JFrog
- Make sure that all system packages are up-to date by running the following command:
sudo dnf update -y && sudo dnf upgrade -y #RHEL8- Install podman and conainer tool as follows:
sudo dnf install buildah podman -y- Then Verify the installation of podman by checking its version and info:
podman version
podman info
- Download the JFrog Artifactory container image by running the command below:
podman pull docker.bintray.io/jfrog/artifactory-oss:latest
- Confirm that the image are pulled and downloaded:
podman images
As shown above, the image is available locally
- Next is to create a working directory for the JFrog container. This directory will store all date of the container.
sudo mkdir -p /jfrog/artifactory && sudo chown -R 1030 /jfrog- Start JFrog Artifactory Container by running the podman command line below:
podman run --name jfrog-artifactory \ -d -p 8081:8081 -p 8082:8082 \ -v /jfrog/artifactory:/var/opt/jfrog/artifactory \ docker.bintray.io/jfrog/artifactory-oss:latest- Check container status as follows:
podman ps
As shown above, It’s up 13 seconds ago.
- Then, Allow the access to Jfrog Artifactory by allowing 8081 and 8082 ports in firewall as follows:
sudo firewall-cmd --add-port=8081/tcp --permanent
sudo firewall-cmd --add-port=8082/tcp --permanent
sudo firewall-cmd --reload- Manage JFrog as a service with Systemd:
vim /etc/systemd/system/artifactory.service- Then add the following:
[Unit]
Description=Systemd JFrog Artifactory Container
After=network.target

[Service]
Restart=always
ExecStartPre=-/usr/bin/podman kill artifactory
ExecStartPre=-/usr/bin/podman rm artifactory
ExecStart=/usr/bin/podman run --name artifactory -p 8081:8081 -p 8082:8082   -v /jfrog/artifactory:/var/opt/jfrog/artifactory   docker.bintray.io/jfrog/artifactory-oss:latest
ExecStop=-/usr/bin/podman kill artifactory
ExecStop=-/usr/bin/podman rm artifactory

[Install]
WantedBy=multi-user.target- Reload systemd daemons
sudo systemctl daemon-reload- Then start and enable Jfrog Artifactory container service:
sudo systemctl start artifactory
sudo systemctl enable artifactory- Check the status of the service:
systemctl status artifactory
- Access JFrog Artifactory by using the following URLs
http://IP_address:8081/artifactory
http://IP_address:8082/ui
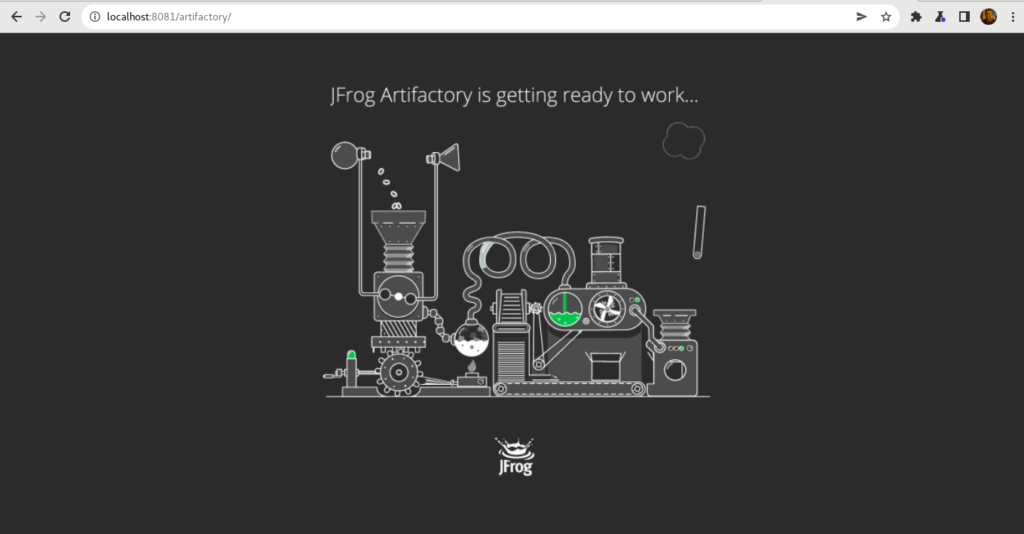
- You will see the page below that JFrog is getting ready to work
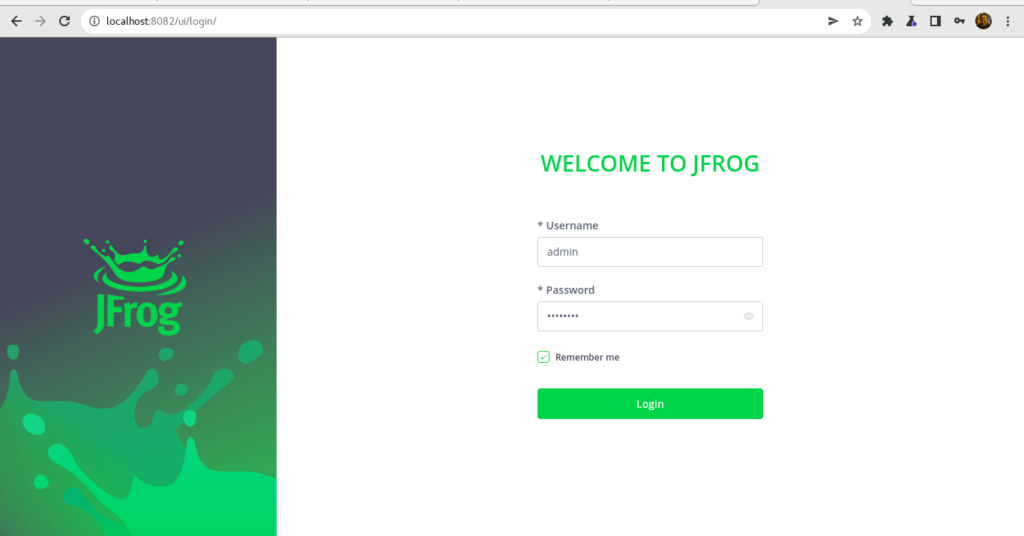
- Once finished, you will be directed to the welcome page, for default login:
Usename: admin
Password: password
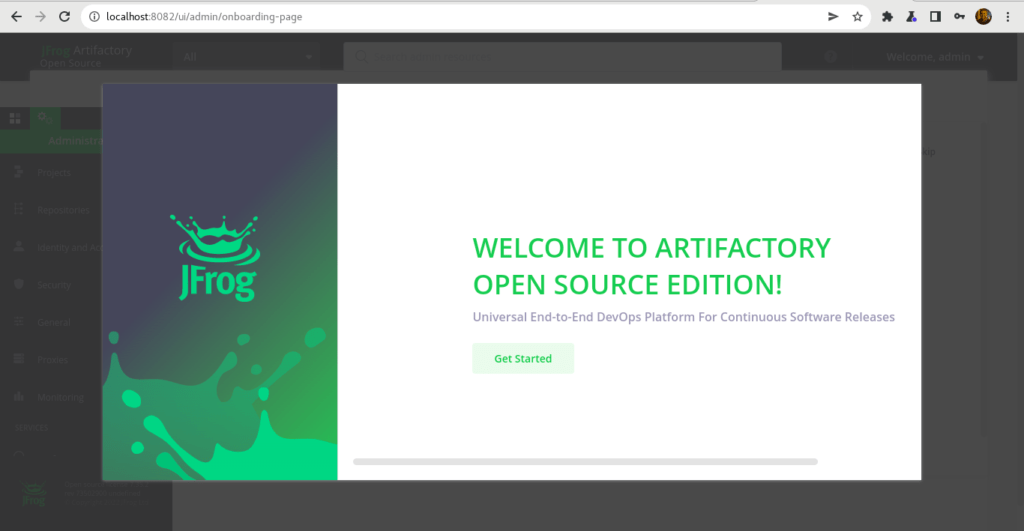
- Click Get Started
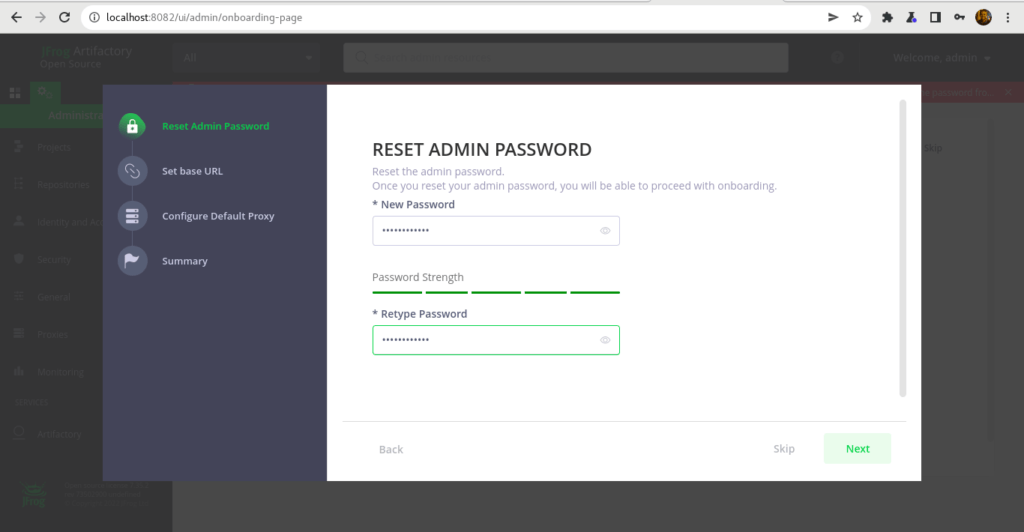
- Reset your admin password
- Set a base URL for your JFrog app
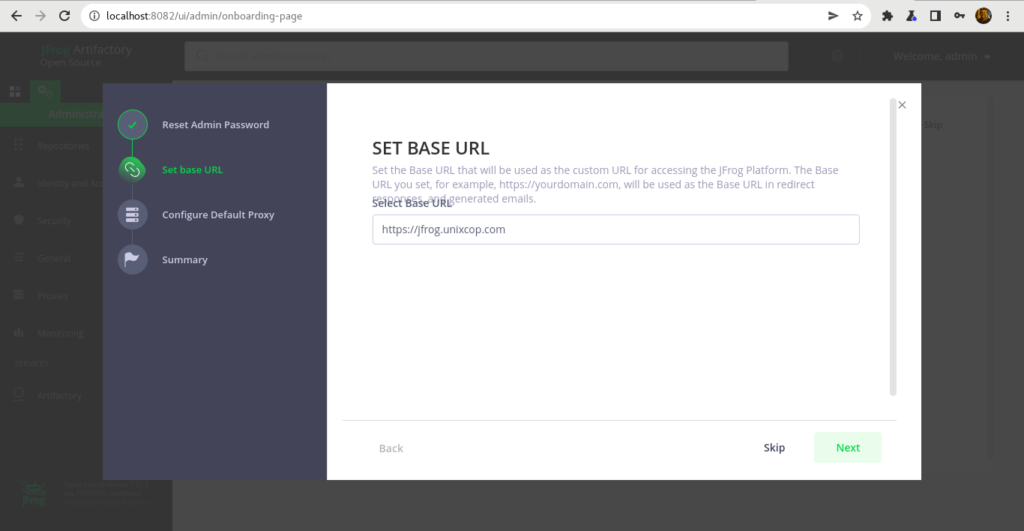
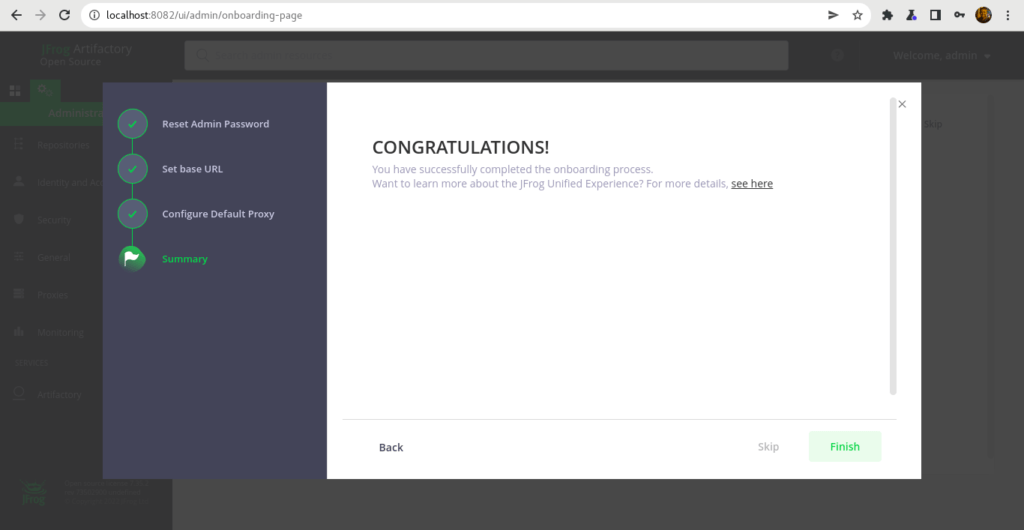
- Congrats, you have successfully finished
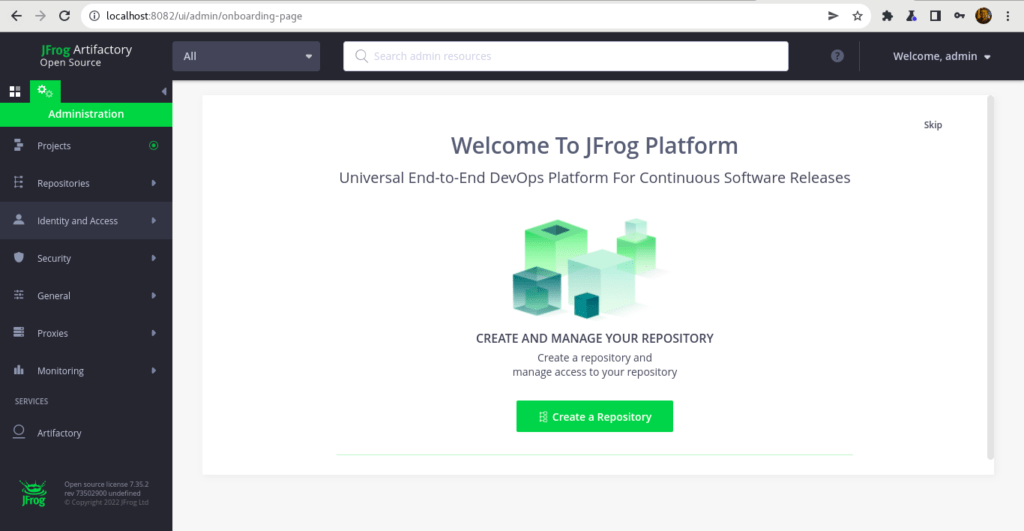
- Welcome Dashboard of JFrog platform
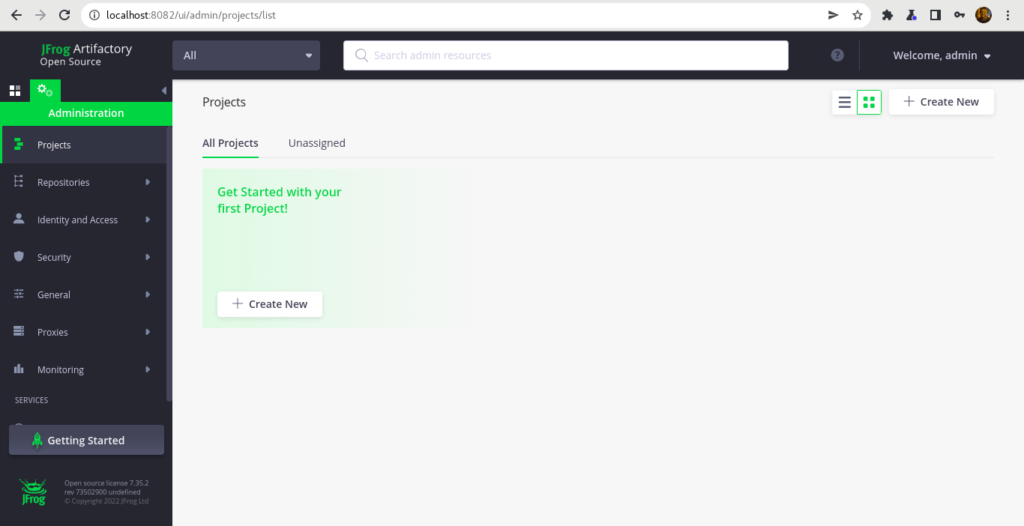
- You can start creating your first project from here.
Conclusion
That’s it
In this article, we showed you how to install JFrog Artifactory in RHEL, Alma Linux and CentOS systems.
I hope this was useful.
Thanks.


