In this post, you will learn How to install Apache OpenMeetings on Ubuntu/Debian Servers
OpenMeetings is free, open-source web-based, cross-platform conferencing application that can be used for training, presenting, Video conferencing, white board and messaging etc. It is developed in Java and based on Red5 Media Server. Moreover the app supports multiple Database servers, Also it allows you record sessions. It includes many features like, Advanced File Explorer, User Management, Room Management, Polls, Backups etc.
Requirements :
- 4GB of RAM (More the better performance)
- 2-3vCore CPU (More the less hiccups in the performance)
- 5-10GB of Disk Space.
- Ubuntu 18.04 or greater or Debian 9 or greater
Step 1 : Updating your Server
First step is to update your server and look for newer packages and security releases for your distribution.
apt-get update -y
apt-get upgrade -y
Step 2 : Install Java
OpenMeetings is based on Java, So we need to install it.
apt-get update
apt-get install openjdk-11-jdk openjdk-11-jdk-headless
After installing check the Java Version by running the command:
java -version
You will see a output like this :

Now its time to install some required dependencies, Running this command might take a while as it downloads over 1GB of content
apt-get install sox imagemagick libjpeg62 zlib1g-dev flashplugin-installer ffmpeg vlc icedtea-netx
apt-get install software-properties-common -y
add-apt-repository ppa:libreoffice/ppa
apt-get update -y
apt-get install libreoffice -y
nano /etc/ImageMagick-6/policy.xml
Step 3 : Installing & Configuring MariaDB
OpenMeetings uses MariaDB/MySQL as its backend database to store its content. Run the following command to install it.
apt-get install mariadb-server mariadb-client

mysql_secure_installation
Do as the following text or image:
Set root password? [Y/n] Y
Remove anonymous users? [Y/n] Y
Disallow root login remotely? [Y/n] n
Remove test database and access to it? [Y/n] Y
Reload privilege tables now? [Y/n] Y

Run the following commands to create a database:
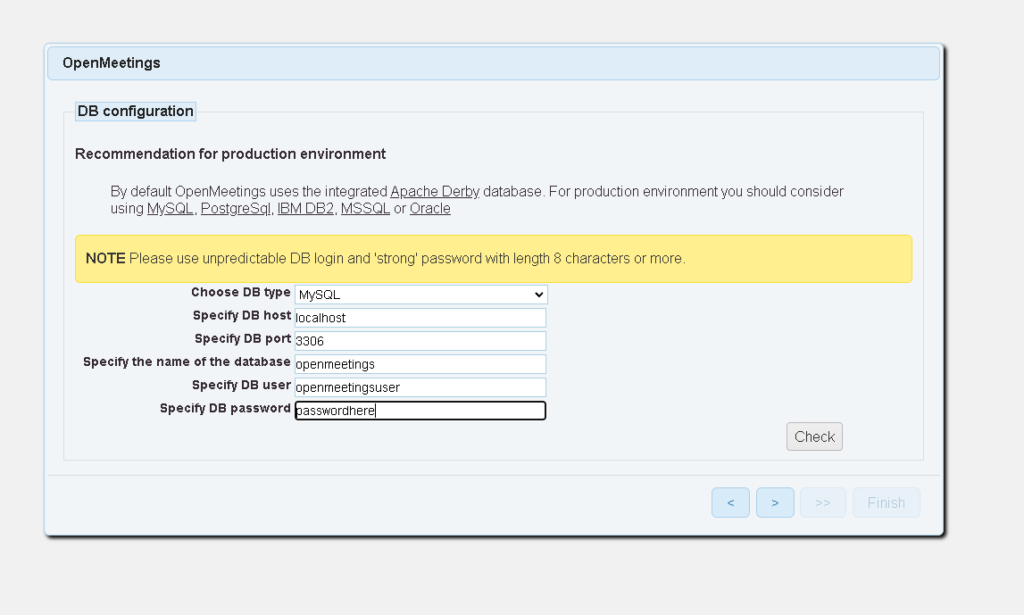
mysql -u root -p
CREATE DATABASE openmeetings;
CREATE USER ‘openmeetingsuser’@’localhost’ IDENTIFIED BY ‘passwordhere’;
GRANT ALL PRIVILEGES ON openmeetings.* TO ‘openmeetingsuser’@localhost;
exit
Step 4 : Install & Configure OpenMeetings
We have everything installed almost to configure OpenMeetings on our server, Run the following command to install it.
wget http://archive.apache.org/dist/openmeetings/4.0.9/bin/apache-openmeetings-4.0.9.tar.gz
mkdir /opt/openmeetings
tar -xvzf apache-openmeetings-4.0.9.tar.gz -C /opt/openmeetings
wget https://repo1.maven.org/maven2/mysql/mysql-connector-java/5.1.48/mysql-connector-java-5.1.48.jar
cp mysql-connector-java-5.1.48.jar /opt/openmeetings/webapps/openmeetings/WEB-INF/lib/
Now we can start the application with this command:
cd /opt/openmeetings
sh red5.sh openmeetings
After running the script, You can now access your openmeetings at 5080 port
http://localhost:5080
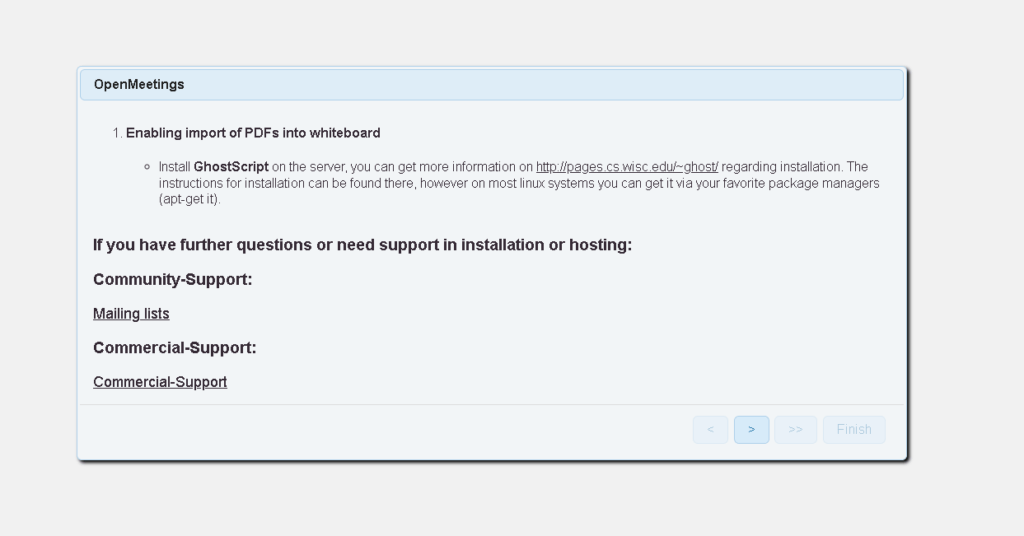
After opening the page you can see the following page :
1.
2. Select MySQL from the list and enter your database details
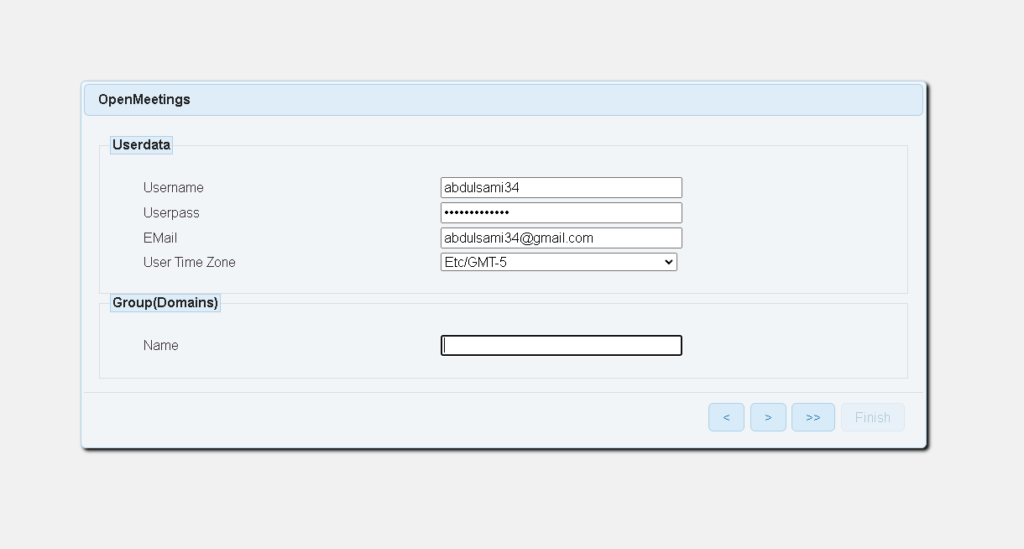
3. You will see a screen like this enter your own details
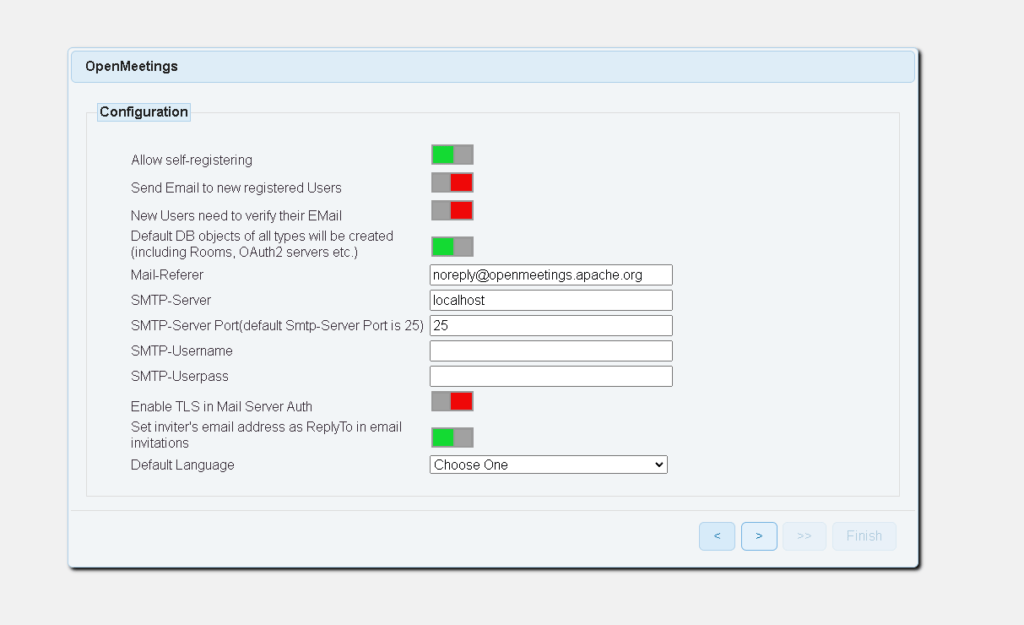
4. If you want to use your mail server you can do it here
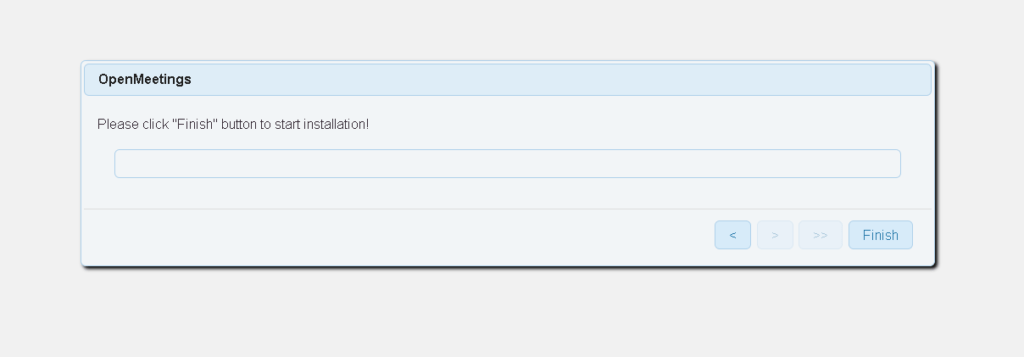
5. Click the finish button to finish installation
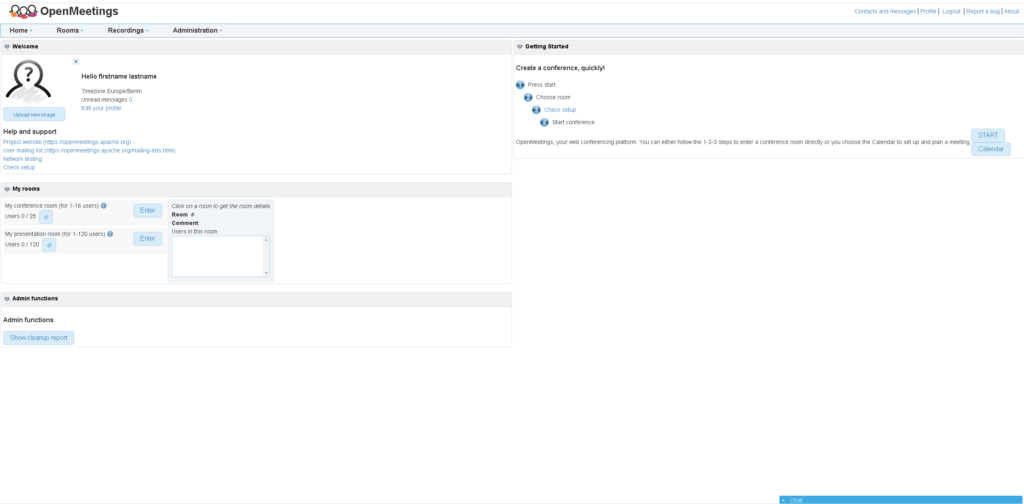
6. You can now login with your details

7. You have completely installed it!
Conclusion :
You have installed Apache openmeetings on your debian/ubuntu server. This tutorial assumes you are root!


