Hi Everyone ! In the previous article, we have seen how to set up freeIPA Server on centOS 8.
In this write up, we will show how to add a client host to the freeIPA Domain. We will be configuring a CentOS 8 machine to authenticate against an existing FreeIPA server.
Requirements
I needed the following things to do the install & config work:
- Configured freeIPA Server
- Fresh installed Cantos 8 Machine
- 4 GB of RAM.
- 4 Core CPU.
- 50 GB of free Space.
- 1 Static IP.
Before Getting Started
Machine Installation
I have installed a centos8 machine on the virtual box with the IP 192.168.0.165 & user IPA. We will do the rest of the work with the username IPA. User IPA has administrative access to the machine. It’s not recommended that we use root for the installation purposes.
Set the Hostname
We will set the hostname as ipamaster.unixcop.local. Obviously you can set of your own
hostnamectl set-hostname ipaclient.unixcop.local

SELinux Permissive
We need to set the SELinux is Permissive/Disabled mode
We can make it permanent or temporary by changing the configuration situated at the /etc/selinux Directory
I made the change permanent like below. You have to reboot the system after making those changes.

Entry to the hosts file
We have to add the IP & hostname to the /etc/hosts file. In my case, the IP is 192.168.0.165
The output of my hosts file is as follows

Installation
System Updation
First we need to update our system, just to make sure all the packages/softwares are updated.
Run the command sudo dnf update -y
Download & Install required packages
Like we discussed about the IDM module, when we were setting up the freeIPA Server about the Modularity Repository feature of centos that allows you to install additional versions of software on independent life cycles through the Application Stream also referred to as AppStream.
So FreeIPA Server and client packages are distributed through the AppStream repository in Alma Linux/Centos 8. So, first we will list out the module list.
sudo dnf module list idm

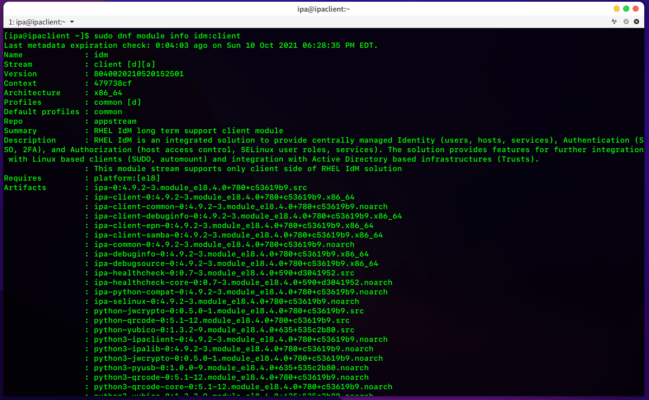
If we want to find out more details about FreeIPA client module we can do so, run
sudo dnf module info idm:client

Now it’s time to install freeIPA client on our centos 8 machine
sudo dnf install @idm:client
It will take some time to install properly.
After finishing downloading & installation, we are ready to go
Run the below command
sudo ipa-client-install --hostname=ipaclient.unixcop.local --mkhomedir --server=ipamaster.unixcop.local --domain unixcop.local --realm UNIXCOP.LOCALThis command is pretty much self-explanatory. Here the hostname for the client is ipaclient.unixcop.local & The server we have configured freeIPA is ipamaster.unixcop.local.

We will_be asked for some choice like Yes/No/Skip Type. Whenever this option comes
User authorized to enroll computers:
We will type admin, as we have configured the privileged user for the freeIPA master server as admin.

If everything goes well, we will see a message like this

Client configuration complete. That means we are done. Now time for the test !
Testing
Log on to the freeIPA server. Navigate to the host section, surely you will see the client host added there.

We can also access the users configured in the master server from the client host.
For example, we added user1 in the master server. We can get the user info from the client server as well.

you can also try logging in to the machine with an IPA user from your local terminal.

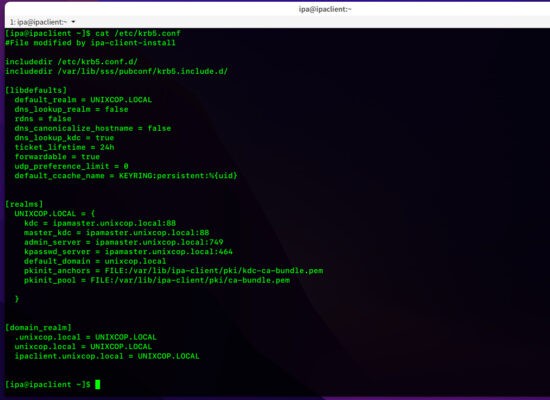
Check /etc/krb5.conf file just to see if the entry is there

End Words
By configuring the client machine to authenticate against FreeIPA, you can configure user and group access to your system from the IPA web UI or from its command line interface. FreeIPA has advanced functionality available, but for simpler configurations, you can simply add users and hosts providing a straightforward centralized authentication system to save workforce & time and do day to day tasks easily.
Done for today. If you have any questions/queries/concerns, please let me know in the comment section. If you find it’s useful, don’t forget to share with your friends !


