In this article I will show you how to install OmniOS Community Edition on VirtualBox. OmniOS is a distribution (as different linux distributions but) of illumos, which is based on OpenSolaris from Sun Microsystems.
I’m using VirtualBox for this tutorial, but you will get better results using server systems for OmniOS.
You can download from here: https://omnios.org/download.html I’m using the ISO CD image.
Create a VM
Choose a good name (i.e. Omnios), and the type should be Solaris 11:
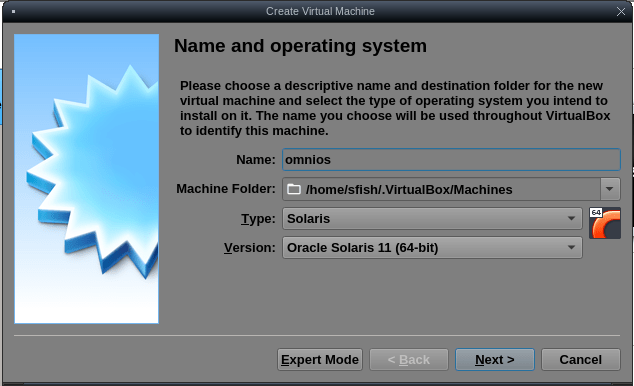
The amount of RAM and hard disk size depends on the hardware available you have. The more, the better.
Follow the wizard and before you start the VM go to Settings → Storage and mount the iso file:
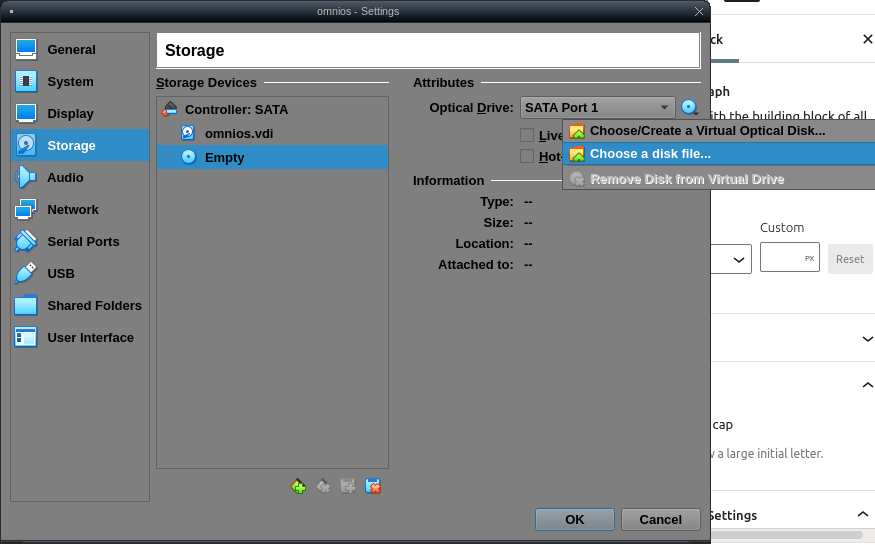
Then you can start the virtual machine and do the installation.
Install OmniOS
Launch the virtual machine, a boot screen appears:
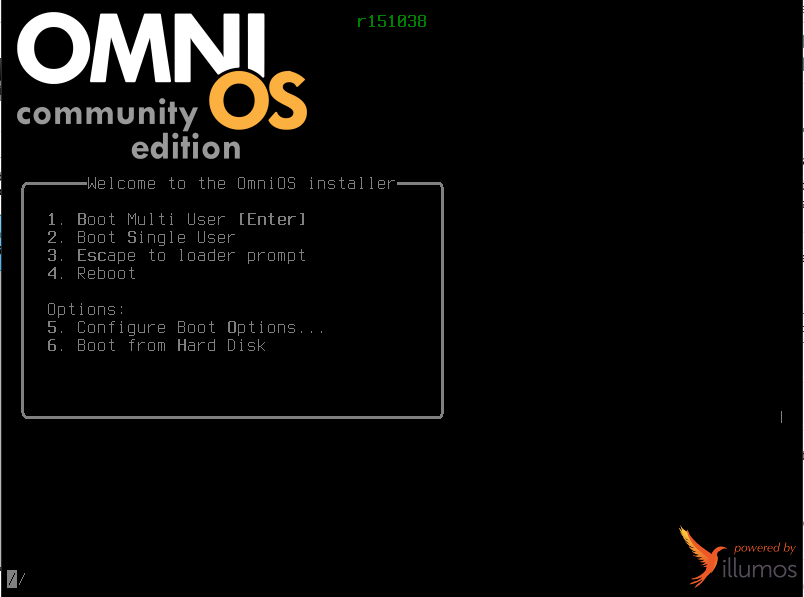
Now follow the instructions on the screen, the install process it’s pretty similar to every other OS.
First, choose your keyboard layout:
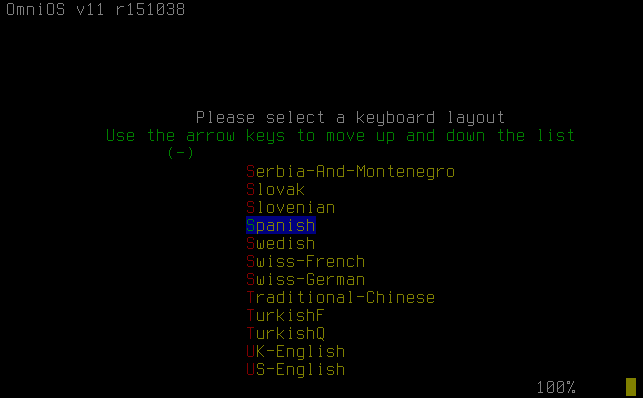
Secondly, the installer menu appears, if you don’t have experience choose the first option:
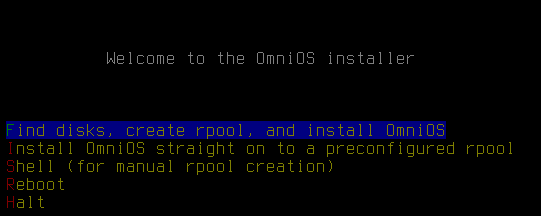
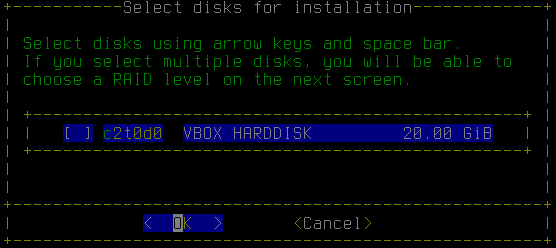
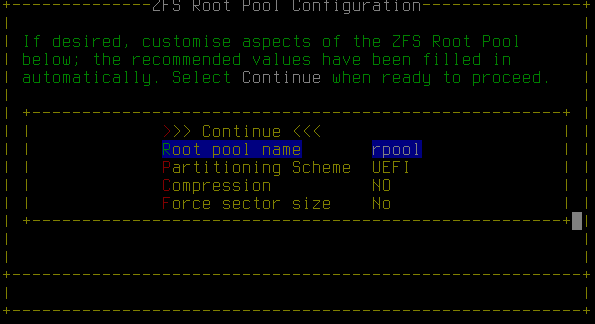
The laptop where I’m running VirtualBox is old and slow that’s why on the next screen I’ll choose to NOT use compression, but the recommended value is using.
Then the installer will ask for a hostname and the timezone of your system (it was too fast and I didn’t take screenshots).
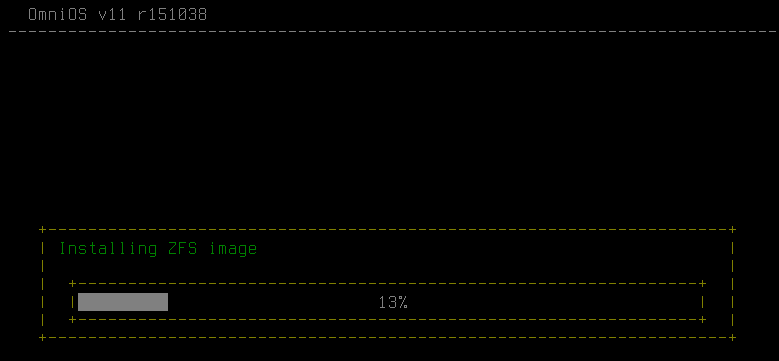
Wait until the installation is complete and when get back to the main menu choose reboot. Don’t forget to remove the CD ISO image!.
Post installation tasks
Root password
Initially, the root user is created with a blank password, that way is trivial to login the system physically and impossible remotely. The first thing to do then, is to create a password for root, with the passwd command as on other unixes:
# passwdNetwork
The network isn’t set yet. For this tutorial I’m using DHCP, at the end of the article will be a link to the documentation.
To identify the network card name run:
# dladm show-physNow create an ip interface and an address from dhcp. Change e1000g0 to your network card name:
# ipadm create-if e1000g0
# ipadm create-addr -T dhcp e1000g0/v4
# ipadm show-addr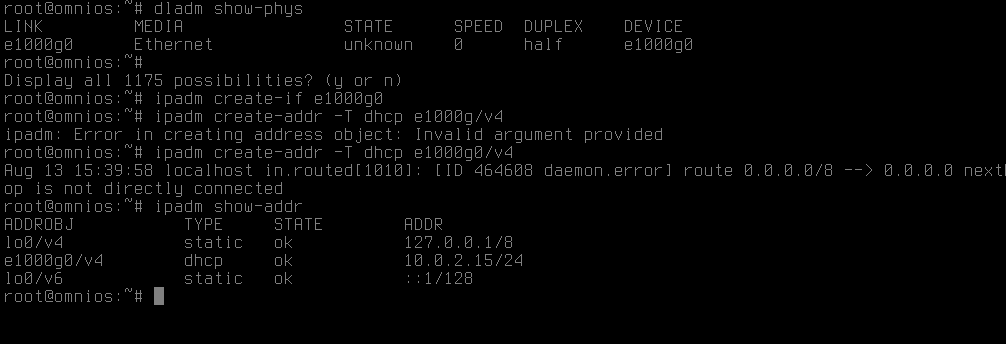
DNS
Run the following to configure the name resolution:
# echo 'nameserver 8.8.8.8' >> /etc/resolv.conf
# cp /etc/nsswitch.conf{,.bak}
# cp /etc/nsswitch.{dns,conf}
Change the google dns to your network’s dns.
Users
Working with root could be dangerous. For example: once I wrote an script that do a couple of things including deleting files, my then boss run it and end up with all his local and mounted filesystem (including remote nfs and smb) deleted because he run the script and went away while the destruction was in process. That wouldn’t happened if he where working with a regular user rather than root.
On OmniOS the home directory is not writable, you need to append the following to /etc/auto_home before the creation of users:
* localhost:/export/home/&
and reload the autofs service:
# svcadm refresh autofsNow you can create an user and a password for that user:
# useradd -b /export/home user1
# passwd user1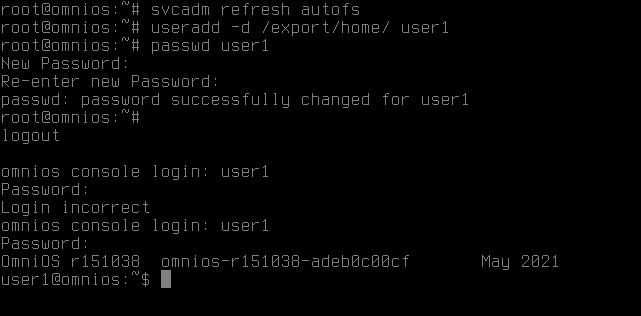
Software management
Omnios use the pkg command which is similar in it’s functions to apt or yum. The main commands are:
pkg listList all installed packages.
pkg info <package>show information about a <package>
pkg search <text>Search for a package.
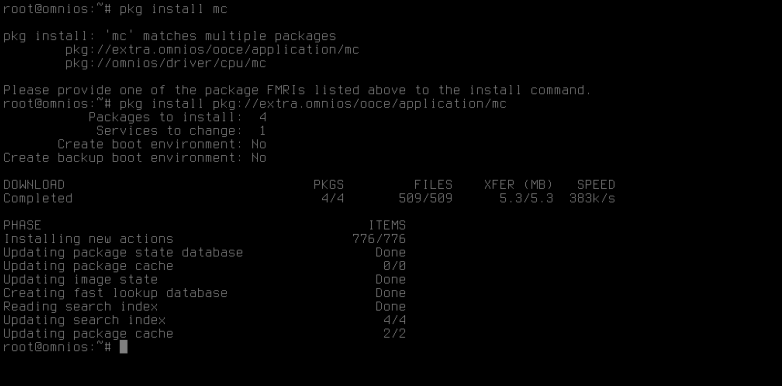
pkg install <package>Installs a package, sometimes the command will help you with the correct and complete package name, for example:
Links to documentation
- Main documentation site: https://omnios.org/about/about.html
- Getting started guide: https://omnios.org/info/getstarted.html
- General administration: http://wiki.omniosce.org/GeneralAdministration
- Napp-it: A software NAS/SAN on top of Solaris https://napp-it.org/index_en.html


