Introduction
Oracle 19c server Configuration Checklist for Oracle Database Installation
- At least 1 GB of space in the
/tmpdirectory required by oracle 19c. - Between 1 GB and 2 GB: 1.5 times the size of the RAM . Between 2 GB and 16 GB: Equal to the size of the RAM. More than 16 GB: 16 GB. Note: If you enable HugePages for your Linux servers, then you should deduct the memory allocated to HugePages from the available RAM before calculating swap space.
- Between 8 GB and 16 GB: Equal to the size of the RAM. More than 16 GB: 16 GB. Note: If you enable HugePages for your Linux servers, then you should deduct the memory allocated to HugePages from the available RAM before calculating swap space.
- For upgrades, the installer detects an existing oraInventory directory from the
/etc/oraInst.locfile, and uses the existing oraInventory. For new installs, if you have not configured an oraInventory directory, then you can specify the oraInventory directory during the software installation and Oracle Universal Installer will set up the software directories for you. The Oracle inventory is one directory level up from the Oracle base for the Oracle software installation and designates the installation owner’s primary group as the Oracle 19c inventory group. Ensure that the oraInventory path that you specify is in compliance with the Oracle Optimal Flexible Architecture recommendations. The Oracle Inventory directory is the central inventory of Oracle software installed on your system. Users who have the Oracle Inventory group as their primary group are granted the OINSTALL privilege to write to the central inventory. The OINSTALL group must be the primary group of all Oracle software installation owners on the server. It should be writable by any Oracle installation owner.
Download Software
Download the Oracle software from OTN or MOS depending on your support status. For other Linux tutorials.
OTN: Oracle Database 19c (19.3) Software (64-bit)
Setup permission requirements for oracle 19c
Add the following lines to the “/etc/sysctl.conf” file.
fs.file-max = 6815744
kernel.sem = 250 32000 100 128
kernel.shmmni = 4096
kernel.shmall = 1073741824
kernel.shmmax = 4398046511104
kernel.panic_on_oops = 1
net.core.rmem_default = 262144
net.core.rmem_max = 4194304
net.core.wmem_default = 262144
net.core.wmem_max = 1048576
net.ipv4.conf.all.rp_filter = 2
net.ipv4.conf.default.rp_filter = 2
fs.aio-max-nr = 1048576
net.ipv4.ip_local_port_range = 9000 65500
Run one of the following commands to change the current kernel parameters, depending on which file you edited.
/sbin/sysctl -pAdding security limits
Add the following lines to a file called “/etc/security/limits.d/oracle.conf” file.
oracle   soft   nofile    1024
oracle   hard   nofile    65536
oracle   soft   nproc    16384
oracle   hard   nproc    16384
oracle   soft   stack    10240
oracle   hard   stack    32768
oracle   hard   memlock    134217728
oracle   soft   memlock    134217728
Installing oracle 19c preinstall
Download and install the package
# curl -o oracle-database-preinstall-19c-1.0-1.el7.x86_64.rpm https://yum.oracle.com/repo/OracleLinux/OL7/latest/x86_64/getPackage/oracle-database-preinstall-19c-1.0-1.el7.x86_64.rpm
# wget http://mirror.centos.org/centos/7/os/x86_64/Packages/compat-libstdc++-33-3.2.3-72.el7.x86_64.rpm
# wget http://mirror.centos.org/centos/7/os/x86_64/Packages/compat-libcap1-1.10-7.el7.x86_64.rpm
# yum localinstall compat-libstdc++-33-3.2.3-72.el7.x86_64.rpm
# yum localinstall compat-libcap1-1.10-7.el7.x86_64.rpm
# dnf -y localinstall oracle-database-preinstall-19c-1.0-1.el7.x86_64.rpm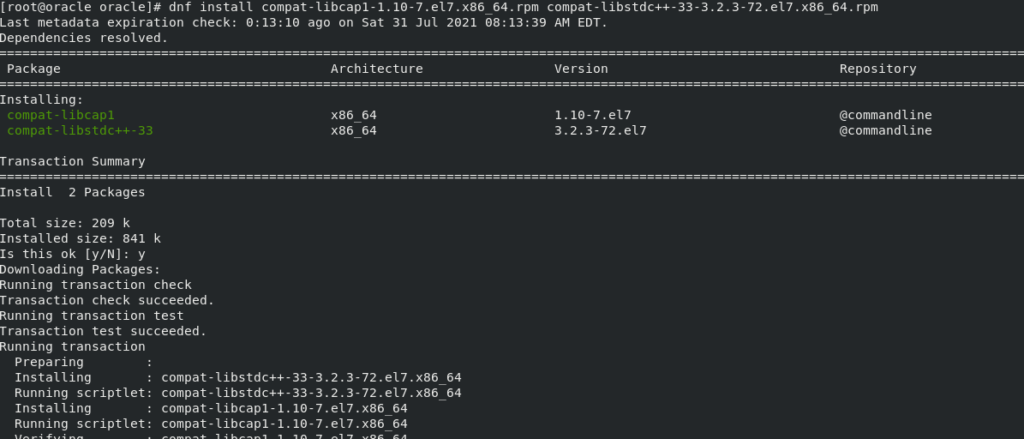

Create an environment setting file for oracle 19c
# Oracle Settings
export TMP=/tmp
export TMPDIR=\$TMP

export ORACLE_HOSTNAME=$HOSTNAME
export ORACLE_UNQNAME=cdb1
export ORACLE_BASE=/u01/app/oracle
export ORACLE_HOME=\$ORACLE_BASE/product/19.3.0/dbhome_1
export ORA_INVENTORY=/u01/app/oraInventory
export ORACLE_SID=cdb1
export PDB_NAME=pdb1
export DATA_DIR=/u02/oradata

export PATH=/usr/sbin:/usr/local/bin:\$PATH
export PATH=\$ORACLE_HOME/bin:\$PATH

export LD_LIBRARY_PATH=\$ORACLE_HOME/lib:/lib:/usr/lib
export CLASSPATH=\$ORACLE_HOME/jlib:\$ORACLE_HOME/rdbms/jlib
Create a startup and stop shell script
#!/bin/bash
. /home/oracle/scripts/setEnv.sh

export ORAENV_ASK=NO
. oraenv
export ORAENV_ASK=YES

dbstart \$ORACLE_HOME
#!/bin/bash
. /home/oracle/scripts/setEnv.sh
export ORAENV_ASK=NO
. oraenv
export ORAENV_ASK=YES
dbshut \$ORACLE_HOMEInstall Oracle 19c Database
Execute export DISPLAY for xterm windows to pull up in oracle user
DISPLAY=$HOSTNAME:0.0; export DISPLAYUnzip the oracle 19c installer to the path you want to install
unzip -oq /path/to/software/LINUX.X64_193000_db_home.zipExecute this export to detect the os as oracle Linux
export CV_ASSUME_DISTID=RHEL7.6Now, run the installer using runInstaller script
./runInstallerFollow all steps in sequence in the images
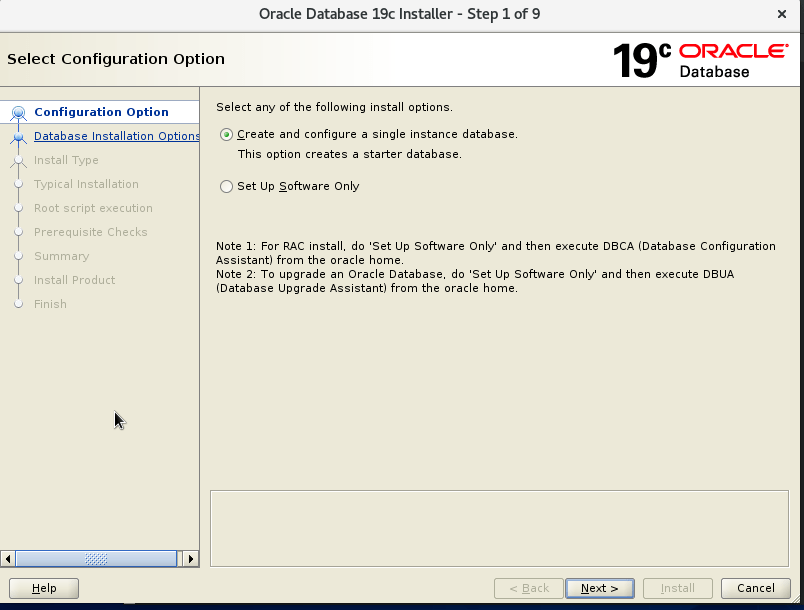
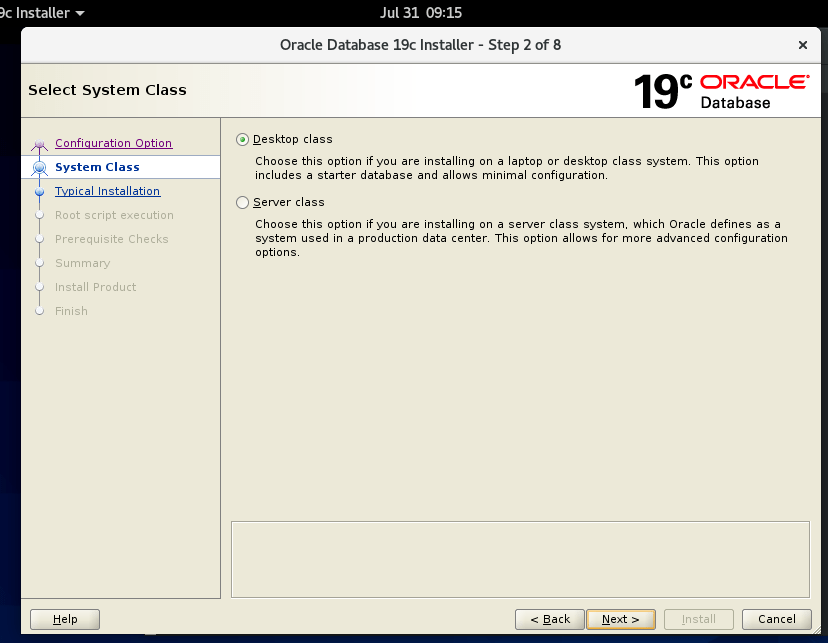
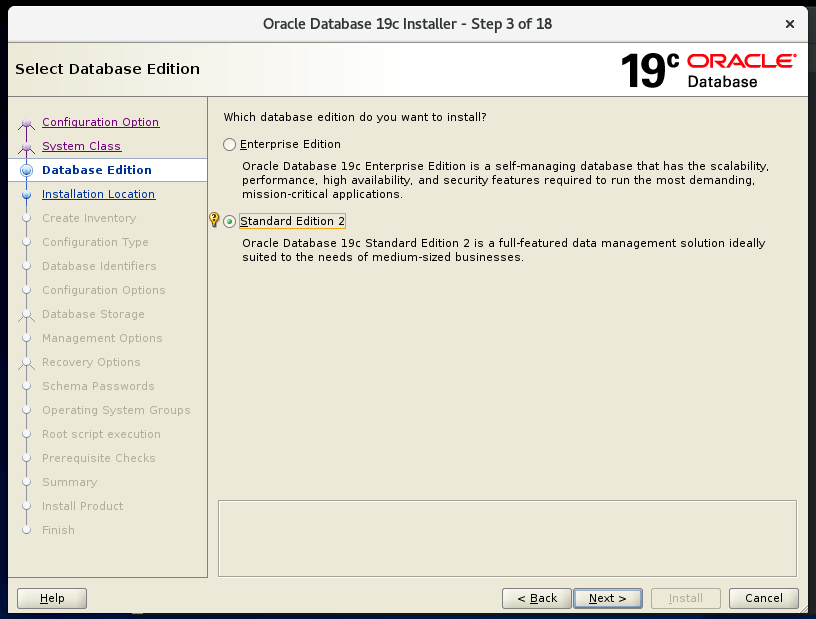
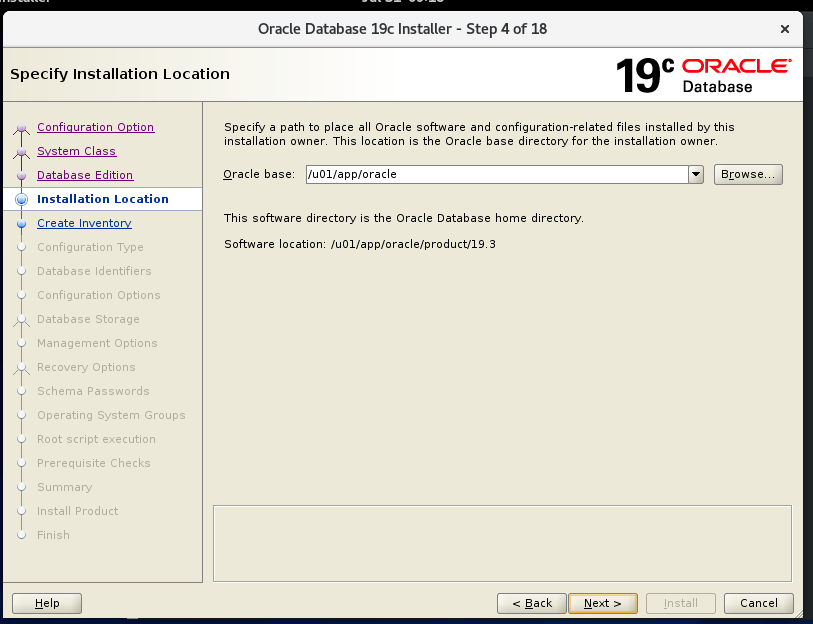
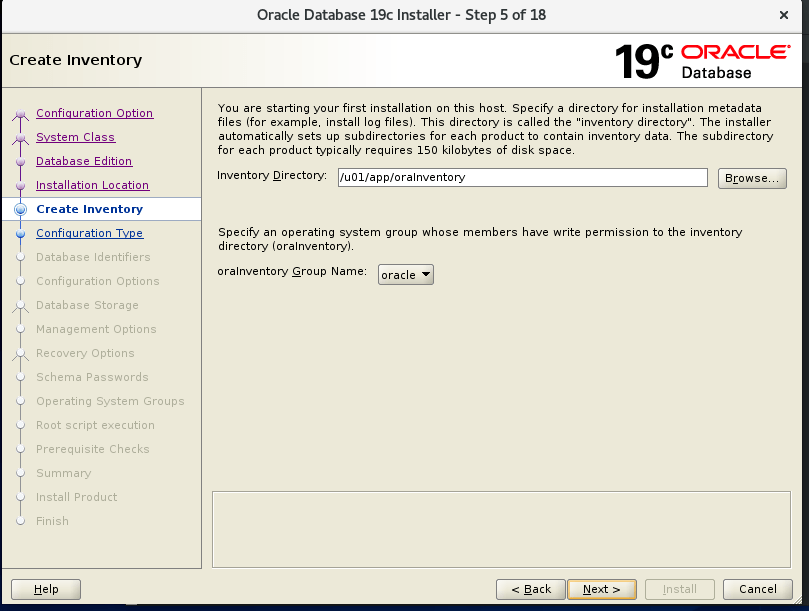
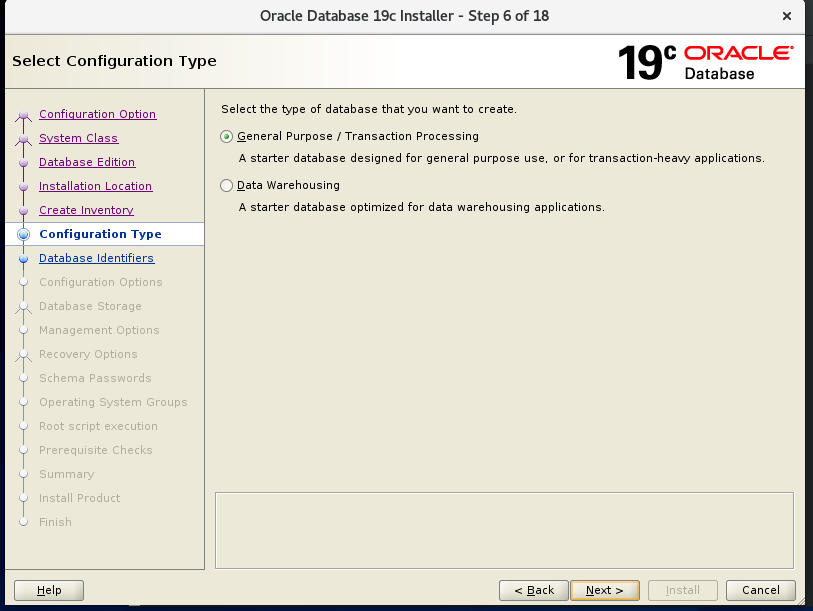
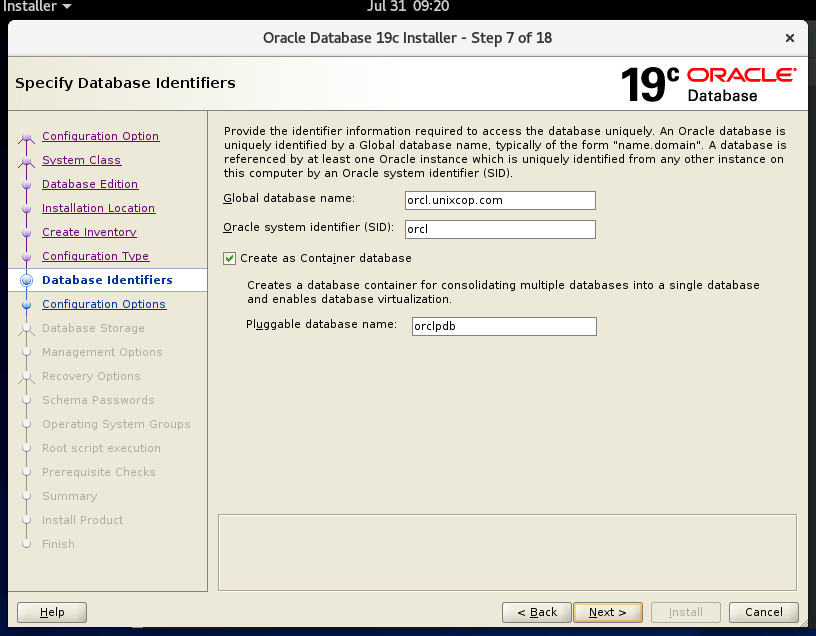
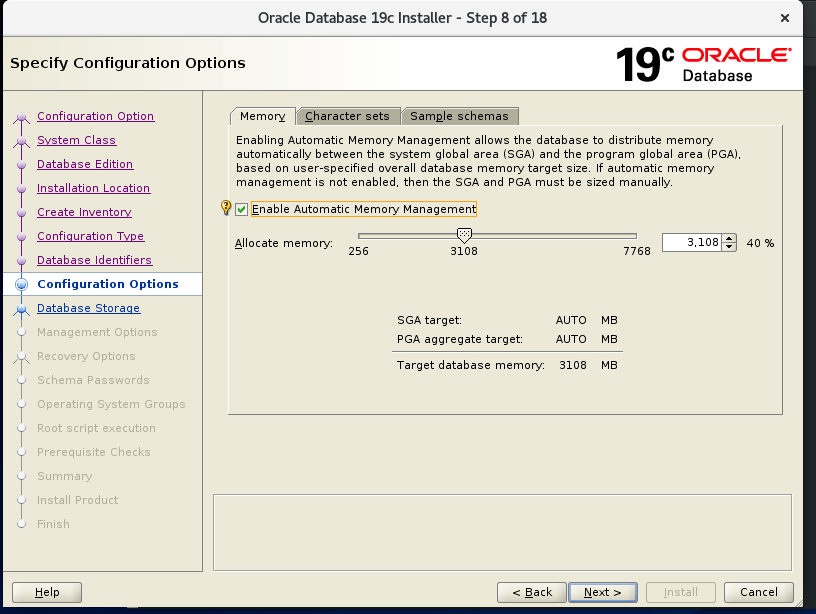
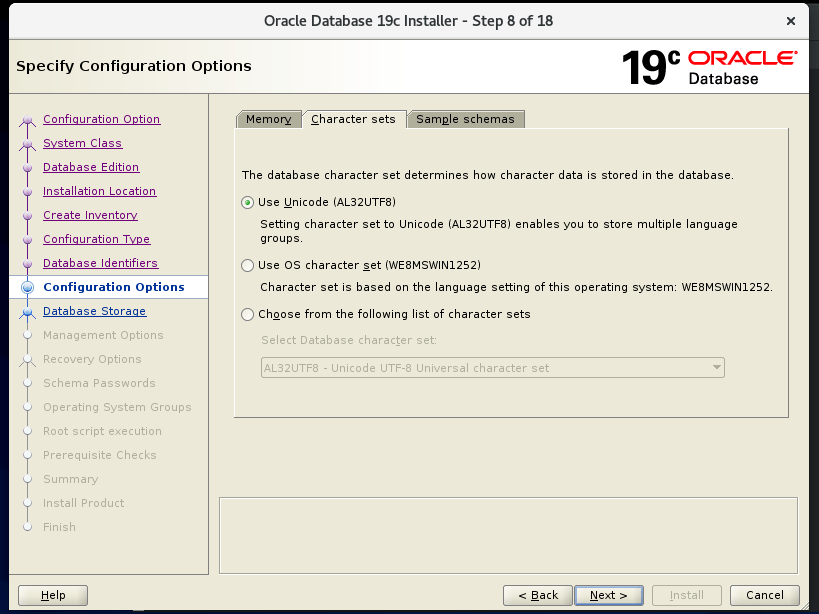
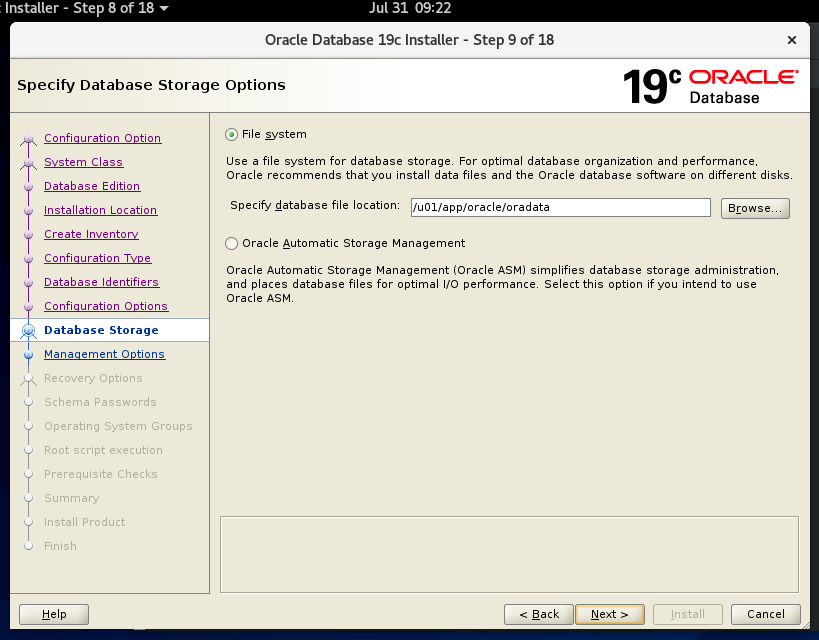
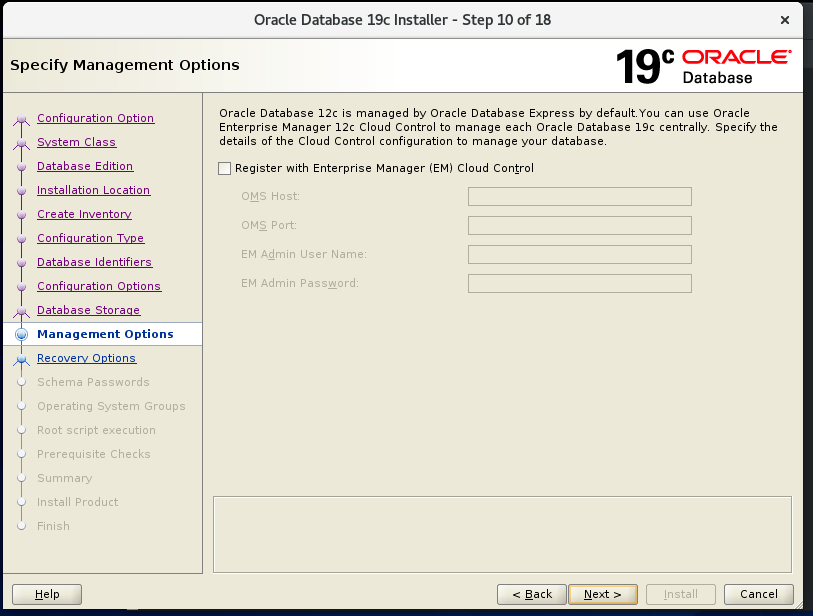
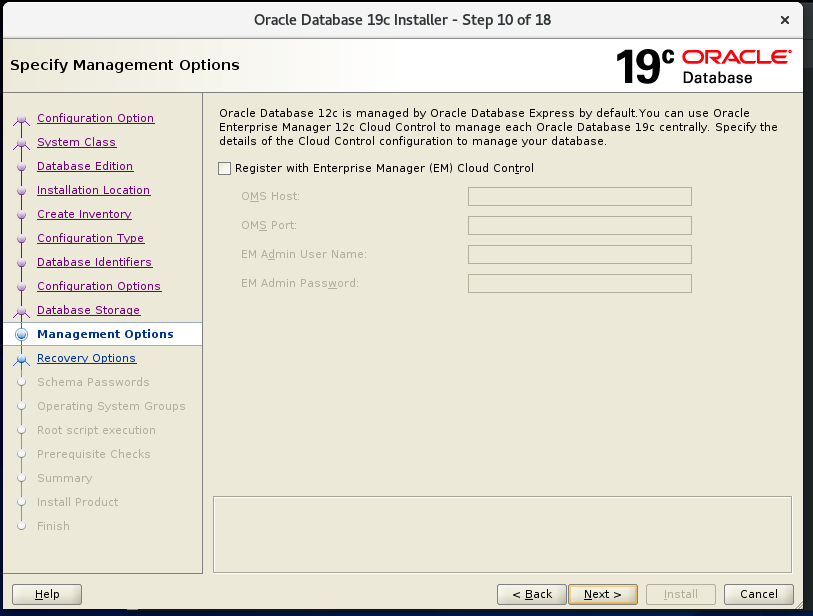
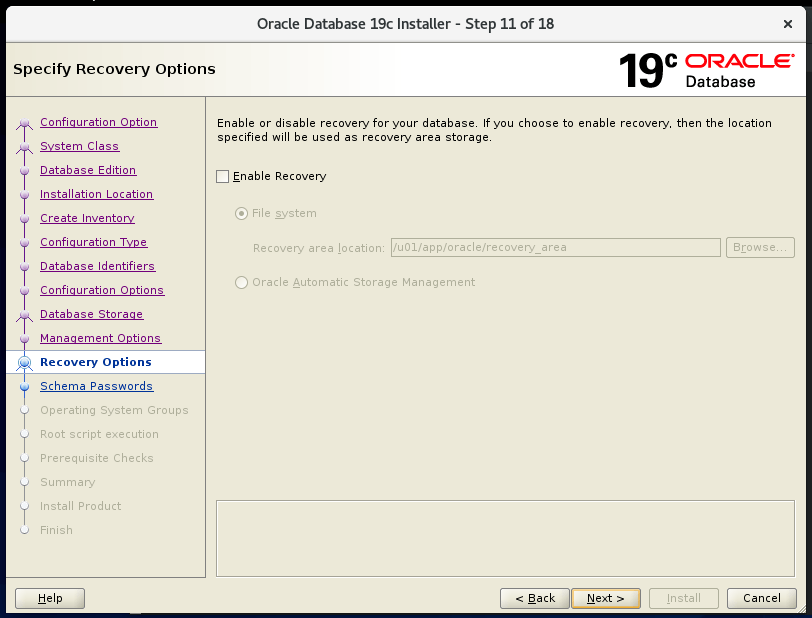
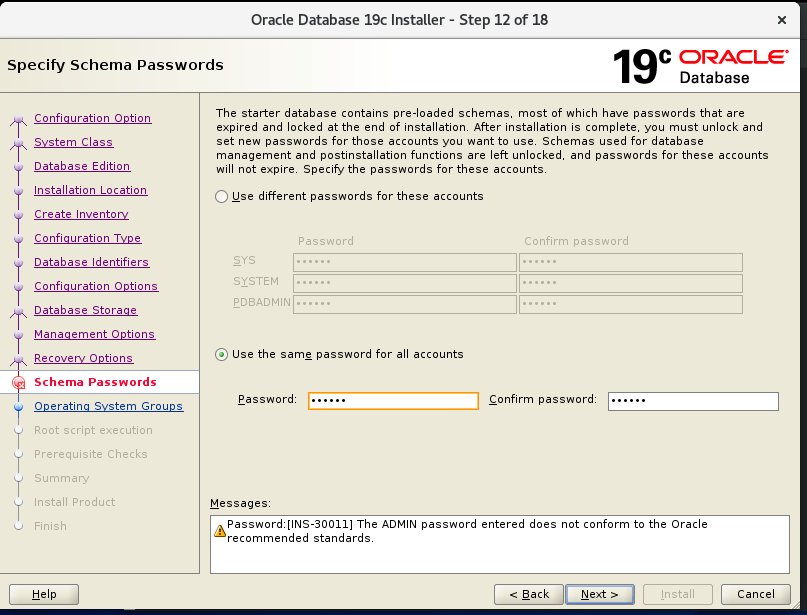
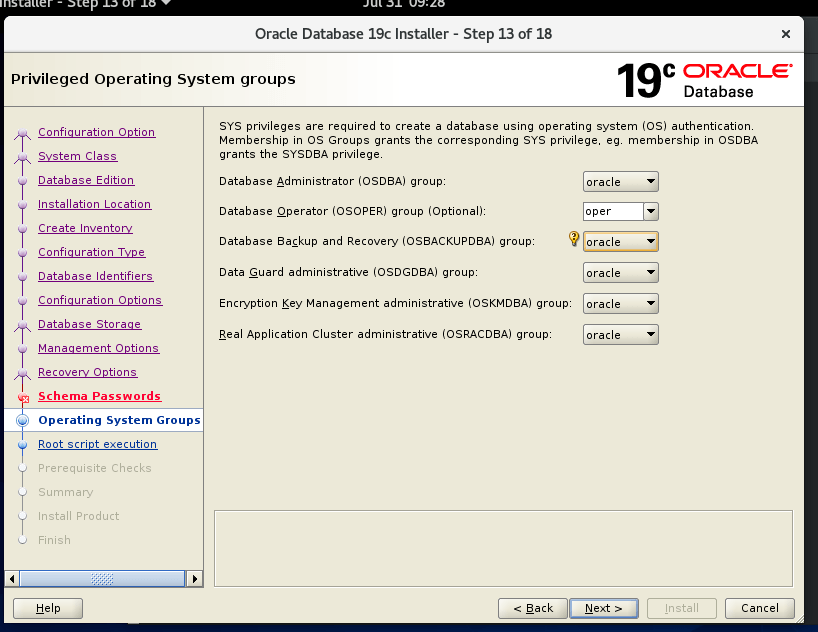
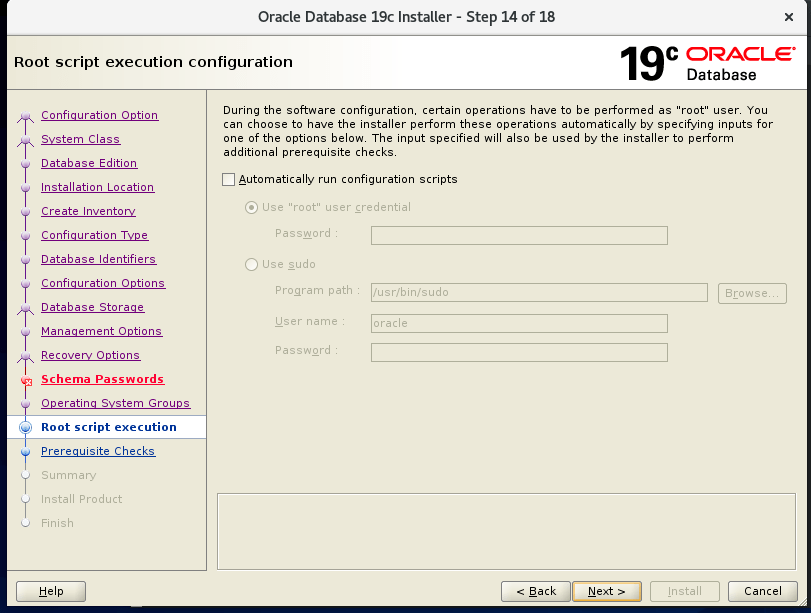
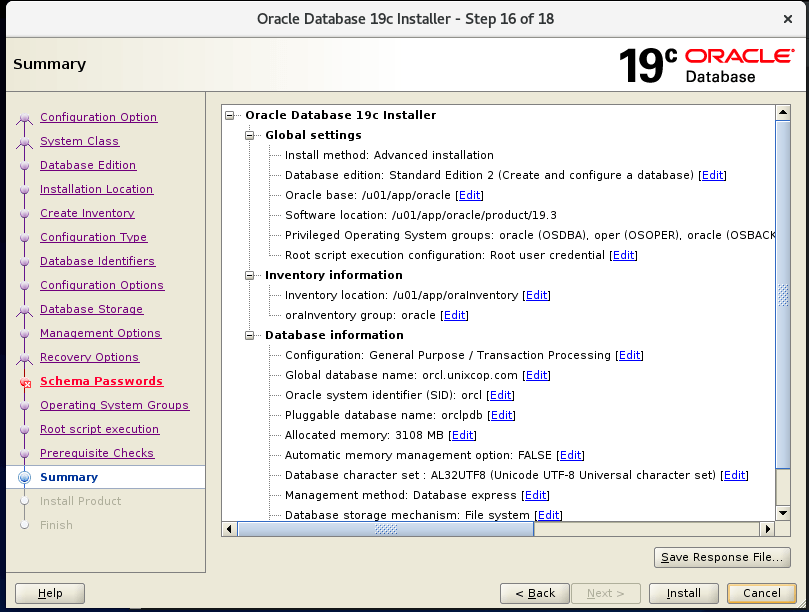
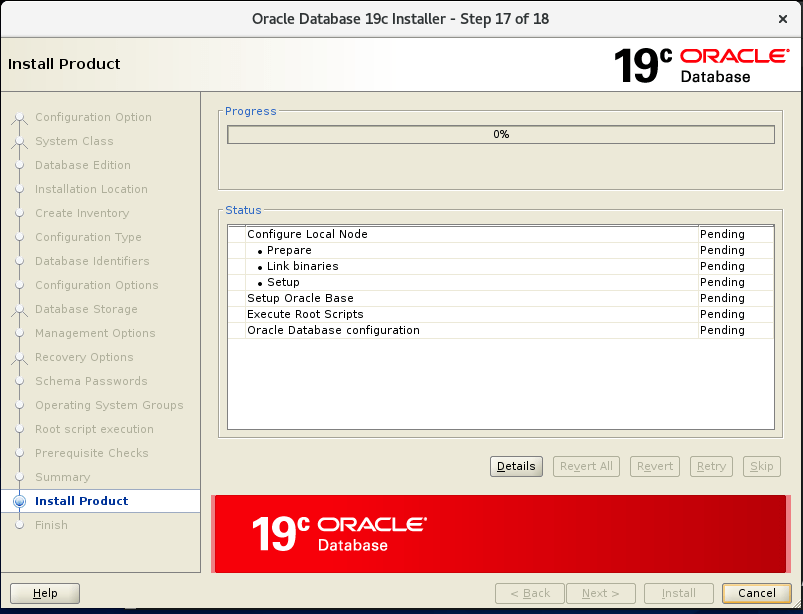
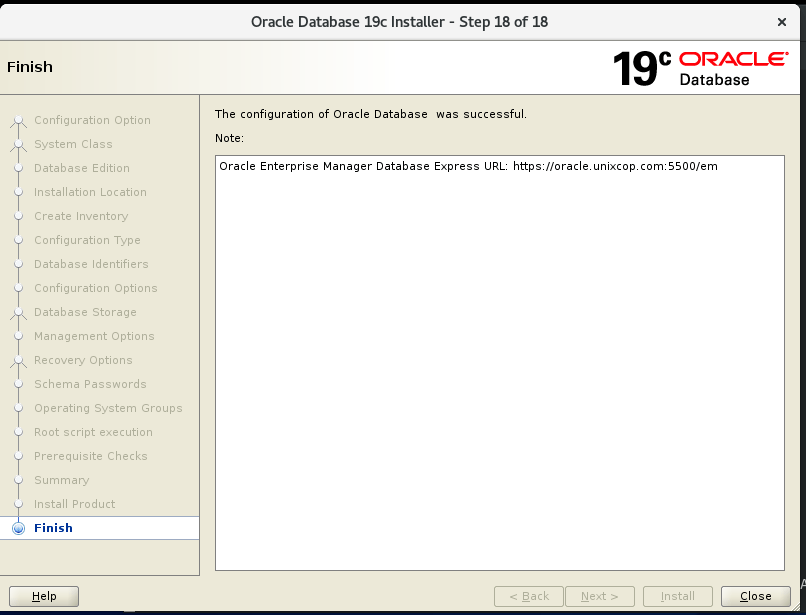
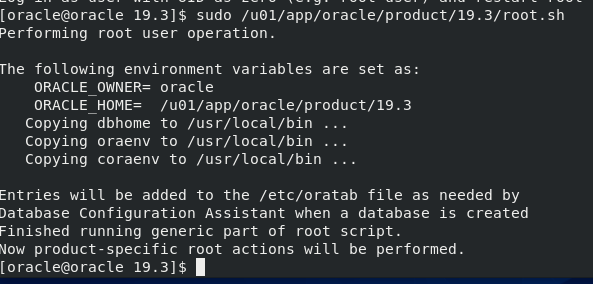
Now execute root and inventory script



I’m trying to install Oracle on Alma Linux 9.1 :
# cat /etc/redhat-release
AlmaLinux release 9.1 (Lime lynx)
It keeps failing by putting this in the install log file :
ld : cannot find -lcntshcore
I’m not sure if I have the setting of CV_ASSUME_DISTID wrong (I’ve tried several) or if there’s some dependency missing?