In this article, we will learn how can we change the system timezone on Ubuntu 18.04 or on 20.04 or 21.04 machines using the Command Line Interface.
Prerequisites:
To change the timezone we need to log in as a root user or with any other user who has root privileges.
Steps to change timezone:
Step 1: Check the current timezone:
You can confirm you current time and time zone by running the following command:
$ sudo timedatectlThe above command will give details like Local time, UTC time, Current time zone as shown in the below image:

In the above image we can see that the current timezone is UTC.
Step 2: List of available time-zones:
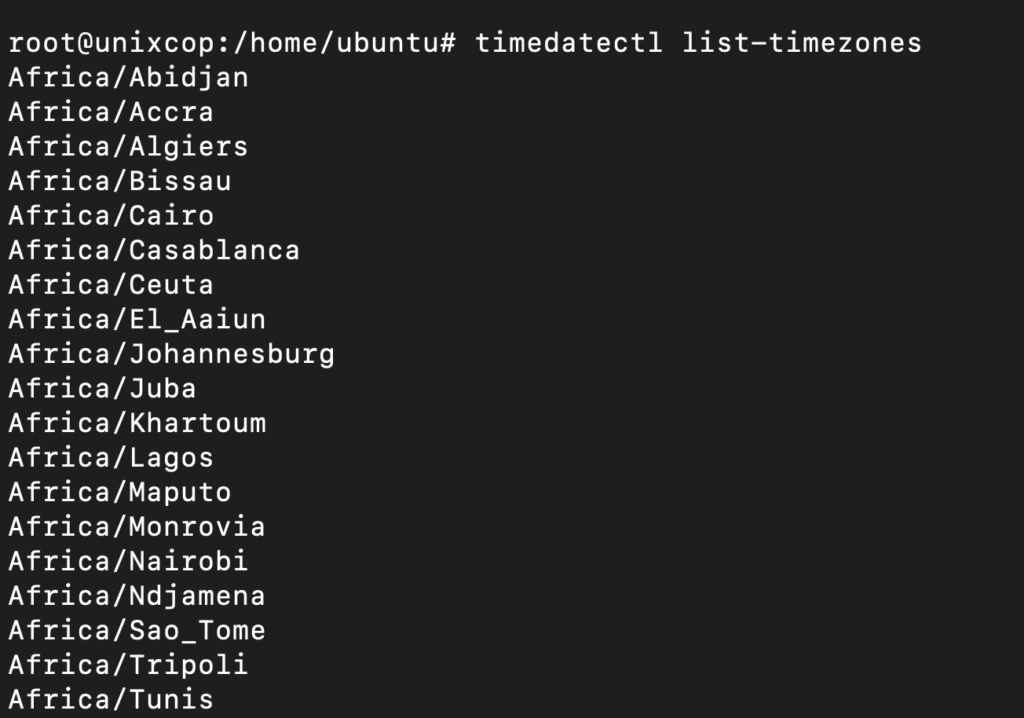
Before we can change the timezone of the machine, we need to check what all options are available. We can check that using the following command:
$ sudo timedatectl list-timezonesThe above command will get the list of various timezone available in the form of Continent_Name/City_Name as shown in the below image:

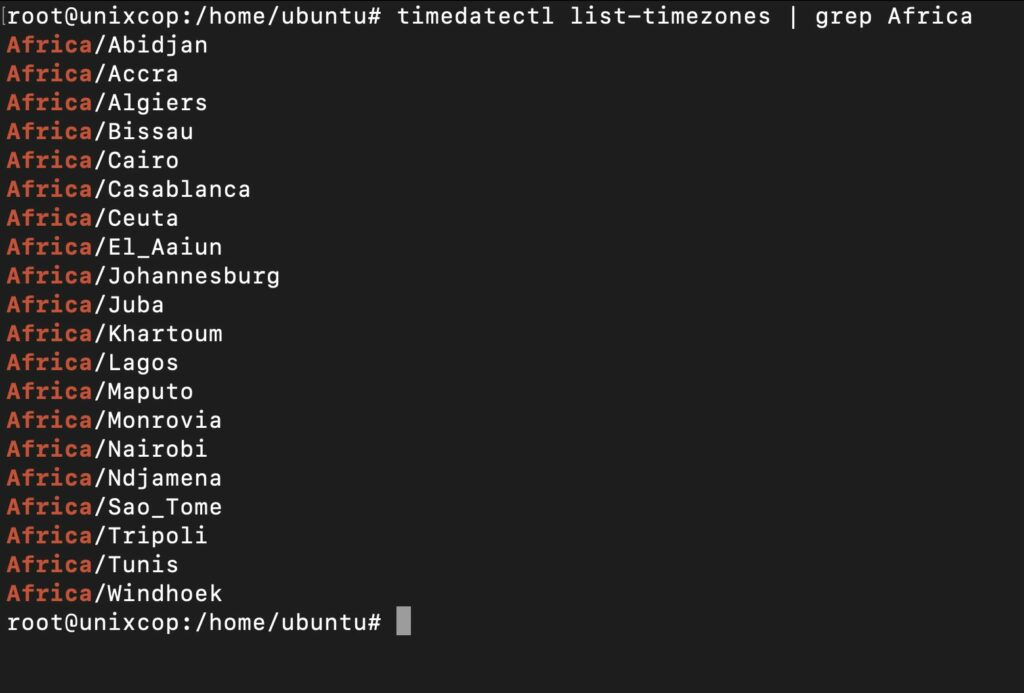
You can use grep option to fetch the more suitable options for your region as shown below:

Step 3: Change the timezone:
Once you are sure of the most suitable timezone according to your location run the following command to change the current time zone for the machine:
$ sudo timedatectl set-timezone <your_time_zone>
# exmaple:
# timedatectl set-timezone Asia/Kolkata
The above-mentioned command should get executed without any error as shown in the below image:

Step 4: Confirm the changes:
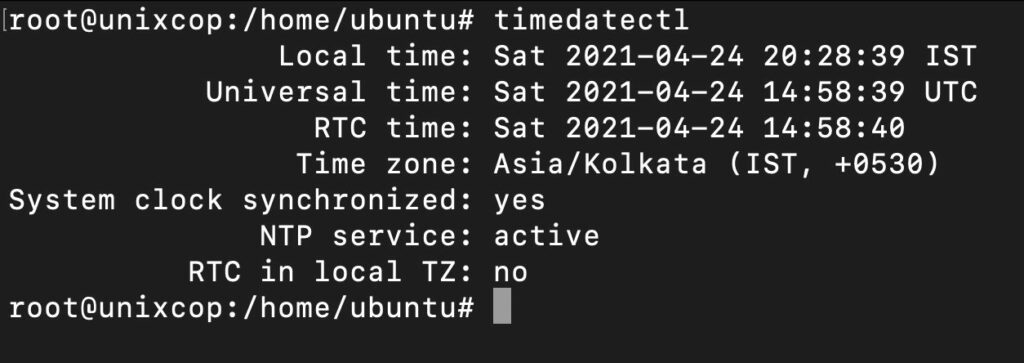
To confirm the change in timezone we can execute the same command which we had executed in step 1.
$ sudo timedatectlOnce you execute the above command you get the output as shown in the image. We can see that the Local timezone for the machine has been changed to IST from UTC.

Alternatively, To confirm the new timezone you can use ls command as well.
$ ls -l /etc/localtimeThe above command will give the output as shown below where we can that /etc/localtime symlinks to ../usr/share/zoneinfo/Asia/Kolkata

With this your new timezone is set.
Cheers !!!


