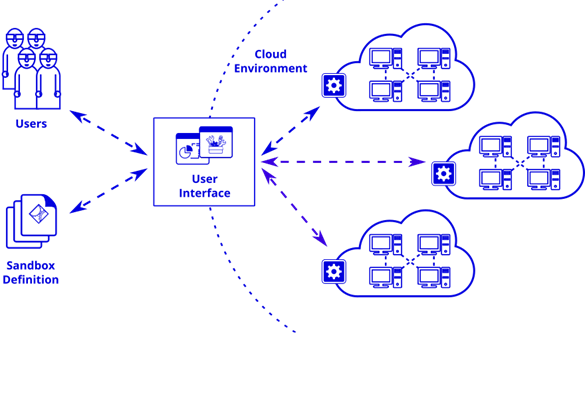
Hi. Today you will learn about KYPO Cyber Range Platform
What is a cyber range?
A cyber range is a controlled, interactive technology environment where up-and-coming cybersecurity professionals can learn how to detect and mitigate cyber attacks using the same kind of equipment they will have on the job. The range simulates the worst possible attacks on IT infrastructure, networks, software platforms and applications. The setup encompasses technology that is able to operationalize and monitor a trainee’s progress and performance as they grow and learn through simulated experiences. Used the right way a cyber range can instill confidence in cybersecurity workers.
The range also contains learning management components (A “Learning Management System,” or LMS). An LMS enables both instructors and students to make measured progress through a defined training program. The LMS may also connect with what is known as an “orchestration layer” that connects specific parts of the curriculum with the underlying IT assets that comprise the range. For example, if the instructor wants to simulate an attack that features data exfiltration, the orchestration layer translates these attack parameters to the data and network components of the cyber range. The student can then experience the simulated exfiltration attack and apply his or her defense techniques.
The range’s underlying infrastructure might include a network, storage, compute (servers) as well as switches, routers, firewalls and so forth. In some cases, the range is built using an open source platform like OpenStack. A virtualization layer helps reduce the range’s physical footprint. Some ranges are partly or fully cloud based. The range’s “target infrastructure” simulates the actual digital assets that might be subject to a cyberattack. The target may consist of “real world” commercial products, e.g., Microsoft Windows Server. Such accuracy is important, as it enables instructors to gauge whether a student has mastered the skills needed to repel an actual attack. The instructors can then provide feedback in real time.

kypo-lite Installation
This guide aims to make the deployment of the KYPO Cyber Range Platform as simple as possible for the evaluation and creation of KYPO content. For production workloads, standard deployment with external OpenStack deployment is recommended due to limited resources on a single host and slow performance of double to triple virtualization used by this guide.
The following steps will deploy OpenStack into a single KVM VM and set up KYPO inside the OpenStack instance.
Requirements:
- Ubuntu 20.04
- 8 VCPU, 44 GB RAM, 250 GB HDD (4 VCPU, 32 GB RAM is minimum for basic functionality)
- Platforms:
- physical server
- desktop
- VM with nested virtualization enabled
- cloud flavors with virtualization support – KYPO lite works well with Google Cloud Platform instances n2-highmem-4 and n2-highmem-8. You can use sample Terraform code to deploy a virtual machine for KYPO-lite to the Google Cloud Platform.
clone kYPO lite git repository
git clone https://gitlab.ics.muni.cz/muni-kypo-crp/devops/kypo-lite.gitinstall prerequisite for KYPO Lite
sudo apt install -y qemu qemu-kvm libvirt-daemon libvirt-clients bridge-utils virt-manager vagrant vagrant-libvirt
Install KYPO Lite
vagrant up
For 4 CPU & 32 GB RAM instances, run instead of vagrant up:
CPU=4 RAM=30720 vagrant up
The URL of the KYPO portal is shown at the end of the provisioning. In case of deployment on your desktop, you can access the URL directly.
In case of running Vagrant instance on a remote host, it’s convenient to tunnel communication over ssh, e.g. with sshuttle:
sshuttle -r root@host 10.1.2.0/24where host is IP/FQDN of your remote server.
Adding own sandbox definition to internal Git
- Add your sandbox definition to git-internal-repos.yaml (similar as line 16).
vagrant ssh -- -t 'sudo su'kubectl patch deployment git-internal -p "$(cat /vagrant/git-internal-repos.yaml)" -o yaml
Additional information
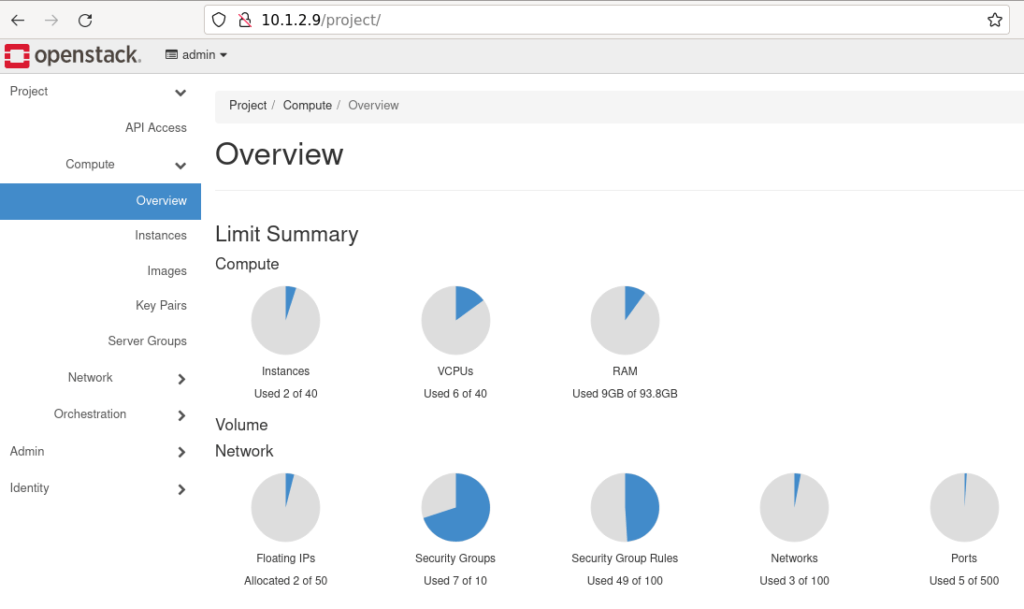
OpenStack API & GUI is running on IP 10.1.2.9
OpenStack CLI access
So, OpenStack CLI is available inside VM. Execute:
vagrant ssh -- -t 'sudo su'
and you can start using CLI commands (RC file with credentials is already sourced).
OpenStack GUI access
So, to access the Horizon portal, enter http://10.1.2.9 into the browser. Login is admin. Password can be retrieved from VM with command:
grep "OS_PASSWORD" /etc/kolla/admin-openrc.sh


KVM environment
The installation will create VM with IP 10.1.2.10.
The installation will create a 10.1.2.0/24 bridged network that is fully accessible from the host running the KVM instance.


