Hello, friends. In this post, you will learn how to install ntopng in Ubuntu 22.04. This powerful network monitoring tool is a marvel that we can always install to take advantage of it.
What is ntopng?
According to the tool’s website:
ntopng is the next generation version of the original ntop, a network traffic probe that monitors network usage.
It is based on libpcap/PF_RING, and it has been written in a portable way to virtually run on every Unix platform, macOS and on Windows as well.
Some main features of this application are:
- Sort network traffic according to many criteria including IP address, port, Layer-7 (L7) application protocols, throughput, Autonomous Systems (ASs)
- Show real-time network traffic and active hosts
- Produce long-term reports for several network metrics, including throughput and L7 application protocols
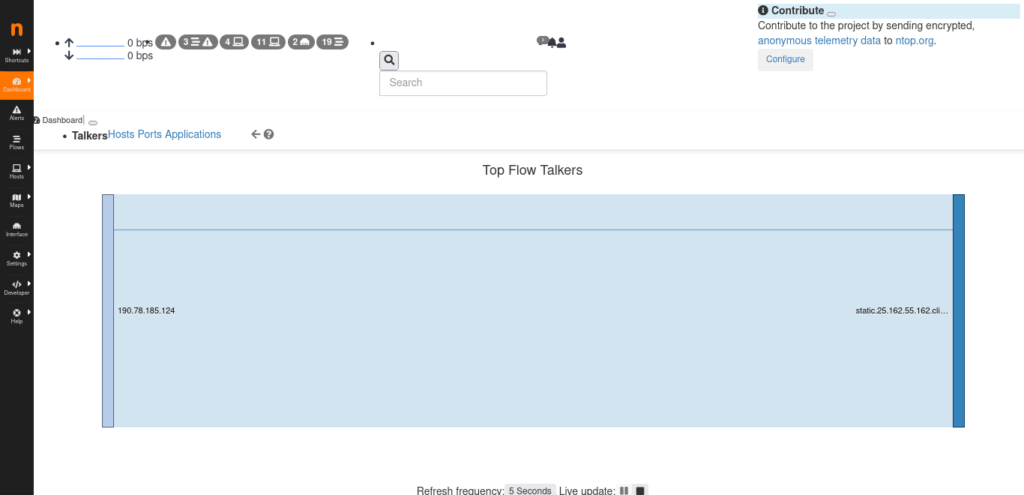
- Top talkers (senders/receivers), top ASs, top L7 application protocols
For secure data visualization, it uses a web interface with encryption so that there are no security issues.
Let’s go for it.
Install ntopng
Unfortunately, this tool is not present in the official repositories of Ubuntu 22.04, but this does not mean that we can’t install it without problems.
First, open a terminal or via SSH connect to your server.
When you are ready, update the whole system:
sudo apt update
sudo apt upgrade
Then, install some packages needed for this post.
sudo apt install gnupg ca-certificates apt-transport-https software-properties-commonThereafter, we have to download a DEB package that will add the ntopng repository. It is best to do this from the /tmp folder.
cd /tmp
wget https://packages.ntop.org/apt/22.04/all/apt-ntop.deb
--2022-06-25 15:53:09--  https://packages.ntop.org/apt/22.04/all/apt-ntop.deb
Resolving packages.ntop.org (packages.ntop.org)... 2a03:b0c0:2:d0::d27:3001, 167.99.215.164
Connecting to packages.ntop.org (packages.ntop.org)|2a03:b0c0:2:d0::d27:3001|:443... connected.
HTTP request sent, awaiting response... 200 OK
Length: 6362 (6.2K) [application/x-debian-package]
Saving to: ‘apt-ntop.deb’

apt-ntop.deb                               100%[=====================================================================================>]   6.21K  --.-KB/s    in 0s

2022-06-25 15:53:09 (278 MB/s) - ‘apt-ntop.deb’ saved [6362/6362]
Now install it using APT.
sudo apt install ./apt-ntop.debThis way, the repository will be added to the system. From there, we will be able to install the tool without issues.
sudo apt install ntopng
You will be asked for the password and then the download and installation process will start.
Configuring ntopng before using it
The configuration of the tool is simple and there is not much of a trick to it. It resides in the /etc/ntopng.conf file and should always be backed up before editing it.
sudo cp /etc/ntopng.conf /etc/ntopng.conf.bakNow edit it:
sudo nano /etc/ntopng.confIn this file, you can define the network interface to listen to and the port. The vital thing at this point is to make sure that the -w parameter is uncommented. The default port value is 3000 which you can always change.
-w=3000Save the changes and close the editor. To apply the changes, just restart the service.
sudo systemctl restart ntopngIf you want to check the status, remember that you can do it with the following command:
sudo systemctl status ntopngIf there are no errors, then the next step is to enable port 3000 in the firewall.
sudo ufw allow 3000This is how simple the process is.
Accessing the ntopng web interface
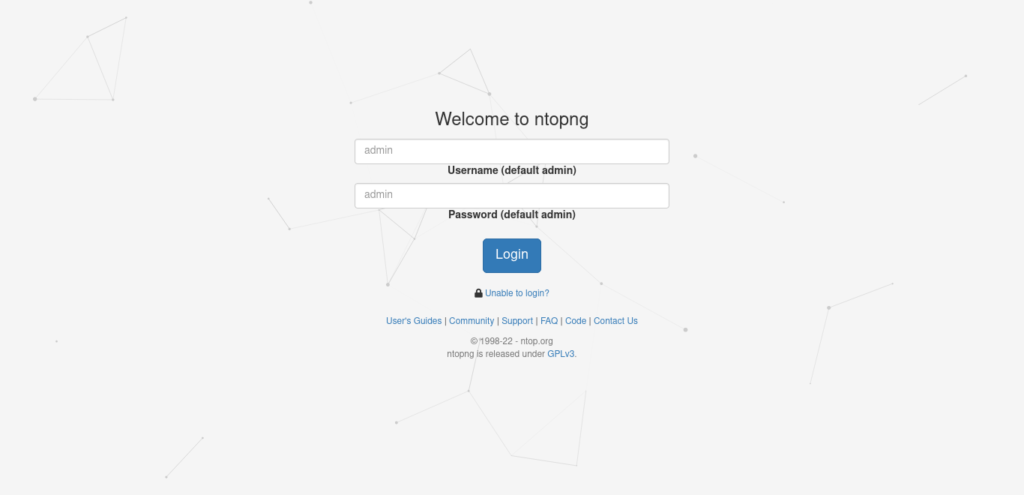
With everything ready, the rest is to open a web browser and access http://your-server:3000 where you will see the login page.

There, you have to enter the default credentials, which are admin and admin.
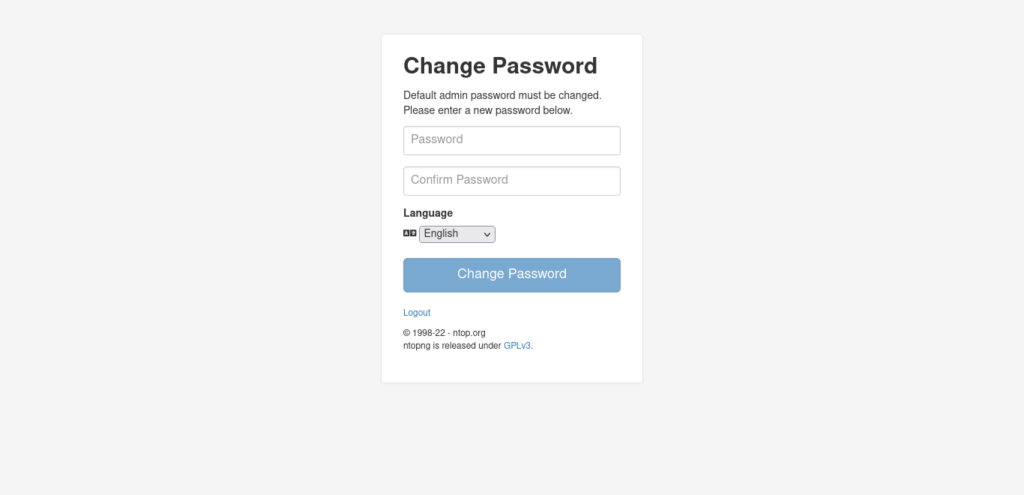
When you log in, you will be prompted to change your password.

When you do so, you will be able to access the ntopng dashboard, and you will be able to use it.

Enjoy it!
Conclusion
In this post, you learned how to install ntopng on Ubuntu 22.04 without too many problems. This tool becomes important for network and server professionals.


