
The following article assumes you are already familiar with what Etherpad is. If that
isn’t the case, then the wikipedia article should suffice for a quick introduction.
Even though the Etherpad project is well documented, it isn’t always easy to
make sense from just documentation. This article aims to condense some of the
tutorials available on the project wiki in an easy-to-follow manner.
We will cover the following:
- Installing Etherpad as a service
- Enabling TLS with self-signed certificates
- Using
mysqldatabase - Using Nginx with Etherpad
Installing Etherpad
As of now, Debian 11 doesn’t provide any etherpad packages. So, we’ll have to
install it manually from GitHub. Thankfully, the steps are really easy (the #denotes root):
- Create a user
etherpadand assign it to theetherpadgroup:
# useradd --comment "Etherpad Service User"--create-home --home-dir /usr/local/etherpad --user-group etherpad - Download and run the setup script:
# curl -sL https://deb.nodesource.com/setup_14.x|bash - - Install
nodejs. We’ll also needgit.# apt install -y nodejs git - Switch to the
etherpaduser and clone the project repository.# su - etherpadetherpad$ git clone --depth 1 --branch masterhttps://github.com/ether/etherpad-lite.git/usr/local/etherpad/src - Install the required dependencies:
etherpad$ /usr/local/etherpad/src/bin/installDeps.sh - Create a systemd unit file in
/etc/systemd/system/directory./etc/systemd/system/etherpad.service:[Unit]
Description=Etherpad Service
After=syslog.target network.target[Service]
Type=simple
User=etherpad
Group=etherpad
WorkingDirectory=/usr/local/etherpad/src
Environment=NODE_ENV=production
ExecStart=/usr/bin/node --experimental-worker /usr/local/etherpad/src/node_modules/ep_etherpad-lite/node/server.js
[Install]
WantedBy=multi-user.target - Allow firewalls, etc. for opening the port
9001.Then, finally we can start
theetherpadservice:# systemctl start etherpad
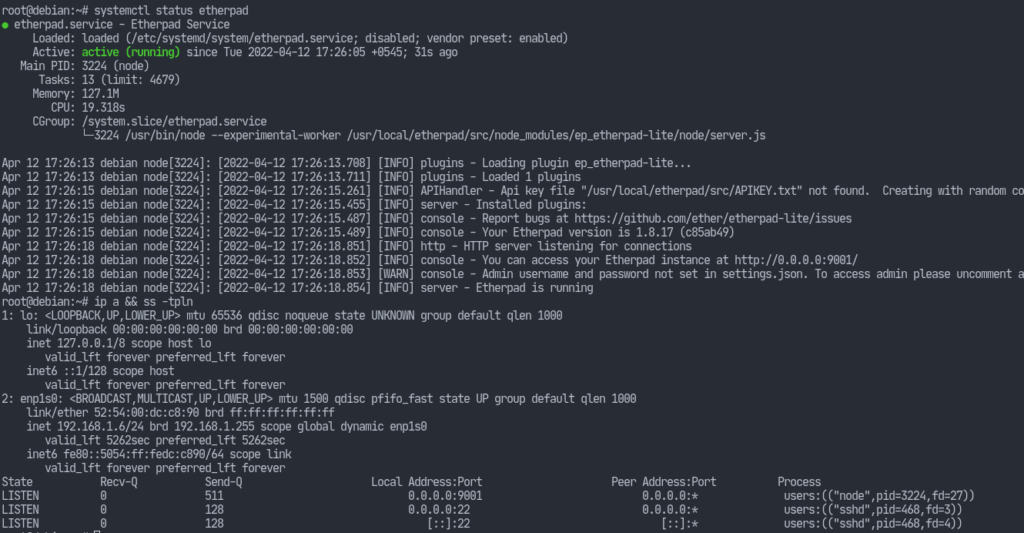
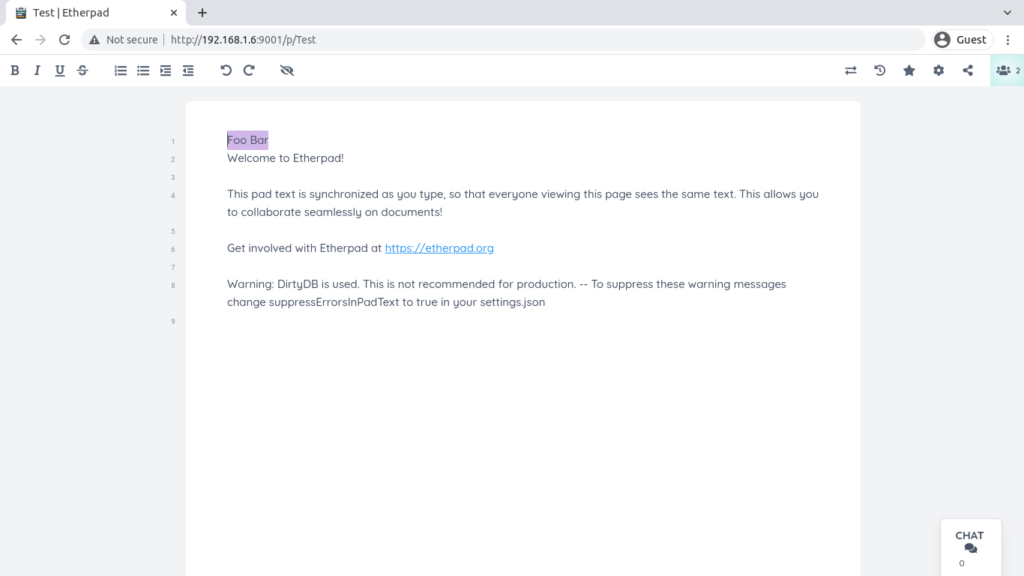
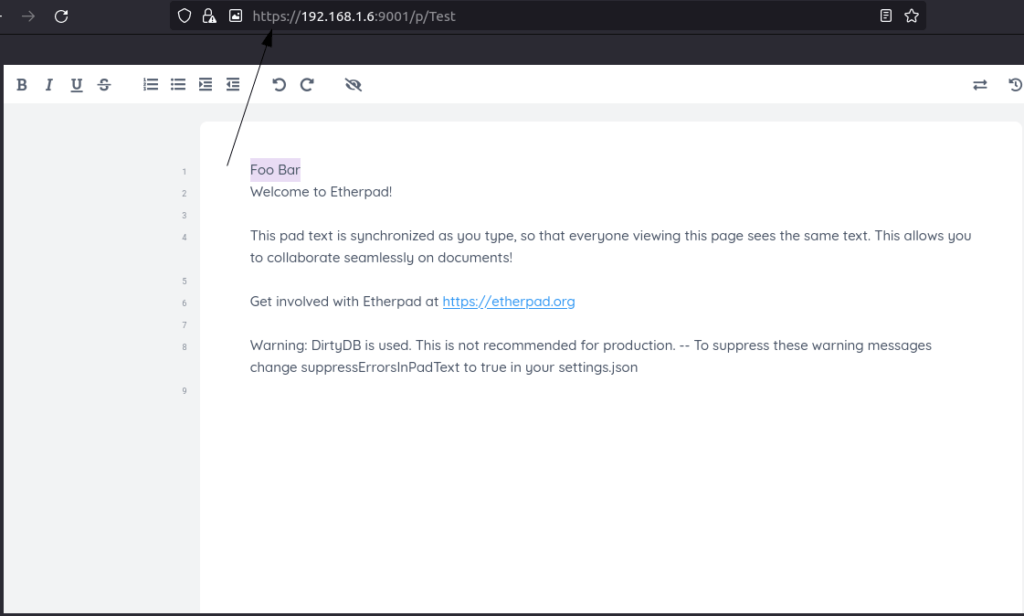
We still have a lot of configurations to do. However, we can now view the etherpad instance on our browser.
Enabling TLS with self-signed certificates
If you want to have your certificates signed by a Certificate Authority (CA), then you can do so. However, here I am just going self-sign everything. I am referring to the wiki article which can be found here.
Open settings.json in the etherpad directory and find the ssl section
(should be around line 174) and modify accordingly:"ssl" : {
"key" : "/usr/local/etherpad/ssl/epl-server.key",
"cert" : "/usr/local/etherpad/ssl/epl-server.crt"
}
Create a directory /usr/local/etherpad/ssl as the etherpad user, cd into that directory and run the following commands.
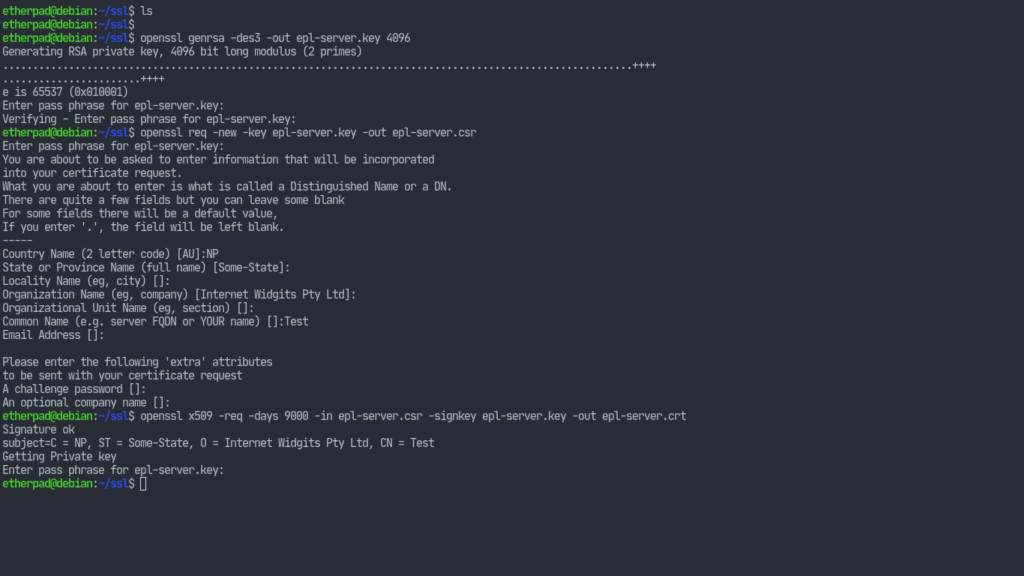
Generate the server key providing the required passphrase:openssl genrsa -des3 -out epl-server.key 4096
Now generate the certificates:openssl req -new -key epl-server.key -out epl-server.csropenssl x509 -req -days 9000 -in epl-server.csr -signkey epl-server.key -out epl-server.crt
Now we’re going to use that file to create another key. That way we won’t have to provide a passphrase every time our server starts.
Rename the key:mv epl-server.key epl-server.key.secure
Then generate our second key:openssl rsa -in epl-server.key.secure -out epl-server.key
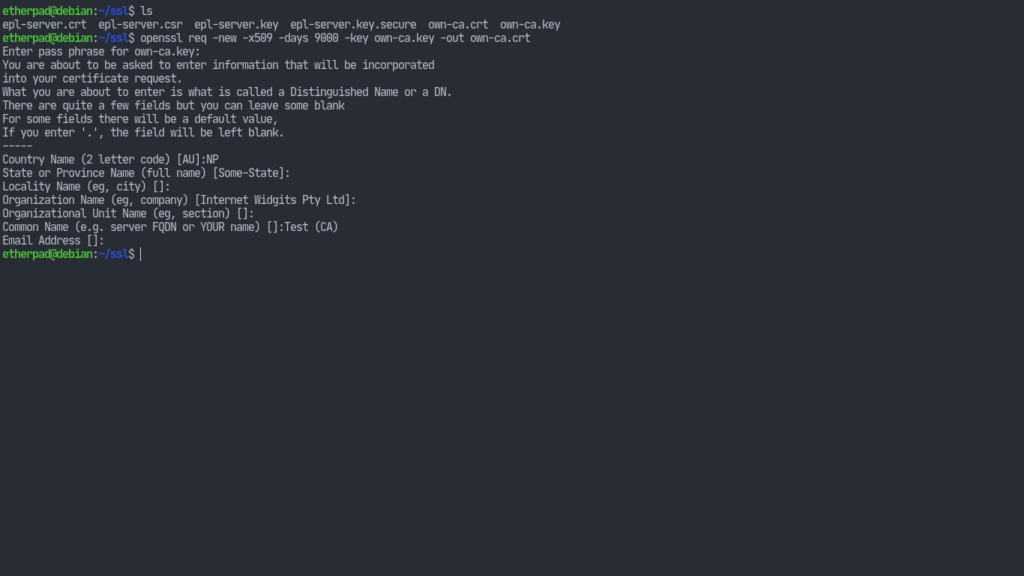
Now we need to self-sign our certificates. For that we have to generate another key which will sign our epl-server.key. The steps are similar to above.openssl genrsa -des3 -out own-ca.key 4096
Create a signing certificate:openssl req -new -x509 -days 9000 -key own-ca.key -out own-ca.crt
This will ask us for some information. They can be left as default but the Common Name (CN) must be different from the CN of our own key. So we can just append “(CA)” to the CN.
Finally let’s sign our epl-server.key with the certificate of our CA.openssl x509 -req -days 9000 -in epl-server.csr -CA own-ca.crt -CAkey own-ca.key -set_serial 001 -out epl-server.crt
This will result in a self-signed epl-server.crt file.
Now make sure the files have secure permissions:chmod 400 epl-server.keychown etherpad epl-server.keychmod 400 epl-server.crtchown etherpad epl-server.crt
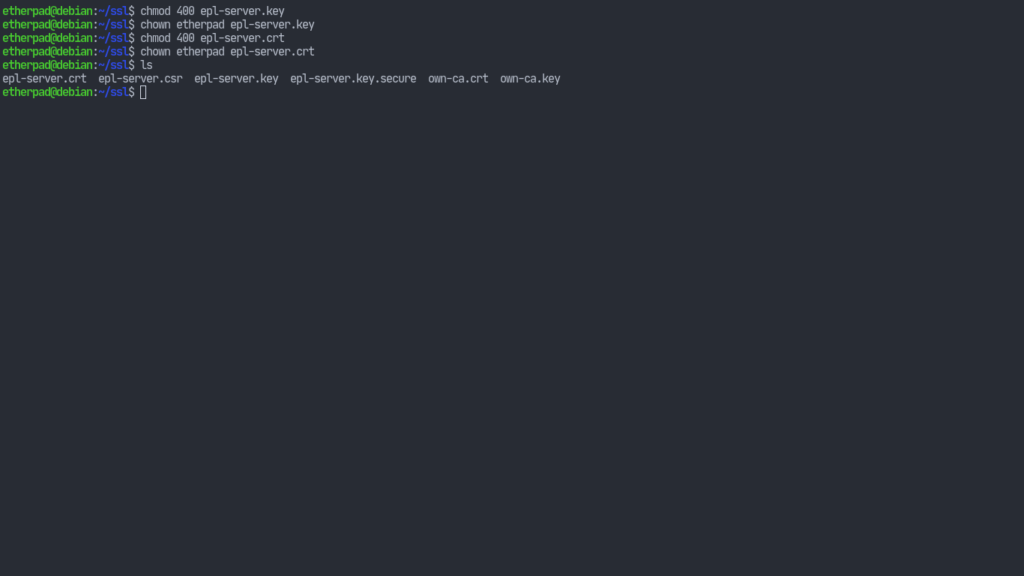
Other files can be moved to some different place or simply deleted. I am just going to leave them as is for now. Nonetheless, we can restart the etherpad service now and we’ll get https working although browsers will throw warnings and even refuse to connect since our certificates weren’t supplied with proper information.
Using MySQL with Etherpad
Up until now, our Etherpad instance has been using the dirtyDB database which isn’t suitable for testing/development purposes only. To make our instance fully suitable for production, we’ll now switch to mysql. Once again, all of the credits for the installation instruction goes to the project wiki. I just decided – in order to sum everything up in one place – to not make you jump to different links.
So, let’s install the required packages (I’m using mariadb but things are basically the same):# apt install -y mariadb-server
Now run mysql_secure_installation as root providing the required parameters.
After that’s done, we can proceed to setup the database:
1. Connect to mysql with the following command:# mysql -u root -p
2. Once inside, create a database:CREATE DATABASE `etherpad_lite_db`;
Yes, those are backticks around the db name. And don’t forget the semi-colon 😉
3. Create a database user supplying your own username and password: CREATE USER '<username>'@'localhost' identified by '<pass>';
4. Change permissions for the new user:GRANT CREATE,ALTER,SELECT,INSERT,UPDATE,DELETE on `etherpad_lite_db`.* to 'etherpad'@'localhost';
Here, etherpad was the user I created earlier.
Our database is created, so we can now exit from the prompt and proceed to let the etherpad service know about the achievements we have made i.e. by modifying the settings.json file.
Search for the dbtype with your text editor, it should be around line 196 and change it so that it looks something like the following:"dbType": "mysql",
"dbSettings": {
"user" : "etherpad",
"port" : "/var/run/mysqld/mysqld.sock",
"password": "<pass>",
"database": "etherpad_lite_db",
"charset" : "utf8mb4"
}
Obviously, I am not going to reveal the password here. That would be dangerous since I use the same one for all my accounts (no, not really; don’t reuse passwords).
We can now restart the services:# systemctl restart mysqld etherpad
Using Nginx with Etherpad
Now let’s configure nginx to forward the standard http/s traffic to the etherpad service.
Let’s make sure we’ve nginx installed:# apt install nginx
Create a file in /etc/nginx/sites-available/etherpad and have its contents be:
    server {
    listen 443 ssl http2;
    listen [::]:443 ssl http2;
    server_name localhost; # CHANGE THIS!
    access_log  /var/log/nginx/eplite.access.log;
    error_log   /var/log/nginx/eplite.error.log;

    ssl                  on;
    ssl_certificate      /etc/nginx/ssl/epl-server.crt;
    ssl_certificate_key  /etc/nginx/ssl/epl-server.key;

    location / {
        proxy_pass         https://127.0.0.1:9001;
        proxy_buffering    off;
        proxy_set_header   Host $host;
        proxy_pass_header  Server;

        proxy_set_header    X-Real-IP $remote_addr;
        proxy_set_header    X-Forwarded-For $remote_addr;
        proxy_set_header    X-Forwarded-Proto $scheme;
        proxy_http_version  1.1; # apparently recommended with keepalive connections

        # WebSocket proxying - from https://nginx.org/en/docs/http/websocket.html
        proxy_set_header  Upgrade $http_upgrade;
        proxy_set_header  Connection $connection_upgrade;
    }
}

map $http_upgrade $connection_upgrade {
    default upgrade;
    ''      close;
}

# enforce HTTPS
server {
    listen       80;
    listen       [::]:80;
    server_name  localhost; # CHANGE THIS!
    return 301   https://127.0.0.1:9001/;
}
Now run the following commands:doas mkdir /etc/nginx/ssldoas cp /usr/local/etherpad/ssl/epl-server.crt /etc/nginx/ssl/doas cp /usr/local/etherpad/ssl/epl-server.key /etc/nginx/ssl/
As you can see, we’re just copying over the ssl certificates and keys to nginx.
Nginx comes with a default config file which’s enabled. Let’s fix that.# rm /etc/nginx/sites-enabled/default
And let’s enable our etherpad config file for nginx.# ln -s /etc/nginx/sites-available/etherpad /etc/nginx/sites-enabled/etherpad
Make sure you haven’t made any mistakes in the configuration:# nginx -t
Now let’s restart our services one last time:# systemctl restart etherpad mysqld nginx
Our setup is basically finished. Of course, we can do more but I think we’ve done enough (besides changing obvious things like the fact that we have setup our own CA) for this to be usable. I’ll leave the reader to explore further from
the various resources I’ve linked throughout the article. That’s it for now. Thanks for reading all the way through. Don’t forget to check out my other articles at unixcop.com.