Hello, friends. In this post, you will learn how to install Adminer on Rocky Linux 8 / Alma Linux8.
Adminer is a basic MariaDB, SQLite, and PostgreSQL client that allows us to do operations on databases created with some of these engines.
It is effortless to use and as light as a single PHP file. We can use it to quickly visualize data and although it doesn’t have great features, it can still help us in a pinch.
As it is made in PHP, it is necessary to have a web server and install the language. In addition to this, you have to install a supported database manager.
Let’s install it because it is easy and useful.
Installing LAMP on Rocky Linux 8
The goal of this post is not to detail the installation of LAMP; however, we have to install it to run Adminer on the system.
Open a terminal or connect via SSH and update it.
sudo dnf updateThereafter, install Apache web server, PHP and MariaDB with the following command
sudo dnf install httpd mariadb-server php php-mysqli php-curl php-jsonThen you have to start the MariaDB and Apache services. To achieve this, just run this command.
sudo systemctl enable --now httpd mariadbThe next step is to configure MariaDB. To achieve this, run the script mysql_secure_installation.
sudo mysql_secure_installationPress Enter to log in and then change the password. Then, answer And to all the configuration questions.
Then, you can log in to the MariaDB console.
sudo mysql -u root -pCreate a database to work with Adminer. This database can be your project database or any other database.
CREATE DATABASE adminer;Create the user different from the root user.
CREATE USER 'user'@'localhost' IDENTIFIED BY 'pas';This user is not only dedicated to Adminer, it can be the one you use for your project or a general one.
Assign permissions to this new user.
GRANT ALL ON adminer.* TO 'user'@'localhost';Refresh the permissions and exit the console.
FLUSH PRIVILEGES;
exit;
Download and install Adminer in Rocky Linux 8 / Alma Linux 8
Now we can install Adminer on Rocky Linux 8. First, create the folder where we will install it.
sudo mkdir /var/www/html/adminerAnd then from the /tmp/ folder, download Adminer.
cd /tmp/
wget -O index.php https://github.com/vrana/adminer/releases/download/v4.8.1/adminer-4.8.1.php
Now move it to the folder we created.
sudo mv index.php /var/www/html/adminer/Set the correct permissions on the folder and make Apache the owner of it.
sudo chown -R apache:apache /var/www/html/adminer/
sudo chmod -R 775 /var/www/html/adminer/
Then create a new VirtualHost so that Apache can properly handle the new site.
sudo vi /etc/httpd/conf.d/adminer.confAnd add the following
<VirtualHost *:80>
     ServerAdmin [email protected]
     DocumentRoot /var/www/html/adminer/
     ServerName adminer.unixcop.com
     DirectoryIndex index.php
     ErrorLog /var/log/httpd/adminer-error.log
     CustomLog /var/log/httpd/adminer-access.log combined

</VirtualHost>
Replace ServerName with your domain. And save the changes.
Apply these changes by restarting Apache
sudo systemctl restart httpdAccess the adminer web interface
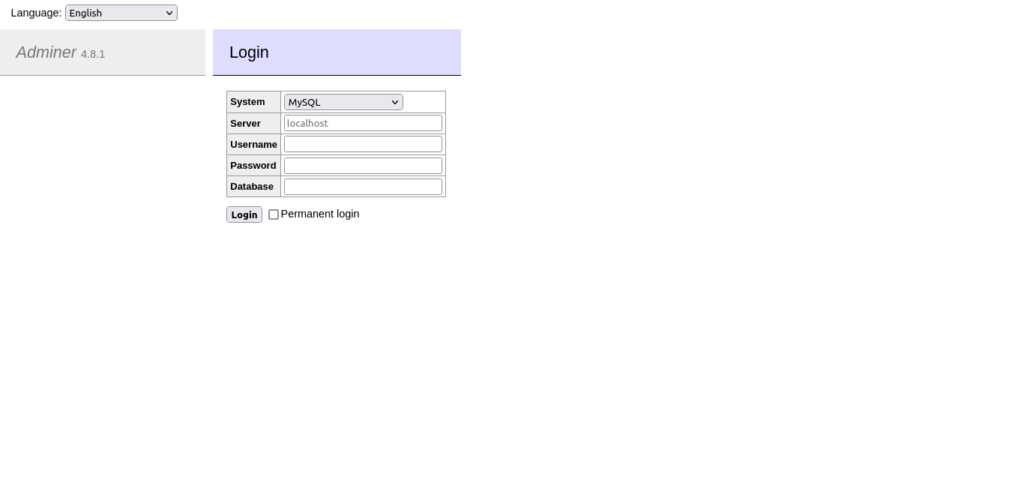
We can now access the Adminer web interface and start working. Open your web browser and go to http://your-domain and you will see the following.

Just fill in the form with your database access credentials.
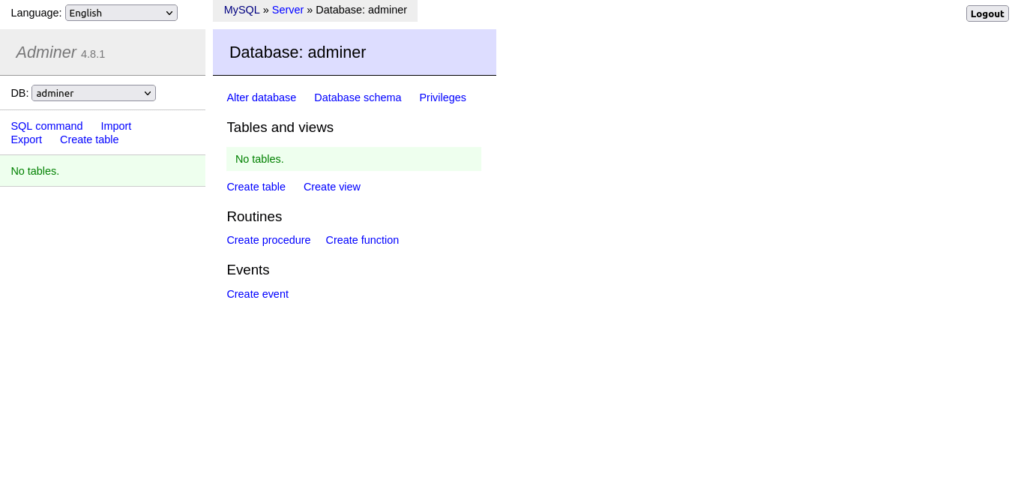
Then you will be able to start using Adminer and query everything on that database with the connection made.

Conclusion
Adminer is so simple that it can be considered as a bad application, but the truth is that it is quite useful and helps us with simple database administration tasks fast.


