Hello, friends. In this post, we will continue with some tricks for Nginx. So today, you will learn how to restrict access to directory and subdirectories in Nginx. Let’s go for it.
First, should we do this?
The short answer is YES. Definitely. Because in an application or website, there are many folders that contain sensitive files in order for it to work.
Because of the above, it is advisable to establish rules to prohibit access to these folders and thus improve the security of the site.
These restrictions can be applied by IP address, which allows us to have the flexibility to apply the configurations we need.
It is effortless. Let’s go for it.
Prerequisites
Before we continue, we have to make sure that we meet the requirements to complete the post without problems
- You need to have Nginx installed and configured. So make sure you have it using the official repositories of your Linux distribution.
- The version of Nginx must be higher than 1.9.5 You should have no issue to have it because most distributions include recent versions.
- Have basic knowledge on the use of the terminal.
- A user with sudo access or root access.
Let’s go for it.
How to restrict access to directory and subdirectories in Nginx
It is normal to have several Server Blocks on the server. But if you want to apply the configuration globally, or you don’t have any created, you have to modify the /etc/nginx/nginx.conf– Otherwise you have to edit the configuration file of each Server Block. For example,
sudo nano /etc/nginx/sites-enabled/domain.confFor this post, I will work with a folder called data in the root of the website. Therefore, the relative path would be /data.
The Nginx directive that performs the access denial is Deny but we have to specify it within a script referring to the directory.
If you want to restrict access to that directory, you have to include in the configuration file
location /data {
   ...
      deny all;
         ...
}
You can also restrict access to a specific IP address. For example:
location /data {
   ...
   deny 192.168.2.5;
   ...
}
If there are multiple IP addresses, you can specify them like this
location /data {
   ...
   deny 192.168.2.5;
   deny 192.168.2.9;
   ...
}
You can also use IP address ranges
location /data {
   ...
   Deny 192.168.1.0/24;
   ...
}
Save the changes and close the editor. To apply the changes, restart Nginx.
sudo systemctl restart nginxAnd you are done.
Password protect directory in Nginx
Another useful option is to add a password. This method is very secure and also gives you more control over who can access it.
To do this, install the apache2-utils package on Debian, Ubuntu and derivatives; and httpd-tools on RHEL, Rocky Linux and derivatives.
Then, create the file where the password will be hosted followed by the user. For example:
sudo htpasswd -c /home/username/.htpasswd userWhen you run it, you will be prompted to enter a new password for the user.
We edit the Nginx or ServerBlocks configuration file
sudo nano /etc/nginx/sites-enabled/domain.confAnd add something like this
location /data {
auth_basic "Restricted";
auth_basic_user_file /home/username/.htpasswd;
}
Save your changes, close the editor and restart Nginx.
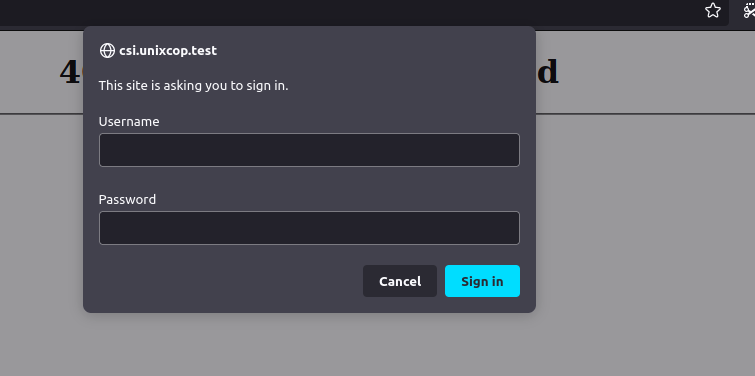
sudo systemctl restart nginxNow when you want to access the folder, you will be prompted for a password.

Conclusion
In this short and simple post, we have explained something as important as restricting access to folders on our web server.


