This is an screen by screen guide on how to install minix 3.3.0.
Why Minix?
From the FAQ: MINIX 3 is a small and free UNIX clone designed for very high reliability. It is available with all the source code, which makes it well-suited to classroom or self-study by people wanting to learn how an operating system works. MINIX was released in 1987 as a small easy-to-understand UNIX clone for use in courses teaching operating systems. Linus Torvalds, then a student at the University of Helsinki, studied MINIX in an operating systems course and was sufficiently impressed that he bought a PC to run it. He then used MINIX as a platform, guide, and inspiration to develop a MINIX clone, named Linux, which he released in 1991. Here is his the announcement: https://groups.google.com/g/comp.os.minix/c/4995SivOl9o/m/GwqLJlPSlCEJ
From me: as with my Oracle Solaris article, it’s always nice go back to where everything started…sort of. Minix 3 was released in 2014 and the Minix that inspired Linux is from the ’80s.
Download Minix
You can get a compressed ISO from the minix website: https://wiki.minix3.org/doku.php?id=www:download:start . Then you can use it in virtual machine as me, or you can burn it on a cd-rom to install on a real PC.
Install Minix
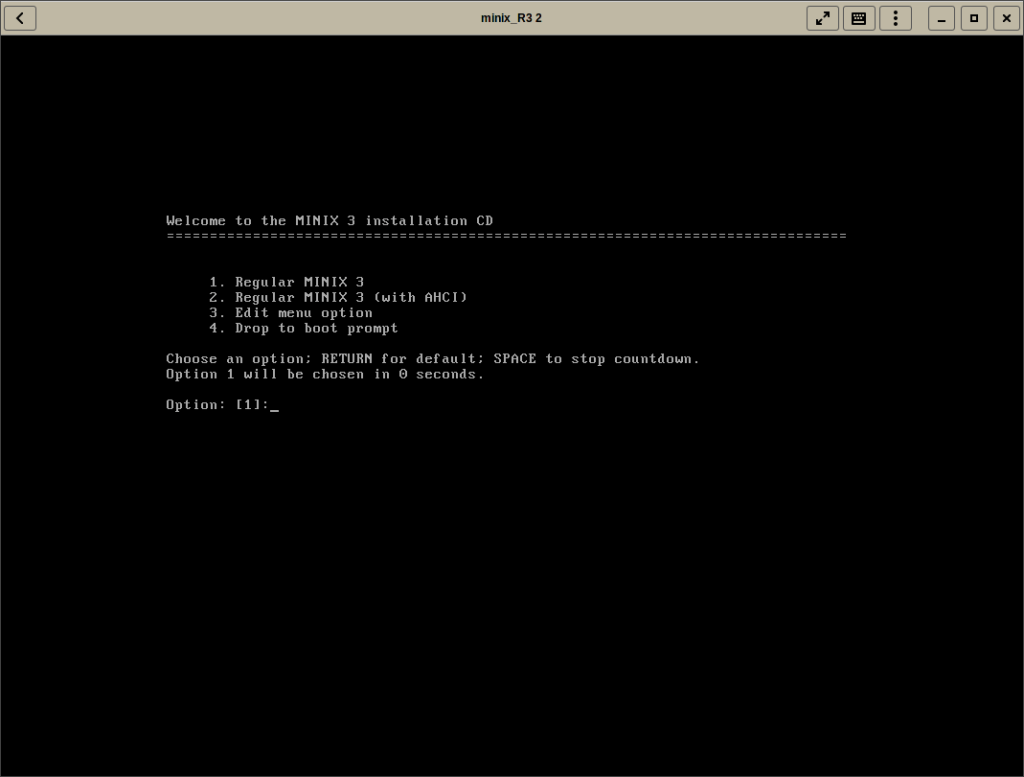
Boot your computer with the CD, on the first screen just press enter:
Quickly you’ll get a live minix system with a kind of “warning”.
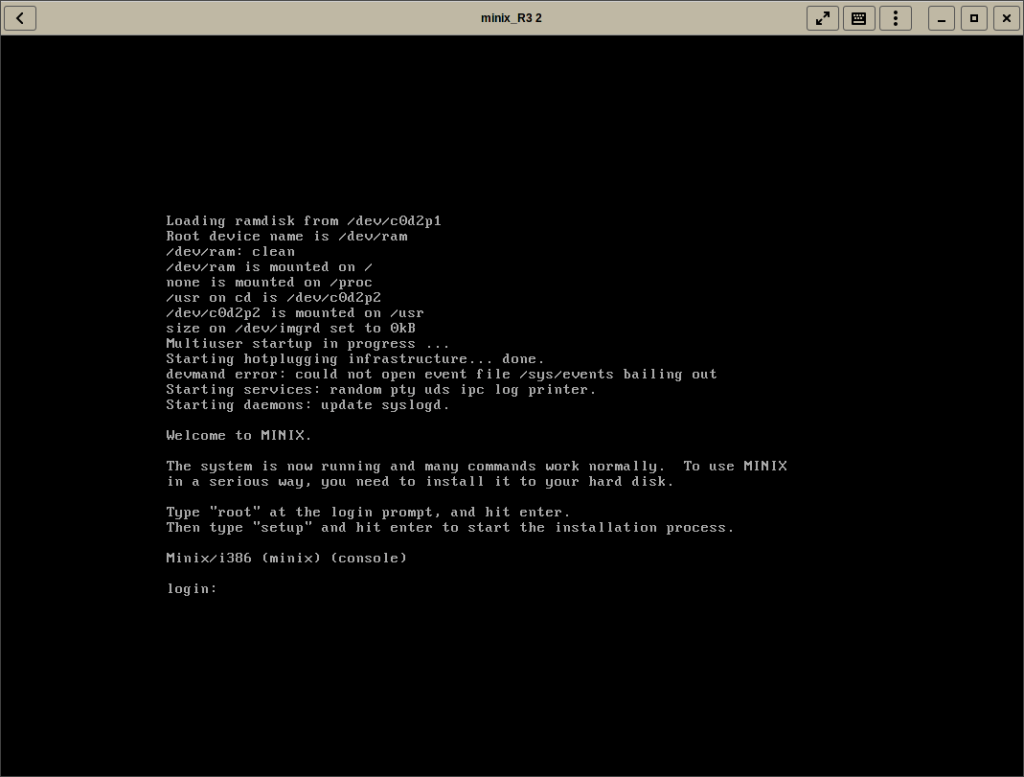
We want to use Minix in a serious way (i.e. learn how to install it and studying it later). So log in as root (with no password yet) and run the setup script.
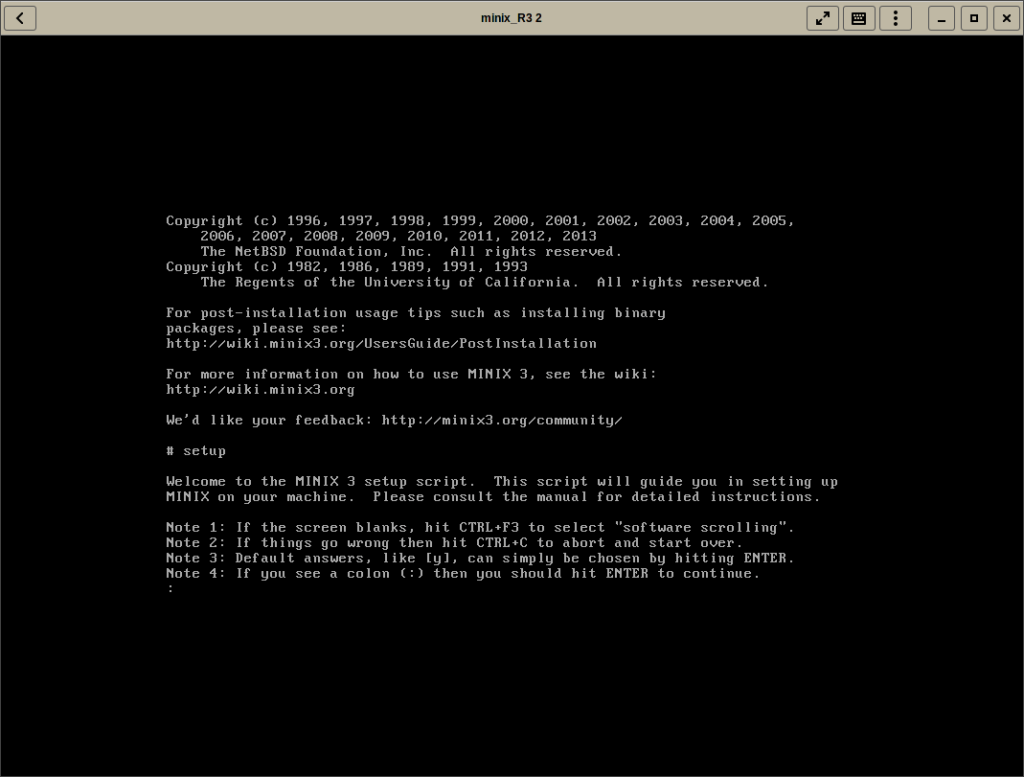
As you see on this screenshot -and all the next ones- the installer is text-based with simple question asked. Pay attention to those 4 notes to learn everything you need to use the installer.
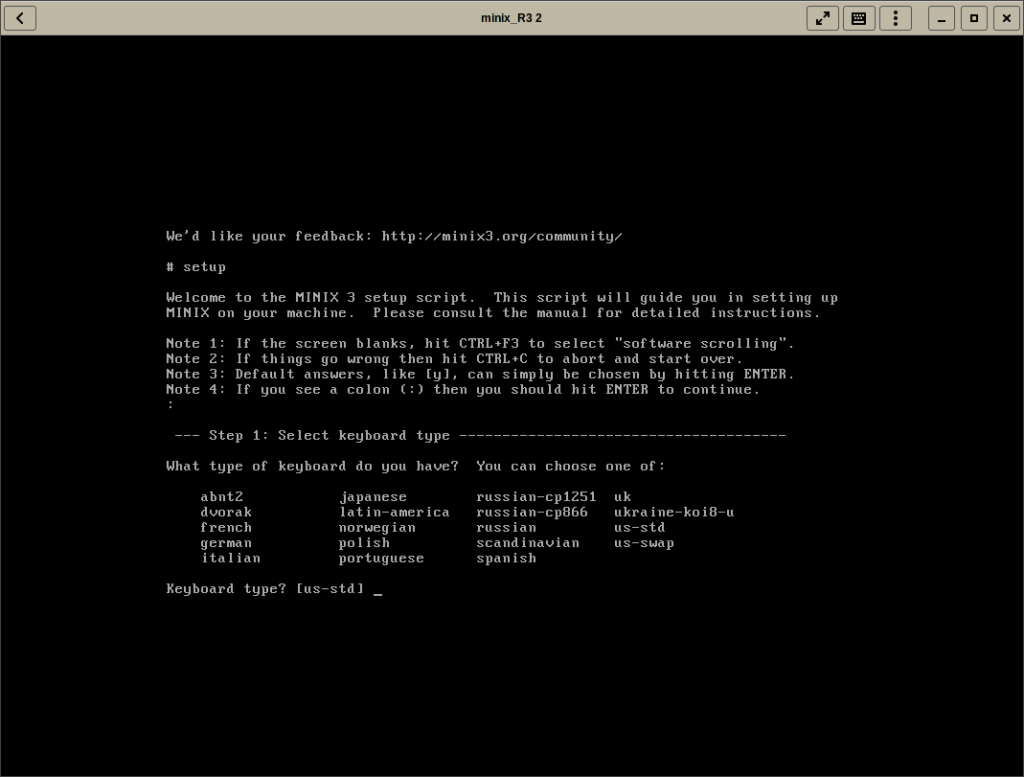
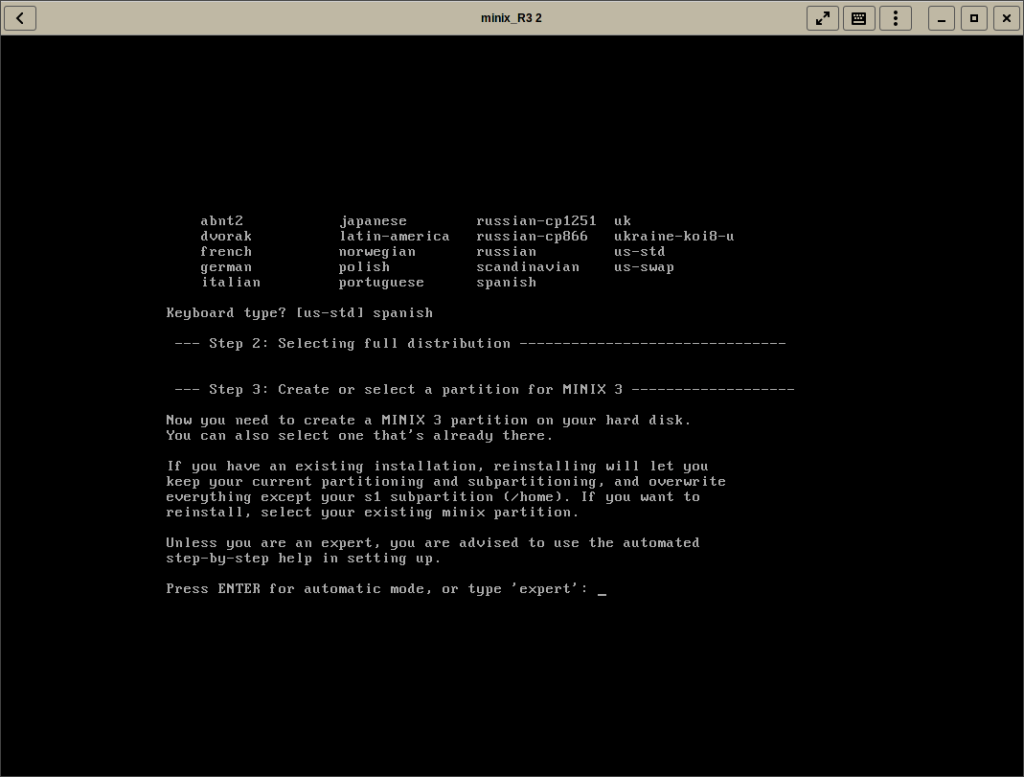
As with many operating systems, you need to set your keyboard layout. Mine is in spanish.
Next is time to partition disks. This is a new computer, and for now I’m not a Minix expert, so I’m choosing the automated mode
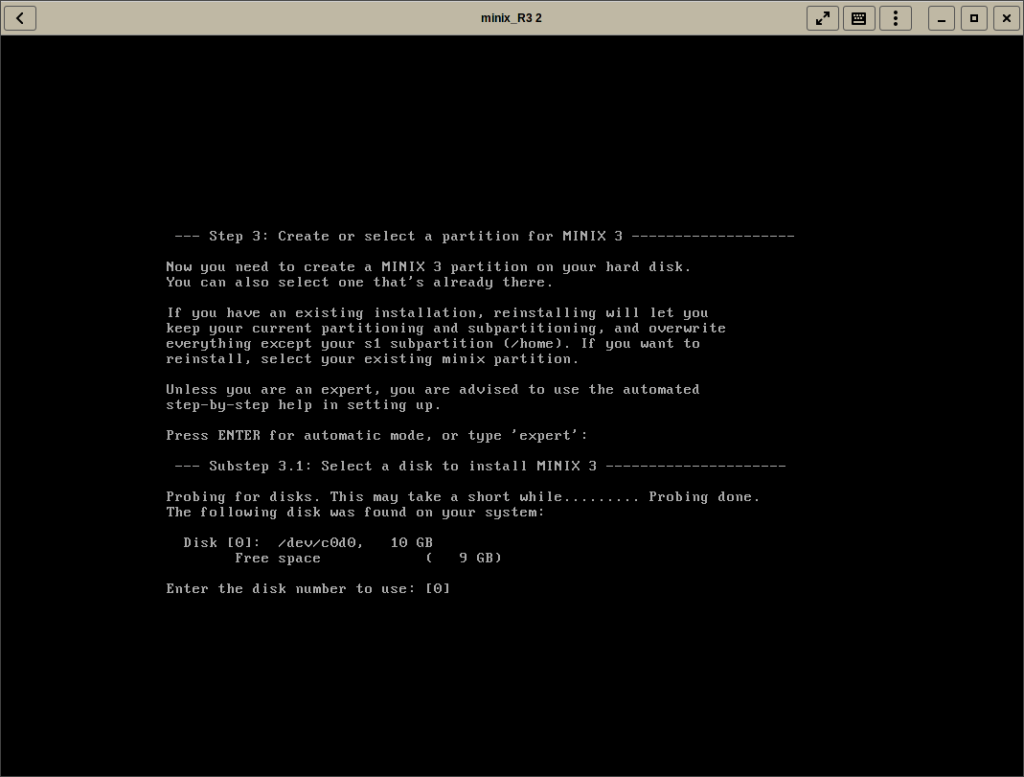
There’s only one hard drive on this computer, and I’m going to use the whole disk for minix, so on the next two screens I’ll just press enter:
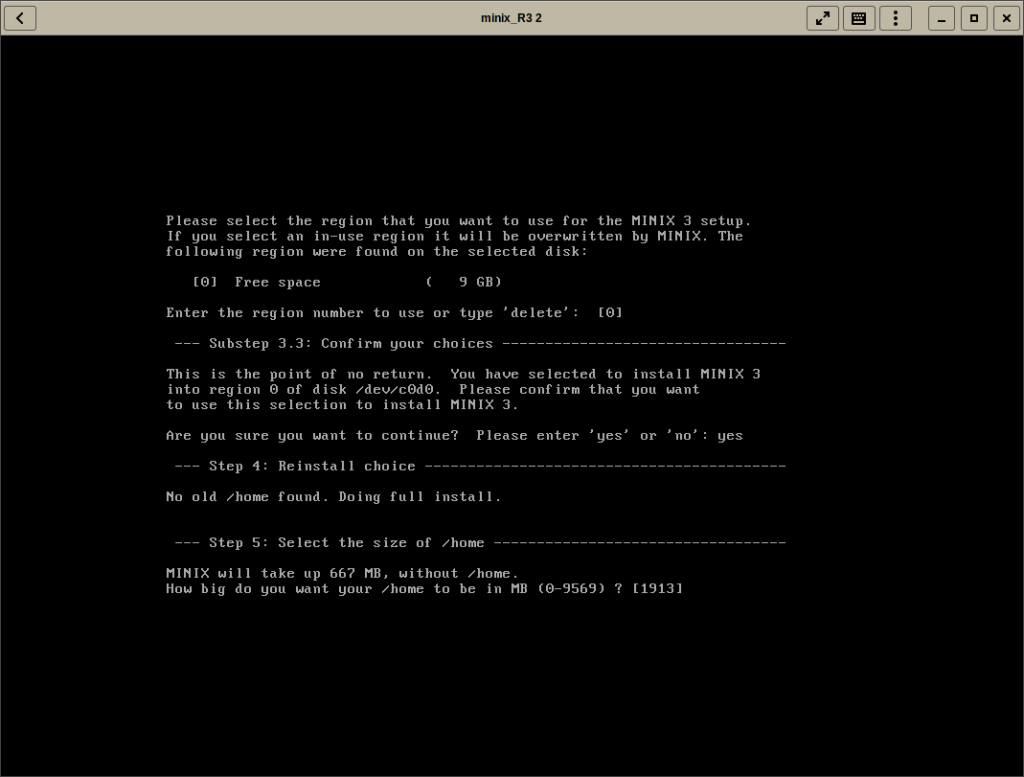
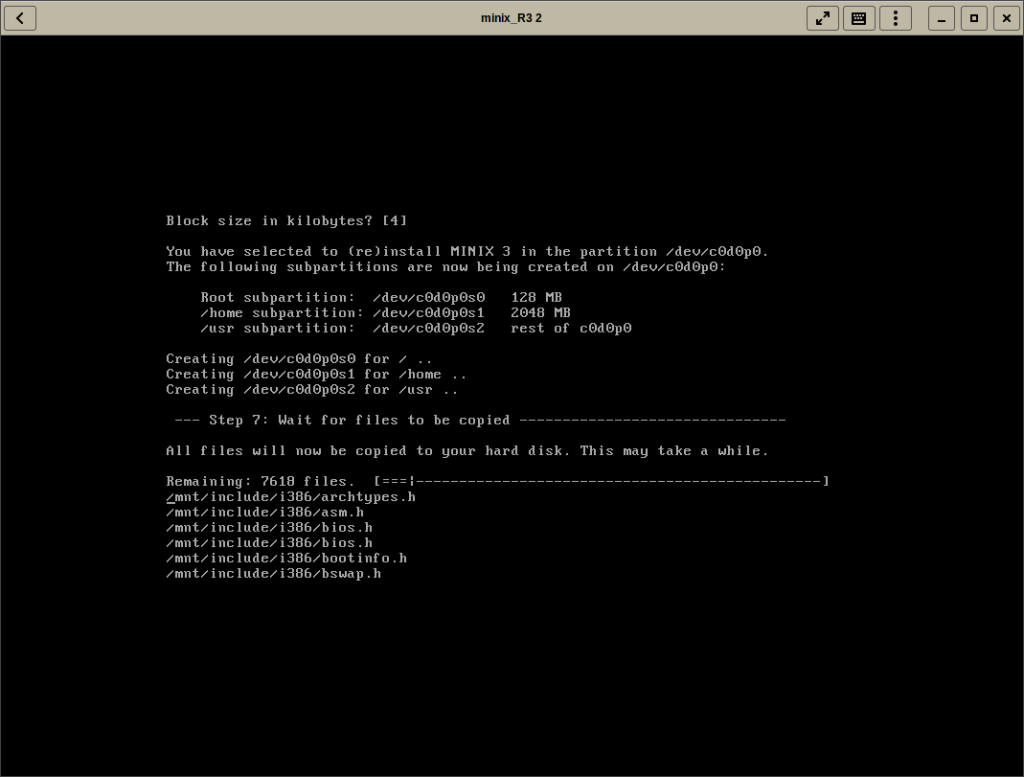
I’ve choose a 2048mb /home partition and then the installer ask for a block size. I choose 4k for… tradition, but there is explanations on why choose 4k, for example here. Finally the installer will show a summary of the partitions and start to copy files:
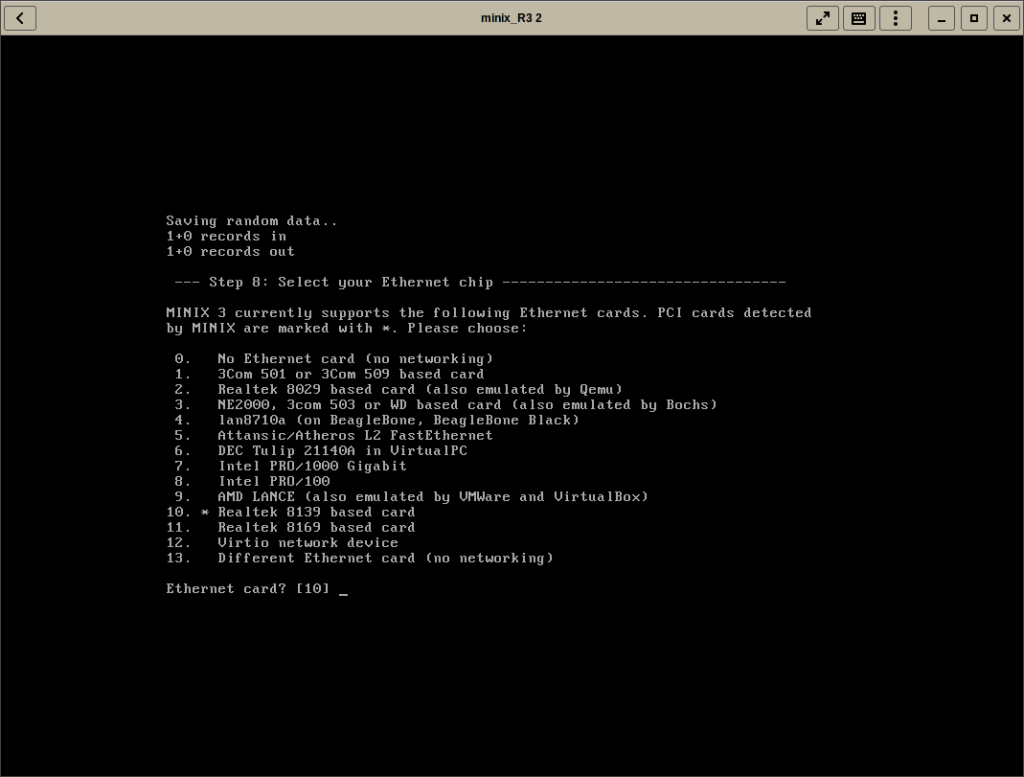
The last step is to configure your network, you need to choose your ethernet card:
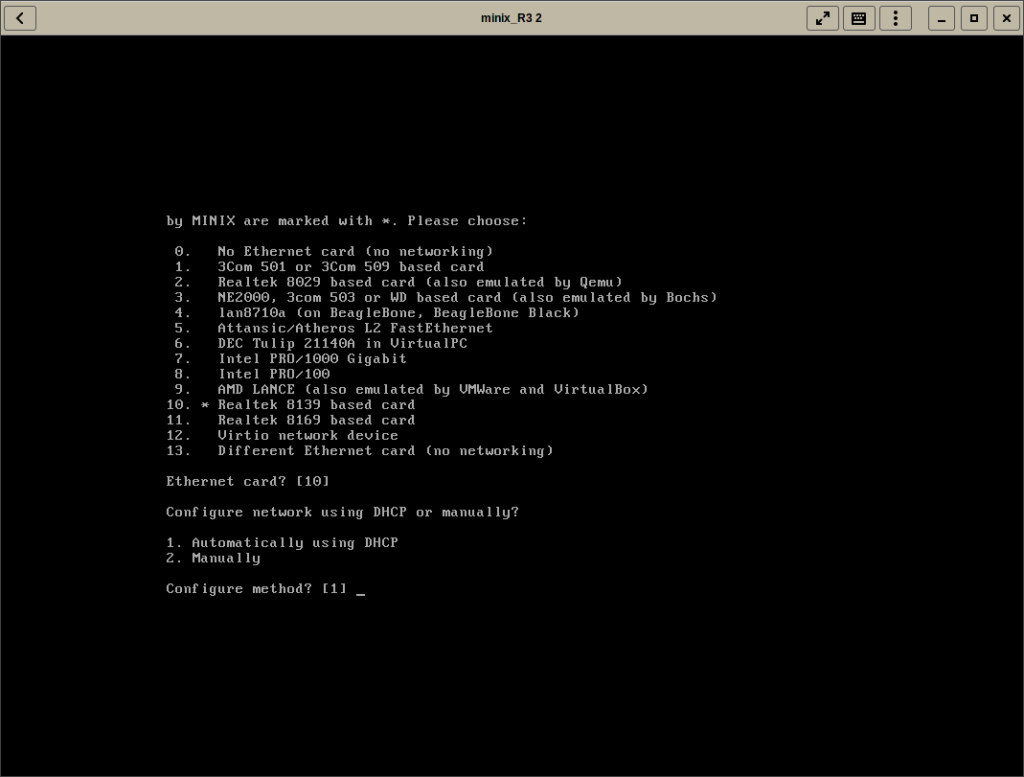
and then to choose whether use dhcp or a fixed address.
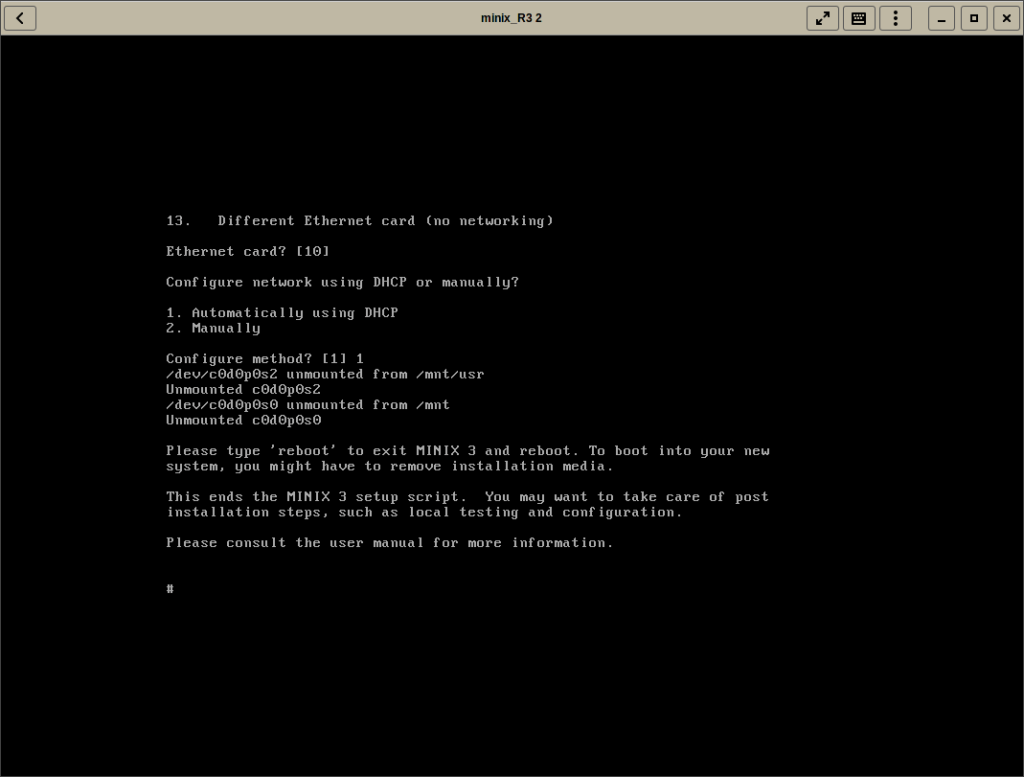
And this is it. Now reboot and in the next sections we will see some post-installation tasks
Post installation tasks
Reconfigure networking
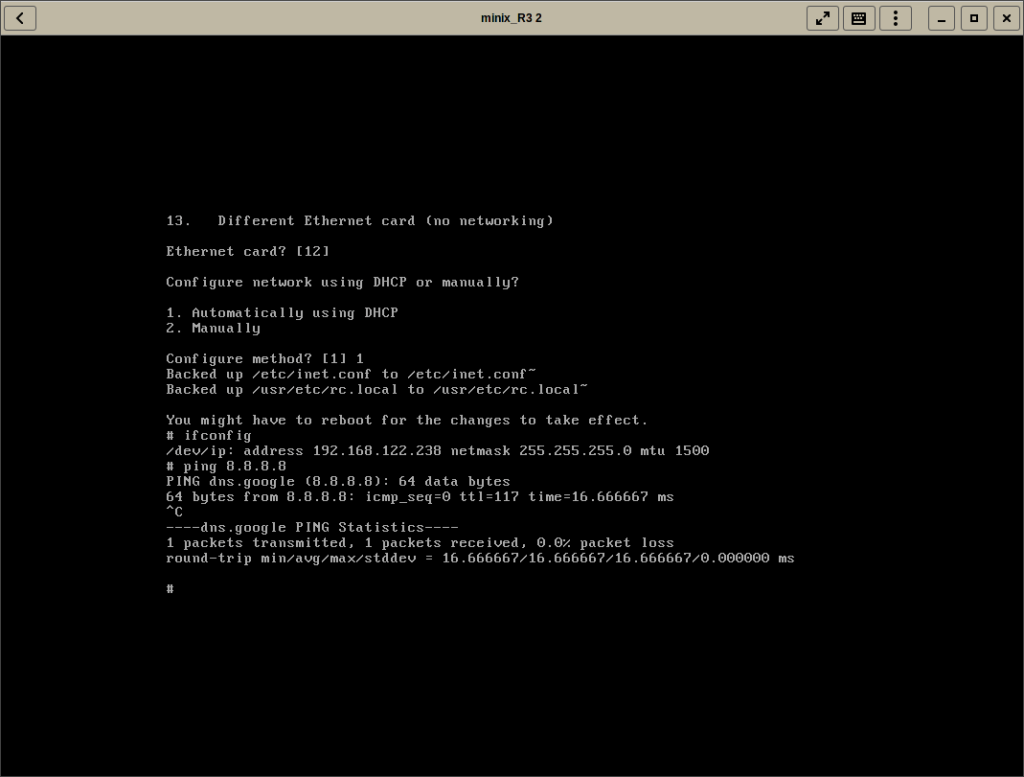
I work with gnome-boxes; for some reason my network wasn’t detected ok. I had to reconfigure with the netconf command:
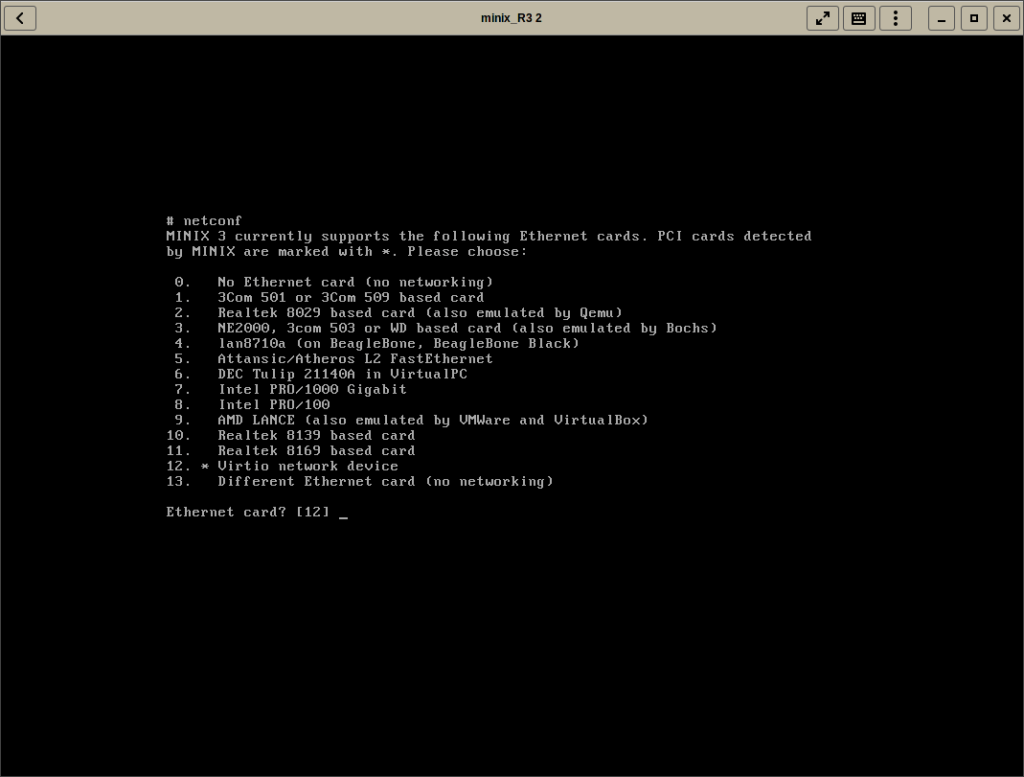
As you see, it’s the same from the installer script. Then I’ve tested with ifconfig and ping commands:
Root password and new users
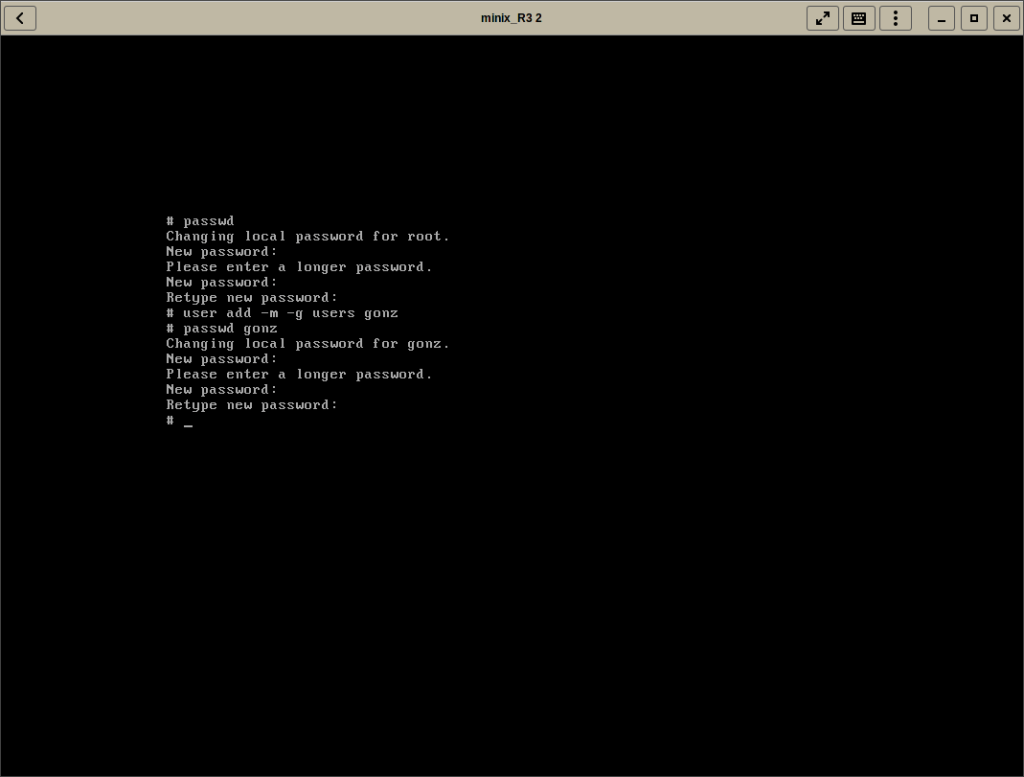
Use the command passwd to set a password for root. Also, to not use the root user for regular work is always a good idea. To create a new user use the command:
user -m -g users <username>
passwd <username>
The argument -m is for creating a home directory and -g is to choose the group for the user.
Installing software
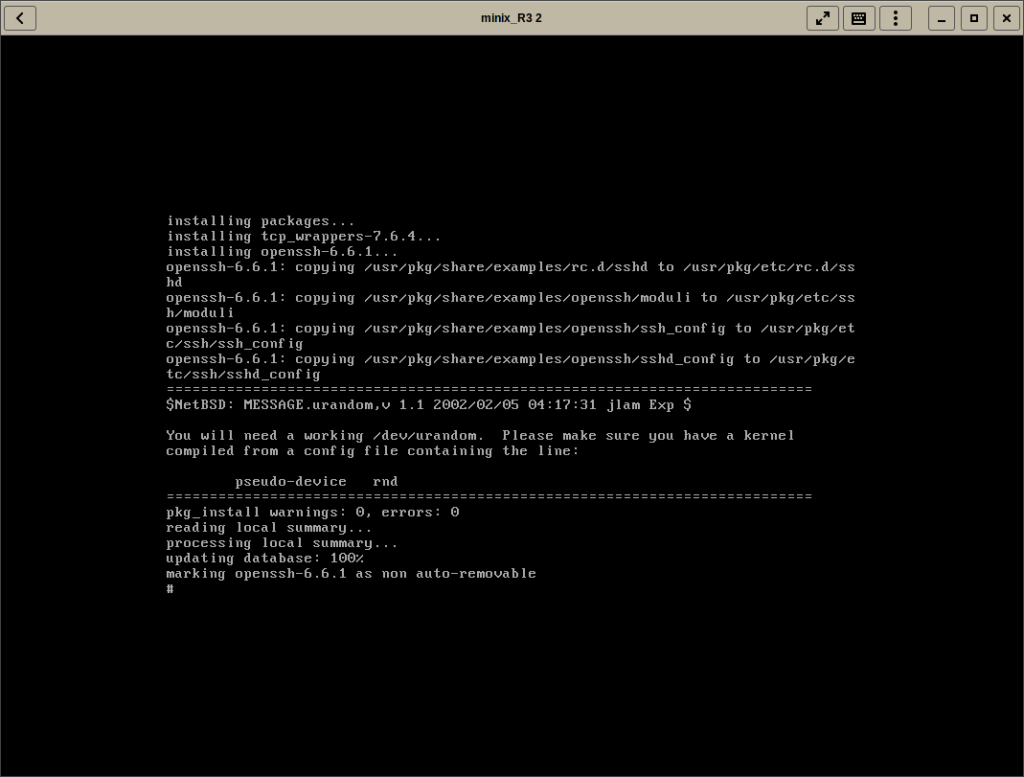
pkgin is the package manager for Minix. First you need to fetch the package list:
pkgin update
Now you can install some software with pkgin install <package> , for example to install a ssh server:
pkgin install openssh
You can then enable the ssh service with the following commands:
cp /usr/pkg/etc/rc.d/sshd /etc/rc.d/
printf 'sshd=YES\n' >> /etc/rc.conf
/etc/rc.d/sshd start
To search for a package:
pkgin search <keyword>
Install some package sets for common tasks:
pkgin_sets
Install everything available in the repository:
pkgin_all
List all available packages:
pkgin available
Documentation
There are two main places to read an learn Minix
- The Tanenbaum book https://www.pearson.com/us/higher-education/program/Tanenbaum-Operating-Systems-Design-and-Implementation-3rd-Edition/PGM228096.html
- The minix wiki https://wiki.minix3.org/doku.php


