Podman is a free and open-source container engine that was developed by RedHat. It exists to offer a daemonless container engine for managing containers on a Linux system. Podman works with pods, in a similar fashion to Kubernetes. Podman has steadily edged out Docker to become the de facto containerization platform. In this guide, you will learn how to install podman on CentOS 8.
It improves on Docker by decentralizing the components necessary for container management. The greatest difference between Docker and Podman is in their architecture. Podman runs on a daemonless architecture while Docker runs on a client-server architecture.
This article will guide you on how to install and use podman in your CentOS system.
Installing podman on CentOS 8
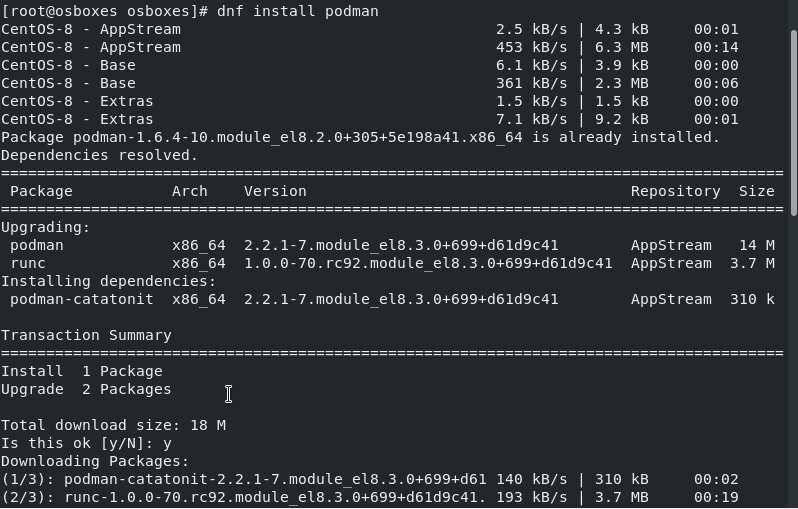
To install podman on CentOS 8, log in your root account and run the command below:
$ dnf install podman

Installing podman on RHEL 8
To install Podman on a RHEL 8 System
Run the command below:
$ dnf module install container-tools -y
To confirm successful installation, check the version of podman installed by running the command:
$ podman --version
You will get the output below:

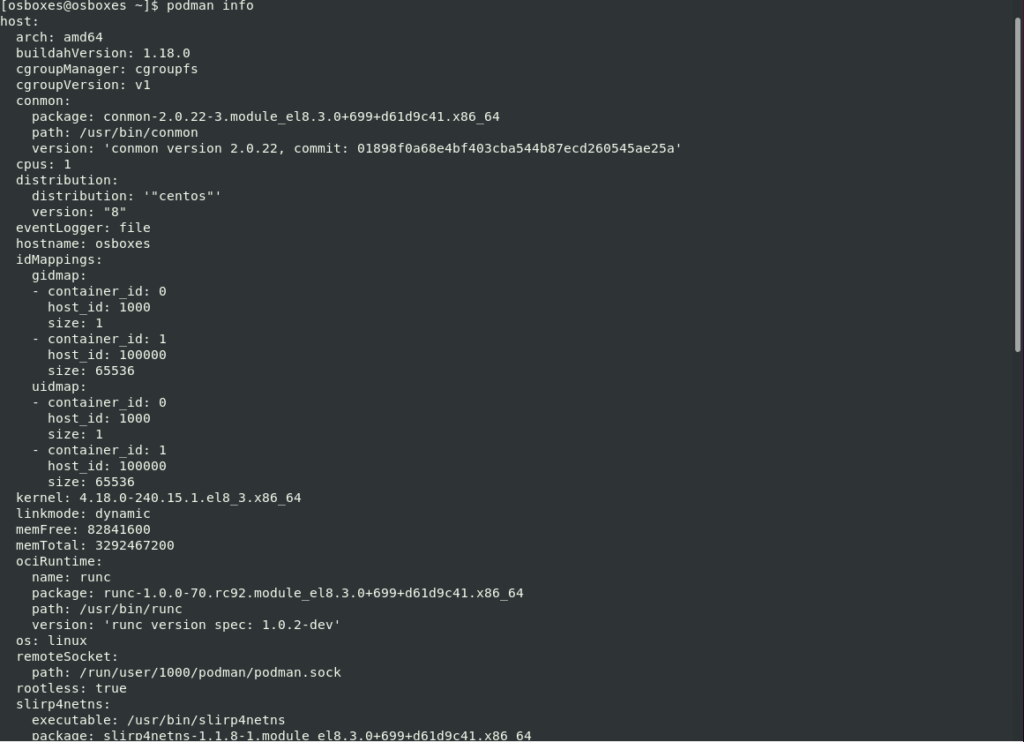
To view podman system information.
Run the command:
$ podman info

Search and Download Containers Image with Podman
There are various operations that we can carry out using podman such as searching and downloading container images.
To search for an image, use the syntax below:
$ podman search image_name
For example, to search for the image of Fedora run:
$ podman search fedora
The output displays the registry from which you are searching from. For example, in the output above,it is docker.io.
To download an image, use the syntax ;
$ podman pull image_name
In this example , we download 2 images, Fedora and Ubuntu.
To view the downloaded images, execute the command:
$ podman images
Run containers with podman
To run a container using an Ubuntu image that prints out a message on the screen, run:
$ podman run --rm fedora /bin/echo "Welcome to Podman !"
We can launch a container and redirect 80 port requests from podman system to web-space container on port 80 using the command below. The name of the container in this case is “my-ubuntu”.
$ podman run -dit --name my-ubuntu -p 80:80 ubuntu
To view only running containers, run the command below:
$ podman ps CONTAINER ID
To list all containers, whether stopped or running run:
$ podman ps -a
Toi nspect a container run the command with the syntax below:
$ podman inspect <CONTAINER ID>
Example:
$ podman inspect 22b2fc38fd63
To access the existing container’s shell prompt, use the “podman attach” command
$ podman attach <Container_ID>
For example
$ podman attach 22b2fc38fd63
To exit the container’s shell prompt without exiting or stopping it, use “ctrl+p+q” key combination.
Viewing container logs
To view logs generated by a container, use the syntax below:
$ podman logs <Container_ID>
For example,
$ podman logs 22b2fc38fd63
To view the logs in real time, add -f as shown
$ podman logs -f <Container_ID>
$ podman logs -f 22b2fc38fd63
Removing containers with podman
In this section we look at how to delete your containers.You can start by first listing them all with the command:
$ podman ps -a
You can remove a single container using the rm option followed by the container-id .
For example:
$ podman rm 22b2fc38fd63
In the case where the container is running and you want to delete it without stopping it , use -f option and rm as shown below:,
$ podman rm 22b2fc38fd63
Managing container pods in podman
You can manage pods using podman.
To create a pod, for example with the name virtualserver, run the command:
$ podman pod create --name virtualserver
To list pods, run the command:
$ podman pod list
Upon creating a new pod, you will notice that it has a container called infra. Infra accommodates namespaces which are associated with the pod and therefore allows the pod to communicate with other containers.
To add a container to a pod run:
$ podman run -dt --pod webserver centos:latest top
Run below command to verify whether the container has been added to the pod or not
$ podman ps -a --pod
Output of above commands is:
We have successfully launched a container to the pod.
Conclusion
By following the steps described in this guide, you will be able to successfully install Podman and use it to run containers.


